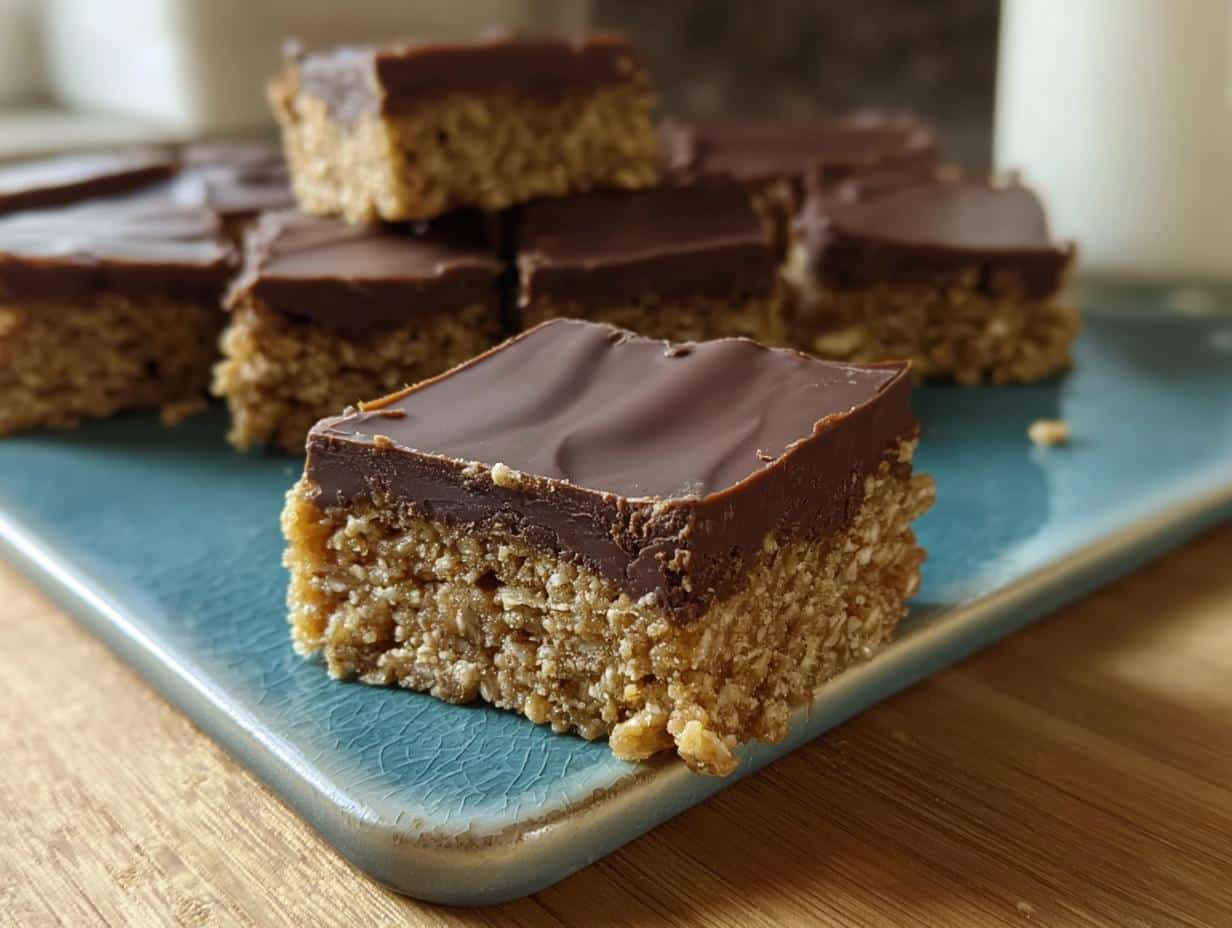
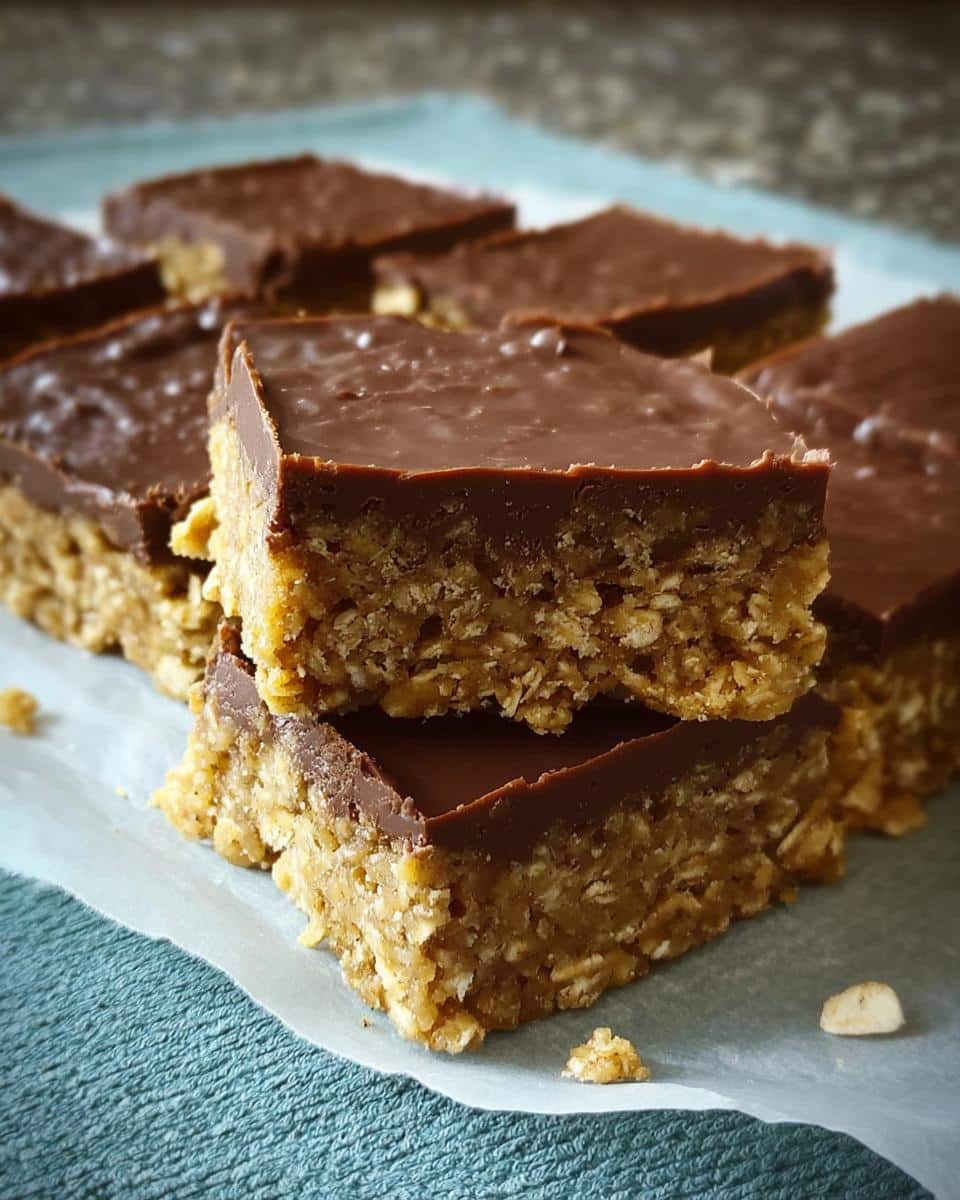
There’s just something about a dessert that skips the oven, isn’t there? When I look back at the dishes that stuck around in American kitchens for generations, it’s almost always the dependable ones—the ones that didn’t require fancy equipment or a hot afternoon spent near the stove. That reliability is why I treasure this recipe for No-Bake Chocolate Oat Bars so much. They are the definition of a pantry staple turned into pure joy. As a culinary historian, I see these bars as small monuments to practicality and comfort. Trust me, these quick sweet treats are straightforward, hearty, and taste exactly like you remember comfort food should.
The Enduring Appeal of No-Bake Chocolate Oat Bars
Around my family, recipes that skip the oven always get immediate appreciation, especially when the weather turns warm. These bars are proof that you don’t need fancy techniques to make something that tastes incredibly rich. They rely completely on simple ingredients you probably already have stashed away—oats, butter, sugar, and chocolate chips.
That combination of hearty oats grounding the deep, somewhat mysterious flavor of the chocolate layer is what makes them so satisfying. They truly fit right into the category of timeless No Bake Desserts. When I think about making something dependable that feeds a crowd easily, I always come back to this classic tray bake. If you are looking for a way to get that dessert fix without turning up the heat, you’ve found it. You’ll definitely want to check out my notes on marshmallow popcorn mix for another great no-bake option when you have a moment.
Gathering Your Ingredients for No-Bake Chocolate Oat Bars
Honestly, the best part about these No-Bake Chocolate Oat Bars is that they rely almost entirely on what I keep stocked in the pantry. There’s no need for a last-minute grocery run when you decide you need a sweet treat! We break the ingredients down into two simple groups: the sturdy oat base that holds everything together, and that rich chocolate blanket that goes on top.
Gather these few components, and you’re already halfway to dessert heaven. Everything you need here is reliable and straightforward, which is exactly what I look for in a classic recipe like this one. You’ll see the butter, sugar, oats, vanilla, chocolate chips, and peanut butter waiting patiently for their roles.
Ingredients for the Base and Chocolate Layer of No-Bake Chocolate Oat Bars
For the base, you absolutely need 1 cup of butter, which softens up nicely, alongside 1/2 cup of packed brown sugar for depth. Don’t forget 1 teaspoon of vanilla extract—that small amount really wakes up the flavor profile. Then we get hearty with 3 cups of quick cooking oats. These are our pantry heroes!
For the glorious topping, you’ll need 1 cup of semisweet chocolate chips. Pair that with 1/2 cup of creamy peanut butter. That combination melts down beautifully and sets up firm, but still creamy, once it hits the cold. Easy as that!
Mastering the Steps for Perfect No-Bake Chocolate Oat Bars
Now that we have our ingredients ready, let’s talk technique. These bars are the ultimate in Quick Sweet Treats because they rely on simple stovetop cooking followed by patience in the fridge. Skip the oven entirely! I’ll walk you through locking in that flavor in the base and getting those layers perfect so they don’t crumble apart when you try to serve them. My main advice here is to move with purpose but keep your heat low!
Preparing the Pan and Cooking the Oat Base for No-Bake Chocolate Oat Bars
First thing’s first: get organized. I always grease up my 9-inch square pan completely—don’t skimp here, or you’ll regret it later! Next, we head to the stove. Melt that cup of butter right in a large saucepan over medium heat. Once it’s liquid, stir in your brown sugar and vanilla extract. Keep stirring until it’s all blended before finally incorporating those 3 cups of quick cooking oats.
This might sound counterintuitive, but you need to cook this oat mixture briefly over low heat—just two to three minutes. That little bit of cooking time is crucial because it helps the sugar coating stick to the oats tightly, ensuring those bars hold their shape. You’re looking for everything to blend together nicely, not brown at all. Keep a close eye on it!
Assembling the Layers of Your No-Bake Chocolate Oat Bars
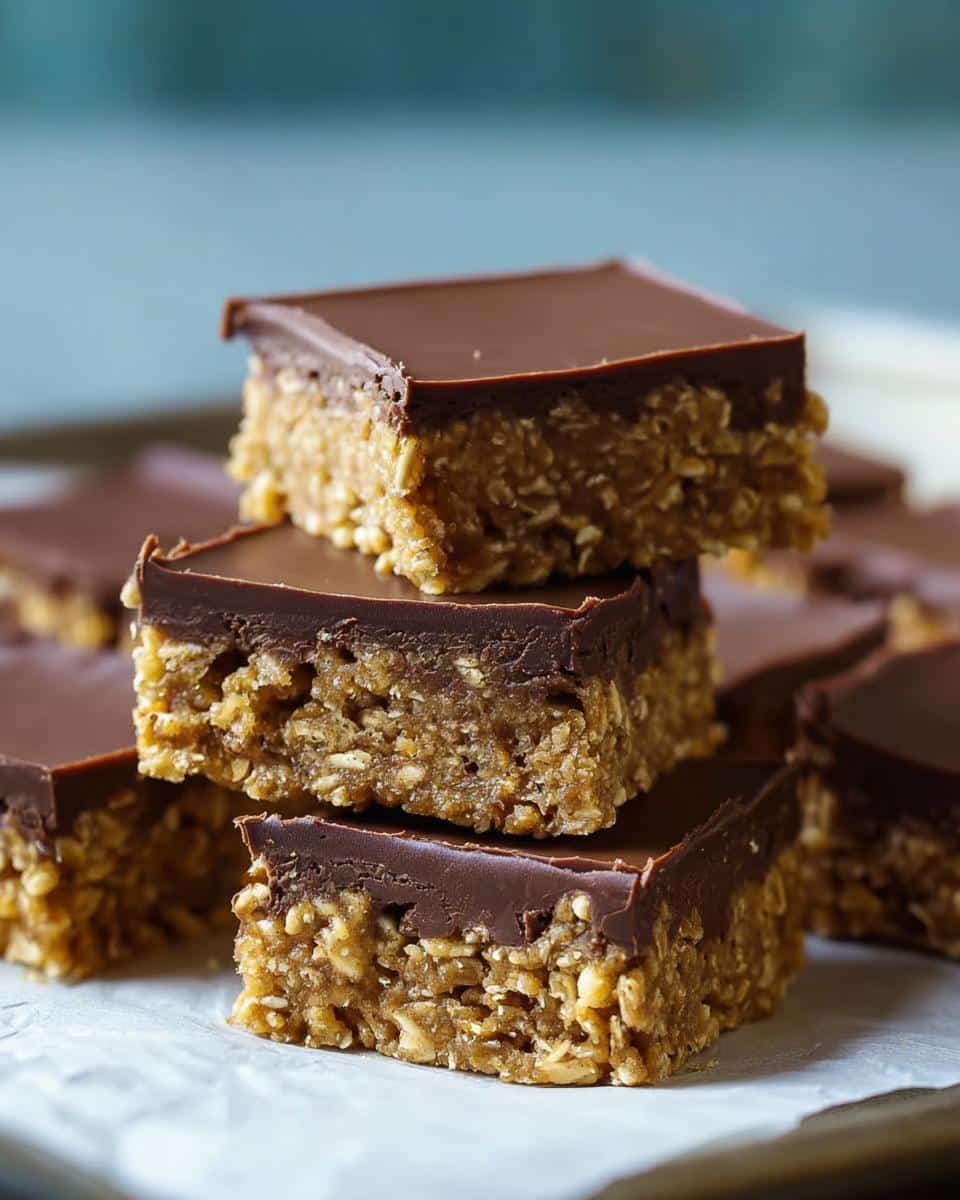
Once combined, take half of that warm oat mixture and press it firmly into the bottom of your prepared pan. This is your sturdy crust, so pack it down well. You want a solid base, so use the bottom of a measuring cup or a flat spatula to make it even.
For the chocolate layer, you’ll melt those chocolate chips and peanut butter together in a small, heavy saucepan over low heat—constant stirring keeps it smooth. As soon as it’s glossy and smooth, pour that gorgeous mixture right over your oat crust. Spread it out quickly so it stays even. Then, take the remaining oat mixture and just crumble it loosely right over the top of the chocolate. Gently press it down just enough so it starts to adhere, but don’t pack it as hard as you did the bottom layer.
Chilling and Serving Your No-Bake Chocolate Oat Bars
Here is where the true patience comes in, though it’s easy patience! Cover the pan tightly and pop it into the refrigerator. You need at least two to three hours, but honestly, if you can wait until the next day like I sometimes do, they are even firmer! You can find even more tips for making grab-and-go snack bars similar to these in flavor over here.
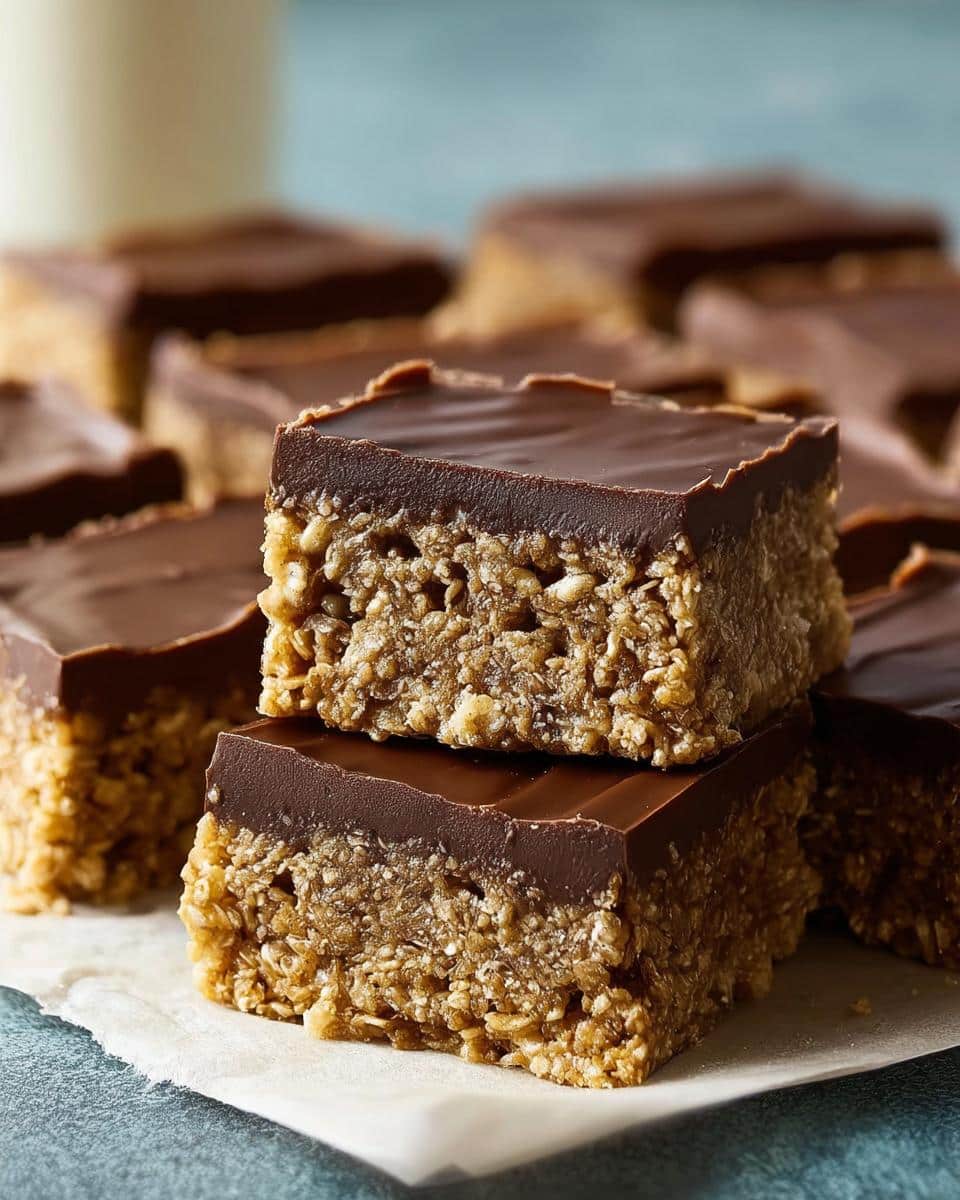
Now for my favorite secret to a clean cut, which helps prevent that gorgeous chocolate topping from cracking everywhere: let the bars sit on the counter for about 15 minutes before you try slicing them. Bringing them just slightly above fridge-cold makes them soft enough to cut cleanly without breaking apart on you.
Tips for Success When Making No-Bake Chocolate Oat Bars
When you’re working with No-Bake Chocolate Oat Bars, success doesn’t rely on oven temperature; it relies on technique and knowing how your ingredients behave when heated just slightly. These tips are what separates a good batch from a truly dependable one, making this one of the most foolproof Easy Cookie Recipes you’ll ever try, even if it’s technically a bar!
- Don’t Skip the Cooking Time on the Base: I know the temptation is strong when you’re trying to make this a fast treat, but those two to three minutes you cook the butter, sugar, and oats over low heat are vital. That time allows the sugar to start melting and coat every oat flake, which is what creates that sturdy structure once chilled.
- Chocolate Layer Smoothness: When melting the chocolate chips and peanut butter, use the lowest heat possible. If you overheat that chocolate mixture even slightly, it can become grainy or seize up, which makes it impossible to spread evenly over the crust. Keep stirring until it’s silky!
- The Double Press Technique: Remember, you’re pressing the bottom layer firmly—really pack it in there to create that solid bottom crust. However, when you add the second layer of oats on top of the chocolate, you want to treat it more gently, just crumbling and pressing lightly. This ensures you get that nice contrast between the dense base and the crumbly top.
- Pan Greasing is Your Friend: Since these are pressed into a pan, you need to ensure they release perfectly. I recommend doing more than just a light spritz of spray. I often use a bit of butter rubbed around the sides and bottom, and sometimes I even cut a piece of parchment paper to fit snugly on the bottom, extending up two sides like handles. You can see a little trick for preparing pans for treats like my favorite brownie bites that works wonderfully here too.
Ingredient Substitutions for No-Bake Chocolate Oat Bars
I hear from so many folks who either have allergies or just need to work with what’s already in the cupboard, and that’s perfectly fine! These No-Bake Chocolate Oat Bars are so reliable because they are versatile, but you need to understand that swapping out a core fat or nut butter will shift the final texture a little bit. That’s the trade-off for using what you have on hand, but they will still taste great!
When we talk about Ingredient Substitutions in a no-bake recipe, we have to be careful, especially since we rely on the ratios of fat to dry ingredients to make everything set up correctly in the fridge. Here are the swaps I’ve tested successfully when adapting this recipe.
For the Butter:
- If you need to avoid dairy, you can swap the butter for a good quality, firm vegan butter substitute. Now, you might lose just a tiny bit of the rich flavor you get from real butter, but the texture usually holds up fine if you use a stick alternative rather than a tub spread.
For the Peanut Butter:
- This is a common question! If you or someone you’re baking for can’t do peanuts, skip the peanut butter and use an equal amount of sunflower seed butter or almond butter. Sunflower seed butter is my favorite here, but be aware that almond butter tends to be a bit thicker, so you might need to melt it a little longer with the chocolate chips to ensure it spreads easily.
For the Chocolate Chips:
- If you are avoiding dairy or looking for dark chocolate intensity, swapping the semisweet chips for dark chocolate chunks works beautifully. Even better, if you’re trying to keep sugar slightly lower, use sugar-free chocolate chips, but you’ll need to be extra careful when melting them so they don’t burn or become gritty.
Remember, the goal with these bars is for them to set up solid. If you notice your final mixture seems too loose after mixing in the oats, you might need another small splash of melted butter, or just give it an extra 30 minutes in the chiller. Every kitchen works a little differently!
Storing and Making Ahead with No-Bake Chocolate Oat Bars
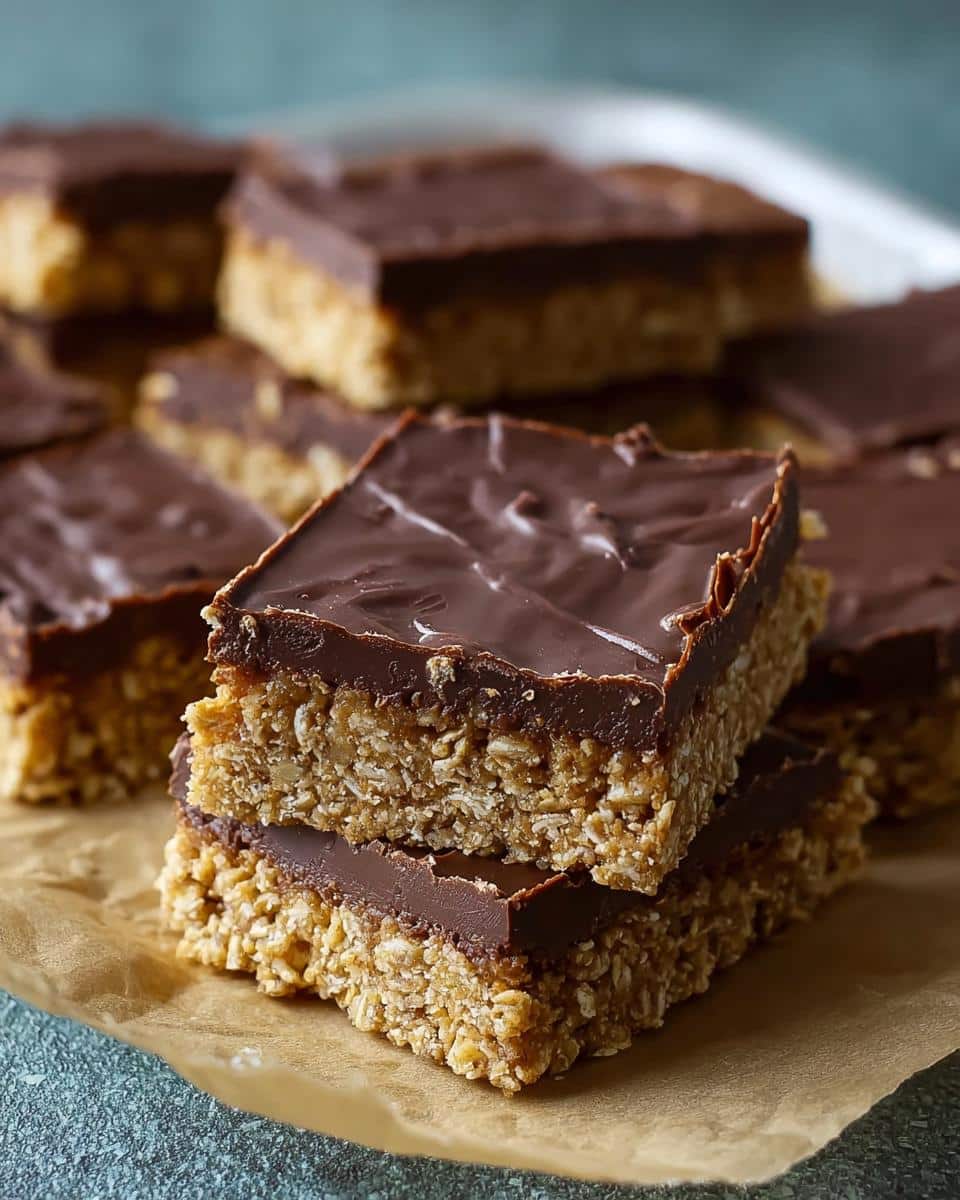
One of the reasons I argue this recipe is perfect for every home cook is how incredibly reliable these No-Bake Chocolate Oat Bars are for making ahead of time. Honestly, they are almost *better* the next day! They are sturdy little rectangles, which means they travel well and don’t fall apart easily in a lunchbox or when you stack them up for parties. We are talking about a dessert here that truly improves with a little bit of planning.
The source notes mentioned how sturdy they are, and that’s because of the high ratio of fat and oats binding everything together once chilled. This makes them fantastic for meal prepping those Snack Recipes for busy weeks. You can get them done on a Sunday afternoon, and they will last until your next grocery run!
How long do No-Bake Chocolate Oat Bars last?
Because these bars rely on butter and chocolate for structure rather than eggs or dairy that easily goes bad, they have a great shelf life. I always store mine in an airtight container in the refrigerator. If I make a double batch (and you know I often do!), they easily hold up for a full week in the fridge. I test them often, of course, just to make sure the texture is still perfect!
Now, the counter is tempting, I know! If your kitchen stays relatively cool—say, below 70 degrees—you can keep them on the counter for up to three days. But honestly, if it’s warm, that butter starts to soften up faster than you’d like, and they might get a little greasy. Stick to the fridge for the best texture and longevity!
The Secret to Perfect Slicing (Again!)
Listen, you can take these bars straight from the fridge to the cutting board, but you’re going to end up with chocolate shards everywhere. I mentioned this before, but it’s worth repeating because it’s the non-negotiable step for a clean presentation. Take the entire pan out, uncovered, and let it sit on the counter for about 15 to 20 minutes before you try to slice it. This allows the butter and chocolate just enough time to soften very slightly.
The base will still be firm, but the topping will yield to the knife instead of cracking. Run a large, sharp knife under hot water and wipe it dry between cuts if you need that extra-clean edge. It’s a small step, but it makes these simple treats look professionally made!
Serving Tips and When to Bring to Room Temperature
For the best eating experience, always serve these bars slightly cooler than room temperature. If you let them sit out for too long—say, more than an hour while you’re entertaining—they start to melt too much. They should have a slight resistance when you bite into them, not feel like fudge.
If you happen to make a batch and want an extra twist, sometimes I’ll sprinkle a little flaky sea salt right on top of the chocolate layer before it chills. That salty crunch against the sweet oat base is just heavenly. If you’re looking for other super simple snack solutions, you might find my collection of easy snacks and small bites helpful for keeping your snack rotation interesting!
Frequently Asked Questions About No-Bake Chocolate Oat Bars
When you’re working with a classic recipe like this, people always have great questions about making sure it turns out exactly right! I’ve gathered a few of the most common things folks ask me when they are making their first batch of these No-Bake Chocolate Oat Bars. Don’t worry about getting it perfect; this recipe is forgiving, but a few tips go a long way!
Can I use rolled oats instead of quick cooking oats in these No-Bake Chocolate Oat Bars?
That’s a fair question! You certainly can try it, but you need to know that the texture will change quite a bit. Quick cooking oats are smaller and thinner, so when they are heated and then chilled, they pack together into a relatively smooth, tight base. If you use old-fashioned rolled oats, the base will remain much chewier and you’ll end up with a less uniform texture.
I find rolled oats make it harder to get that nice, flat crust we want in these bars. If you decide to use them anyway—maybe because you’re out of quick oats—I’d suggest cooking the mixture on the stove for just a minute or two longer than the recipe calls for, just to help them soften up a touch before you press them into the pan.
How do I prevent the chocolate layer from cracking when I cut the bars?
Ah, the dreaded chocolate crack! This happens because the chocolate topping sets rock-solid in the refrigerator, and when you try to slice a hard block, the brittle layer fractures. We talked about this briefly earlier, but it truly is the single most important step for presentation when cutting these Quick Sweet Treats.
You absolutely must let the pan sit on the counter for about 15 to 20 minutes before you take a knife to it. We aren’t aiming for a warm, melty top, just enough time for the fat in the chocolate and peanut butter to soften just a hair. That slight give is usually enough to let your knife glide right through without shattering the chocolate. A hot, dry knife helps too!
Are these considered healthy cookies or energy bites?
That’s a fun way to think about them! In terms of ingredients, they certainly lean toward the *heartier* side since we are using a full three cups of oats, which gives them a nice staying power, making them great homemade Energy Bites substitutes for an afternoon slump. They definitely are satisfying!
However, because we are using a full cup of butter and sugar in the base and topping, I wouldn’t call them truly “healthy cookies,” especially when compared to something made with just fruit and nuts. Think of them as a wonderful, dependable comfort food dessert that happens to use whole grains. They are a much simpler option than many other baked goods, but they are definitely a sweet treat first and foremost! For more on my thoughts on food labeling, you can always check out my quick disclaimer page.
Serving Suggestions for Your No-Bake Chocolate Oat Bars
It’s funny, these No-Bake Chocolate Oat Bars are so good all on their own that they hardly need anything extra. They are such a complete package—hearty, chocolatey, and sweet—that they stand perfectly fine as a standalone treat! They are the kind of snack that travels well and doesn’t ask for fanfare, which is why I love them; they fit right into that category of deliciously simple food.
When you are looking for something easy—maybe you’ve made these as one of those 5 Ingredient Desserts where you just toss everything together—you want pairings that are just as straightforward. Don’t feel like you need to bake a whole pie to go alongside these! The beauty of these bars is their simplicity, and the serving suggestions should match that vibe.
If you are serving them at a casual gathering or just packing them up for lunch throughout the week, here are a few ways I like to enjoy them:
- Simple Glass of Milk: Honestly, nothing beats an ice-cold glass of whole milk when you have something this rich and chocolatey. It cuts through the sweetness perfectly, just like dessert was intended to be.
- Black Coffee: If you’re having these as a mid-morning snack instead of a true dessert, a strong, hot cup of black coffee is the perfect foil. The bitterness of the coffee really makes the molasses notes in the oat base shine through.
- A Simple Dollop of Whipped Cream: If you’ve let them sit out for just a touch too long and they are softer than you’d like, serving them in a little bowl with a spoonful of lightly sweetened whipped cream on top hides any imperfections beautifully. It adds a little lift without adding complex flavors.
- Fresh Berries on the Side: Sometimes you just need something bright to balance that heavy chocolate. A small handful of fresh raspberries or strawberries served alongside the bar adds a lovely tartness and a needed fresh element to the plate.
See? Everything here is simple! These bars are designed to be enjoyed without fuss, whether you are enjoying them straight from the fridge or letting them sit out for that perfect, slightly yielding texture.
Sharing Your Thoughts on This Classic Recipe
Well, we made it through whipping up the base, melting the chocolate just right, and hopefully, you’re resisting the urge to sneak a piece before those three hours of chilling are up! This recipe for No-Bake Chocolate Oat Bars has been a mainstay in my note-taking process for years now because it’s just so reliable. It’s the kind of recipe that proves you don’t need a complicated schedule or fancy equipment to create incredible comfort food.
But the story of these bars doesn’t end here in my kitchen; it really comes alive when you try them out in yours! I truly love hearing from y’all about how these turned out. Did you use sunflower seed butter instead of peanut butter? Did you manage to slice them perfectly on the first try?
Don’t be shy! Drop a comment down below and let me know how this classic treat worked out for you. Rating the recipe helps other home cooks feel confident trying out these old-school, no-bake desserts, and sharing pictures is always the highlight of my week. You can always reach out directly if you need anything at all via my contact page, but your feedback right here in the comments is what keeps this community recipe collection growing!

No-Bake Chocolate Oat Bars
Ingredients
Equipment
Method
- Grease a 9-inch square pan.
- Melt butter in a large saucepan over medium heat. Stir in brown sugar and vanilla. Mix in oats. Cook over low heat until ingredients blend, about 2 to 3 minutes.
- Press half of the oat mixture into the bottom of the prepared pan. Keep the remaining oat mixture aside for the topping.
- Melt chocolate chips and peanut butter in a small heavy saucepan over low heat. Stir frequently until the mixture is smooth. Pour the chocolate mixture over the oat crust in the pan and spread it evenly.
- Crumble the remaining oat mixture over the chocolate layer. Press down gently. Cover the pan and refrigerate for 2 to 3 hours or overnight. Bring the bars to room temperature before you cut them.