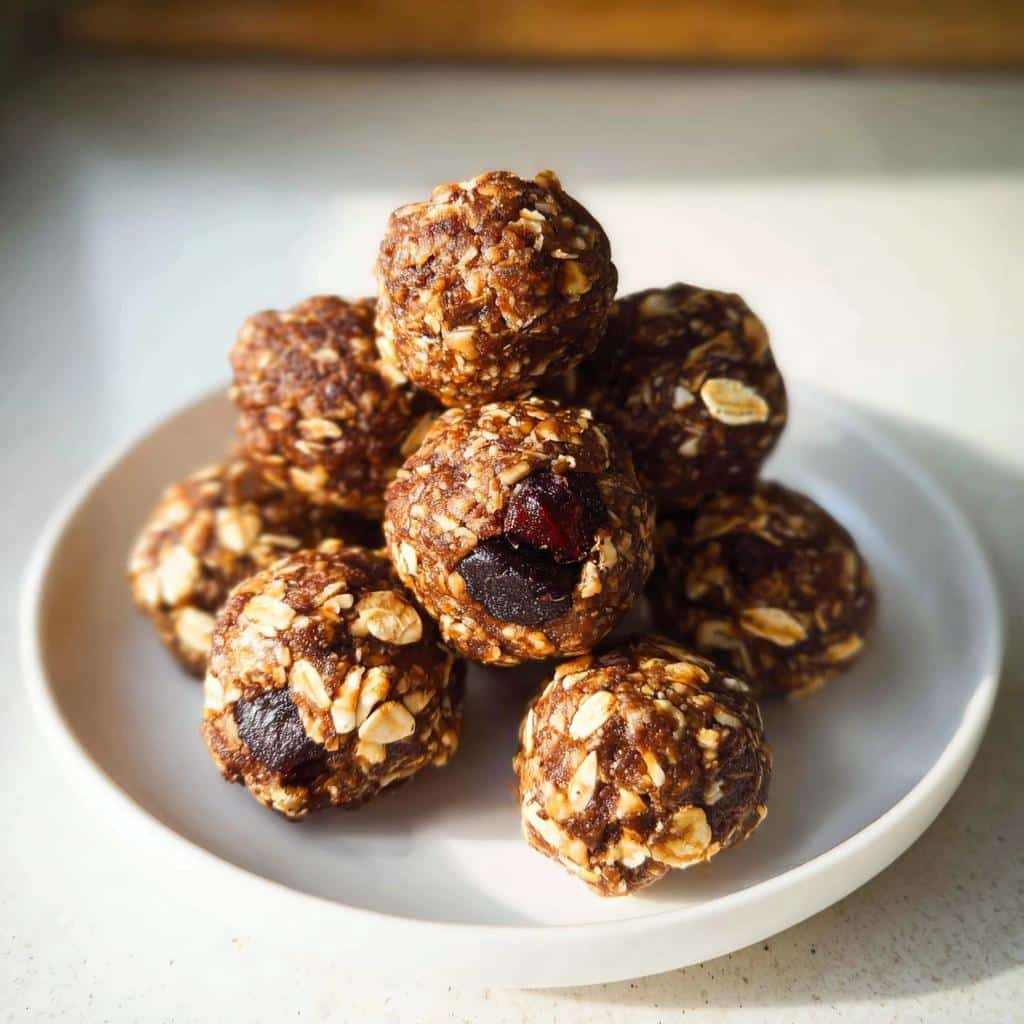
Have you ever hit that dreaded 3 PM slump when you need energy *right now* but the idea of actually cooking feels impossible? Trust me, I know that feeling! As a culinary educator, I live by routines, but life always throws curveballs that derail the best laid meal plans. That’s why I’m obsessed with these No-Bake Energy Balls. Seriously, these aren’t just snacks; they’re proof that nourishing food can come together in one bowl in under ten minutes.
These are my absolute favorite because they are so forgiving. You don’t need an oven, you don’t need precision measuring, and you can swap out half the ingredients based on what you have. It’s efficiency meeting flavor, and I promise, once you make your first batch, you’ll feel completely empowered in your snack game.
Why These No-Bake Energy Balls Are Your New Go-To Snack
When I teach cooking classes, I always stress that the best recipes fit seamlessly into real life. These energy balls are the champion of that philosophy. They solve the ‘I need a healthy snack right now’ problem without any fuss. You truly just mix and chill!
Here’s why I push this recipe on everyone I know:
- They come together in about 10 minutes of hands-on time—faster than brewing a cup of coffee.
- Zero heat involved! Perfect for those hot summer days when you don’t want to turn on the oven.
- They are the ultimate in healthy meal prep. I make a big batch on Sunday and grab two every afternoon.
- Total ingredient flexibility! If you’re out of honey, swap it for maple syrup. Missing chia seeds? More oats work fine.
If you’re looking for more small, satisfying bites, check out some of my other ideas for easy snacks!
Gathering Ingredients for Perfect No-Bake Energy Balls
Okay, grabbing the ingredients is the easiest part of this whole process, and that’s because these No-Bake Energy Balls are so wonderfully adaptable. When I developed this recipe, I wanted something I never had to run to the store for. So, think of the base ingredients as your scaffolding—solid, reliable, and ready for decoration!
Don’t worry if you don’t have exactly what’s listed; that’s the beauty of a one-bowl wonder like this. We start with the stuff that gives us structure and staying power, and then we jazz it up!
The Essential No-Bake Energy Balls Base
We need stuff that binds, stuff that sticks, and stuff that keeps you full until your next meal. Here are the absolute must-haves for a basic, delicious batch:
Old Fashioned Rolled Oats: You’ll need 1 1/4 cups. If you only have quick oats, don’t sweat it, but the old-fashioned ones give a much better chew.
Nut Butter: Use 1/2 cup of your favorite kind. I highly, highly recommend peanut butter here—it has the best flavor pairing with oats, in my opinion!
Sticky Liquid Sweetener: Measure out 1/3 cup. This is usually honey or maple syrup for me.
Power Mix-ins: Grab 2 tablespoons of something tiny and mighty, like chia seeds or flaxseeds. These are what take these from a cookie to a true energy booster.
Flavor Essentials: Don’t skip the 1 teaspoon of vanilla extract and that tiny pinch—1/4 teaspoon—of kosher salt to make all that sweetness pop!
Flavor Variations and Mix-Ins for Your No-Bake Energy Balls
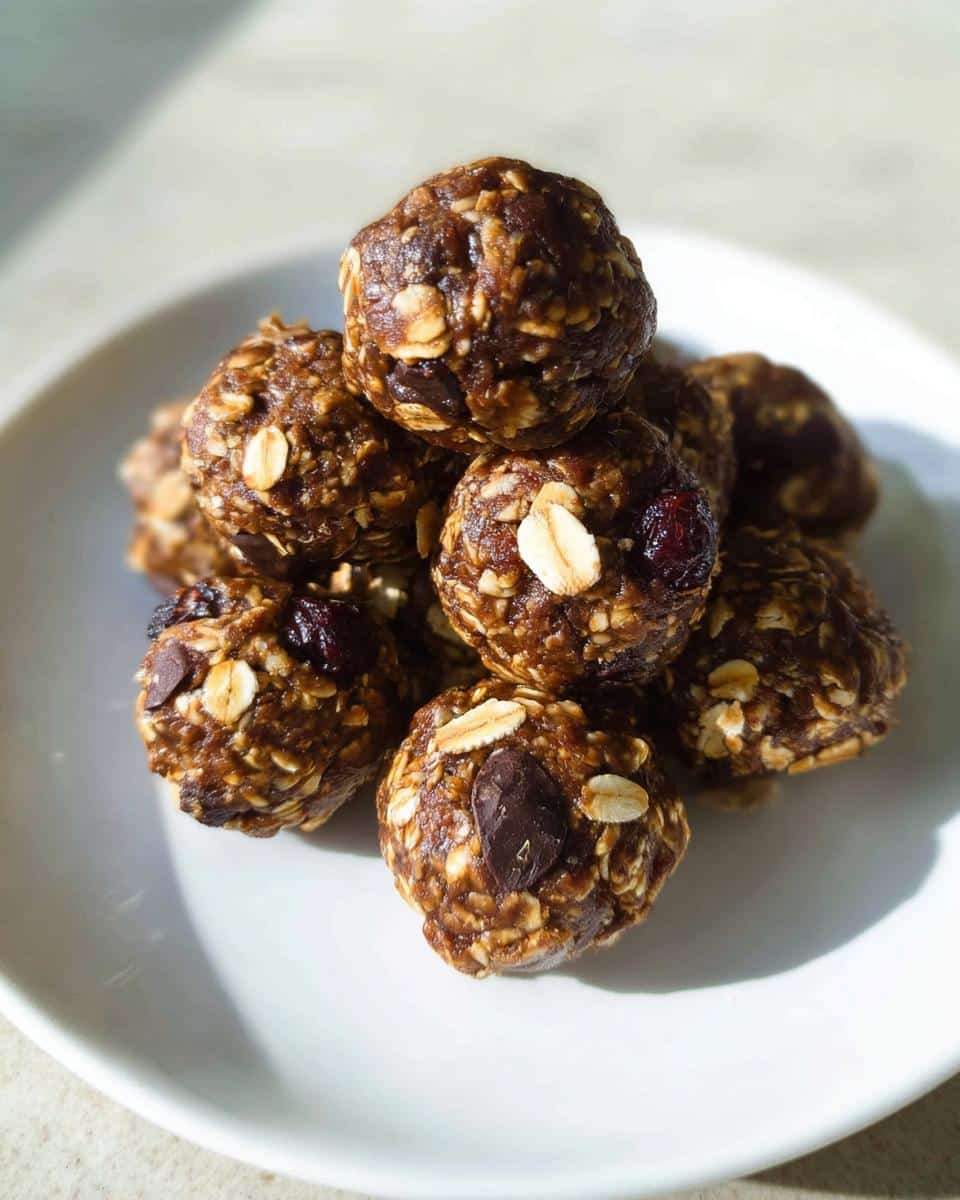
This is where creativity comes in! You have 1/2 cup volume here that you can use to customize your snack. I love seeing what people swap in when they post pictures of their batches. If you are aiming for something that feels a little more like a treat, you can’t go wrong with mini dark chocolate chips.
But for my clean eating crew, shredded unsweetened coconut works beautifully, or even a handful of finely chopped dried apricots can add a lovely textural difference. Just toss whatever you choose right in with the rest of the base ingredients and mix well!

Step-by-Step Guide to Making No-Bake Energy Balls
This is where the magic happens, and I really want you to feel confident mixing this up! Since we aren’t using any heat, precision isn’t as scary as it is with baking bread or complex sauces. It’s all about getting that *feel* right. My goal as an educator is to show you how to trust your instincts, and these easy snacks are the perfect place to practice that intuition. Remember, we’re just stirring everything together into one big bowl—no fancy mixer required!
We combine all those base ingredients we just gathered. First up, dump everything into your large bowl. This includes the oats, seeds, nut butter, sweetener, vanilla, salt, and any sweet mix-ins. Give it a good stir until it looks mostly uniform. If you’re doing this with kids (and you absolutely should, they love this part!), it’s a great moment to show them how good old elbow grease works!
Mixing and Achieving the Right No-Bake Energy Balls Dough Consistency
Now for my favorite part: the consistency check! This is the main adjustment you might need to make, so pay close attention. When you squeeze a small bit of the mixture between your thumb and forefinger, it should stick together firmly without crumbling apart. That’s the sign of perfect portion control readiness!
If it seems too wet—maybe your honey was runnier than mine—just toss in another tablespoon or two of oats until it thickens up. If it’s dry and won’t stick at all? Go slow and add a drizzle more of your sticky sweetener or a small spoonful of nut butter. It should feel like firm, bendable play-dough, not wet batter. This texture ensures they hold their shape after chilling.
Chilling and Rolling Your No-Bake Energy Balls
Once the dough consistency is spot on, resist the urge to roll them immediately! That dough is going to be sticky business right now. The mixture needs a 30-minute stint in the refrigerator. This isn’t just protocol; it helps everything firm up so you get nice, clean balls instead of sticky messes on your hands.
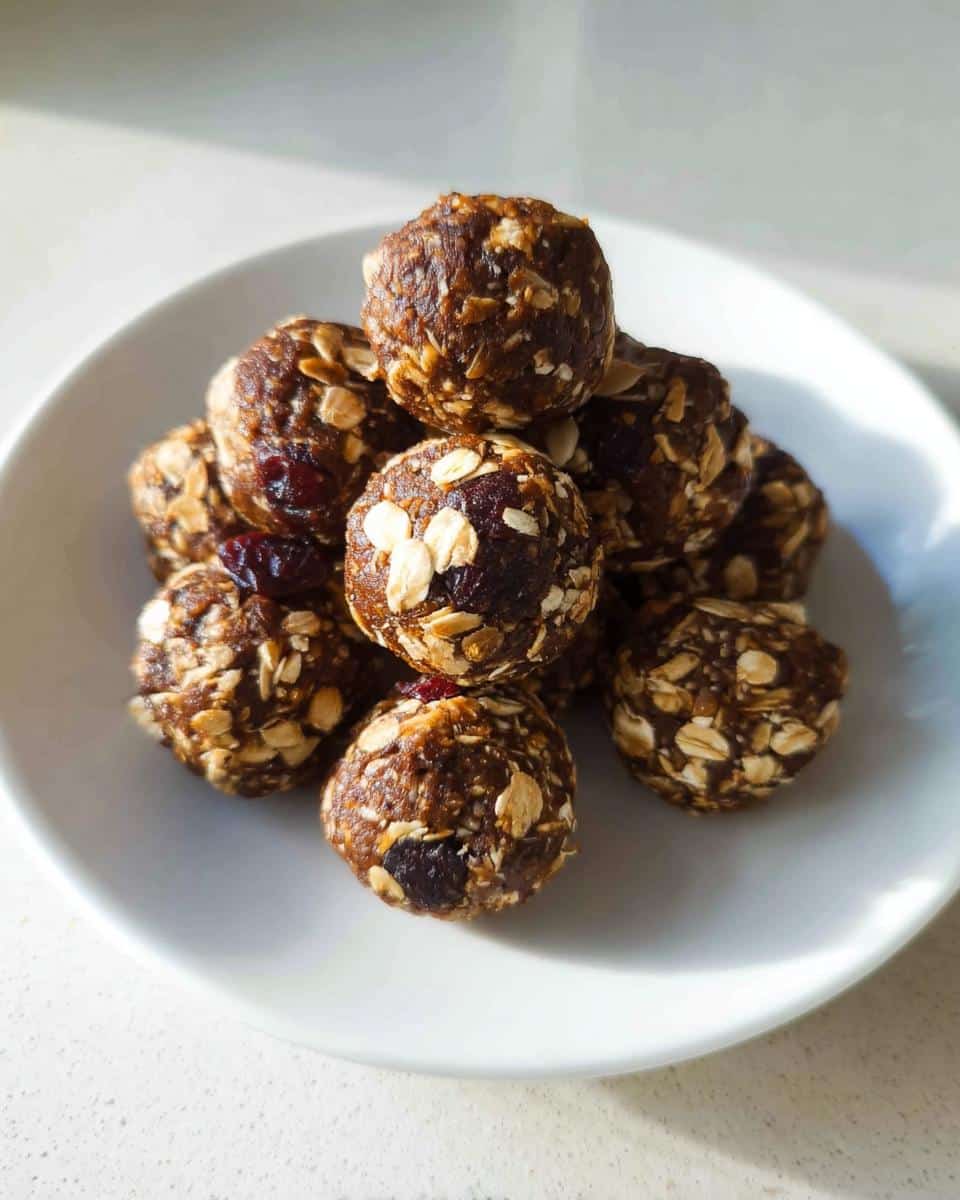
When they come out, if you want perfect, uniformly sized energy balls that are great for meal prep, use a small cookie scoop. This helps keep the portions consistent. Roll quickly between your palms until smooth, and that’s it! They are ready to eat, or ready for storage.
Expert Tips for Perfect No-Bake Energy Balls Every Time
Even though these are ‘no-bake’ and incredibly simple, small tips can elevate them from good to absolutely addictive. Remember what I always say: great food doesn’t need to be complicated, but a little technique goes a long way! Don’t stress out if your first batch isn’t photo-perfect, though. These energy balls are designed to be forgiving—they’re the perfect recipe to relax into your cooking groove.
My biggest tip involves the nut butter you use. If you pull your peanut butter straight from the pantry and it’s rock solid and cold, mixing will be a workout, and you risk not fully incorporating the sweetener. Try to use nut butter that’s at room temperature. It just creams together so much better with the honey or maple syrup when you mix them initially, leading to a smoother overall texture in the final dough.
Another thing I watch for when troubleshooting texture is the oats. If you accidentally used too much liquid and your mix is soupy, adding more oats is the answer, like we talked about before. But here’s my secret kicker: if you add too many oats, they can get dry tasting. In that case, add just a tablespoon of hot water—yes, hot water!—and mix aggressively. It helps the dry oats absorb the existing moisture without thinning out your mixture again.
Also, when you’re rolling them, don’t overwork them! The more you squeeze that dough between your hands, the more the natural fats in the nut butter will warm up and the stickier they get. A quick, light roll between slightly damp palms is all you need. If you find they are *still* too sticky after chilling, just pop them back in the fridge for another 15 minutes. See? Forgiveness!
This recipe truly lets you play around. If you feel your mix is too bland, it means you need more salt or a tiny splash of vanilla. It’s all about tasting and knowing that you have the power to fix it right there in that one bowl!
Storing and Keeping Your No-Bake Energy Balls Fresh
One of the best things about these no-bake energy balls is that they are built for planning ahead! Seriously, I almost prefer them on day two because the flavors really get to know each other after a little chill time. These aren’t delicate cookies; they are sturdy little snacks designed to hang around when life gets hectic.
Since these are fantastic for healthy meal prep, knowing how to store them correctly is key. You have two main options to keep them ready for whenever that snack craving hits.
First, the refrigerator route. If you plan on eating these within a week or two, pop them into a clean, airtight container. I try to use containers that are just big enough so the balls aren’t rolling around too much and getting dented up. They hold up beautifully in the fridge for up to two full weeks. Keep this container right on the main shelf so you can see them!
But what if you’re like me and you like to make a massive batch only once a month? That’s where the freezer comes in handy! You can definitely freeze these bad boys. I lay them out on a baking sheet lined with parchment paper first—this is important so they don’t freeze into one giant oat brick. Let them sit in the freezer for an hour or two until they are completely solid.
Once they’re frozen solid, you can transfer all those individual balls into a heavy-duty freezer bag or an airtight container. They taste just as good straight from the freezer! They stay perfectly fine for up to three months. Sometimes I pull out three or four the night before and let them thaw on a small plate in the fridge. It’s like having ready-made snacks that taste homemade!
Making No-Bake Energy Balls Work for Your Diet Goals
I know so many of you are focused on finding snacks that truly support your health goals, whether that’s keeping things light or hitting those protein targets. That’s why these energy balls excel; they are a fantastic tool for keeping things balanced without feeling restricted. Because they are naturally portion controlled, it’s so easy to grab just one or two when that craving hits, rather than accidentally overdoing it on a bowl of chips!
When you look at the base ingredients—oats, healthy fats from the nut butter, and fiber from the seeds—you realize these aren’t just empty calories. They are designed to keep you satisfied. If you’re focusing on creating effective weight loss meals, having these ready to go is a game-changer. You skip the drive-thru because you actually have something ready to grab!
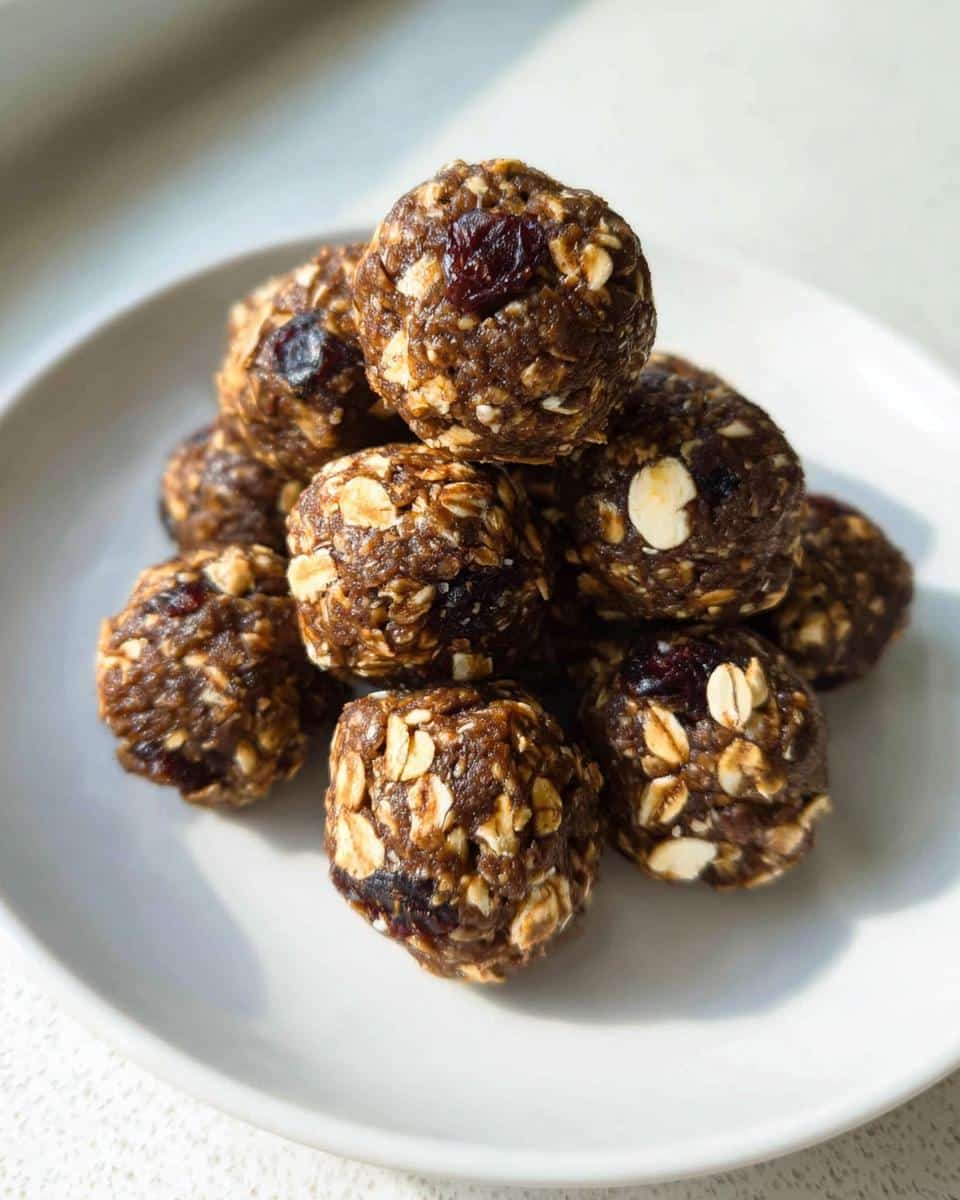
I always recommend using a cookie scoop when rolling these out. It’s an effortless way to ensure every single ball is nearly identical in size. That consistency is key for smart healthy meal prep, giving you precise portion control every time you reach into the container. These little bites prove that light meals can taste incredibly rewarding!
Frequently Asked Questions About No-Bake Energy Balls
I always get questions about these little guys, which makes sense! They are so versatile, and people want to make sure they fit perfectly into their routine, especially if they are tracking specific macros or looking for truly diet-friendly snacks. Remember, these are built to be adaptable, so don’t panic if you’re missing one tiny component.
Can I substitute the sweetener in these No-Bake Energy Balls?
Absolutely, yes! The recipe calls for honey or maple syrup because they are wonderfully sticky, which helps hold things together. If you are plant-based or avoiding honey, maple syrup is the perfect one-to-one swap. If you want to try something different, like agave nectar, it works fine, though you might notice it’s a little thinner. You might need to toss in an extra teaspoon of oats or chia seeds if your mix seems too loose after adding agave.
Now, if you happen to have date paste—which is amazing for natural sweetness—you can definitely use that instead of the 1/3 cup of liquid sweetener. Date paste is thicker, so it acts as both a binder and a sweetener! It’s another great way to make these into ultra clean eating recipes.
How to make these No-Bake Energy Balls nut-free for school lunches?
This is such an important question, especially for packing school lunches where we need reliable, safe options. The main issue here is replacing the 1/2 cup of nut butter, which is crucial for binding and providing healthy fats. You have a couple of fantastic options here that keep them firmly in the realm of light meals!
My number one recommendation for a delicious, texture-matching swap is sunflower seed butter (often called SunButter). It has a very similar creamy consistency to peanut butter. Just measure it out and use it exactly the same way in the recipe. It works perfectly!
If you want to avoid all nuts *and* seeds, you can use tahini, which is sesame seed paste. It might change the flavor profile slightly—it’s a bit more savory—but it binds just as well. If you go with tahini, you might want to increase your sweetener by a tablespoon just to balance out that light earthiness. Remember, perfect portion control starts with a solid recipe base!
Estimated Nutritional Snapshot for No-Bake Energy Balls
I always get asked about the official numbers, and as much as I love transparency, I have to be honest: because these No-Bake Energy Balls are so customizable—depending on whether you use almond butter versus cashew butter, or chia seeds versus hemp seeds—giving you one single, perfect number is nearly impossible!
Plus, I’m a cook, not a certified nutritionist! My focus is always on what feels good in the kitchen and what tastes delicious, not obsessing over the final count. If you stick strictly to the base recipe I’ve shared here, you’ll notice these are great for maintaining balanced meals because they contain a healthy mix of complex carbs from the oats and good fats from the nut butter.
For those of you who like to track exactly what you eat—which is great for fat loss meals or focused diets—I always recommend inputting the specific brands and measurements you used into your favorite tracking app. That said, based on using standard peanut butter, maple syrup, and the basic oat/seed setup, you can generally expect each ball to fall in the realm of 100 to 130 calories. That’s a fantastic number for a satisfying snack!
The protein and carb content will shift based on your mix-ins. If you add protein powder, that number shoots right up, making them perfect high protein, low calorie options! If you load up on chocolate chips, well, it leans a little closer to the healthy desserts category, but that’s okay too, since you’re still using wholesome ingredients!
Share Your Creations and Get More Healthy Recipes
I truly hope you fell in love with making these No-Bake Energy Balls as much as I love eating them! They are proof that healthy recipes don’t have to be a chore. Seriously, I want to see what crazy mix-ins you dreamed up!
Please leave a rating below and drop a comment telling me your favorite flavor variation. Did you use dried cranberries? Did you add protein powder? Head over to my contact page at my contact page if you have any specific questions!
And if you want to follow along with my behind-the-scenes kitchen adventures, check out my main site to see more about what I’m cooking up in Seattle!

No-Bake Energy Balls
Ingredients
Equipment
Method
- Place all ingredients in a large mixing bowl: oats, power mix-ins, nut butter, sweetener, vanilla extract, salt, mix-ins, and any desired spices. Stir to combine.
- Adjust the mixture consistency. If it seems too wet, add more oats. If it is too dry, add more nut butter. The mixture should resemble a sticky dough that holds together when squeezed lightly.
- Place the bowl in the refrigerator for 30 minutes to set. This makes rolling the balls easier.
- Remove the bowl from the refrigerator. Portion the dough into balls of your desired size. Use a cookie scoop for balls approximately 1 inch in diameter.
- Eat immediately, or transfer to an airtight container and refrigerate for up to 2 weeks. You can also freeze the balls for up to 3 months.