It feels like every week my brain screams for something sweet, but my schedule just won’t allow for baking an entire batch of cookies. We all know the struggle, right? Finding that perfect quick, nourishing snack that actually supports your energy needs between meals is tough. That’s why I, Emma Brooks, a Registered Dietitian, am passionate about these no-bake protein balls. They are my favorite solution! Honestly, snacks are often where good intentions fall apart because convenience always wins. These little bites were developed specifically to meet real-life needs: fast prep, balanced nutrition, and zero oven time. They are the practical answer for anyone living life on the go.
Why These No-Bake Protein Balls Are Your New Go-To Snack Recipes
As a dietitian, I always tell people that sustainability in healthy eating comes from convenience. You need something that fits *your* life, not the other way around! These energy bites are designed to be that reliable staple in your fridge. If you’re looking for great help with easy snacks small bites, look no further.
Quick Sweet Treats in Minutes
Seriously, the prep time is basically nothing. We are talking about 10 minutes of combining, mixing, and rolling. Since these are no bake desserts, you don’t have to wait for an oven to preheat or cool down. It’s the definition of quick sweet treats when that afternoon energy slump hits!
Balanced Nutrition for Sustained Energy
These aren’t just filler calories; they are genuinely nourishing. I made sure the recipe packed a punch with protein and fiber from the oats and flaxseed. That combination is fantastic because it helps keep your blood sugar steady. That’s exactly what you want in solid energy bites to keep you focused until dinner time.
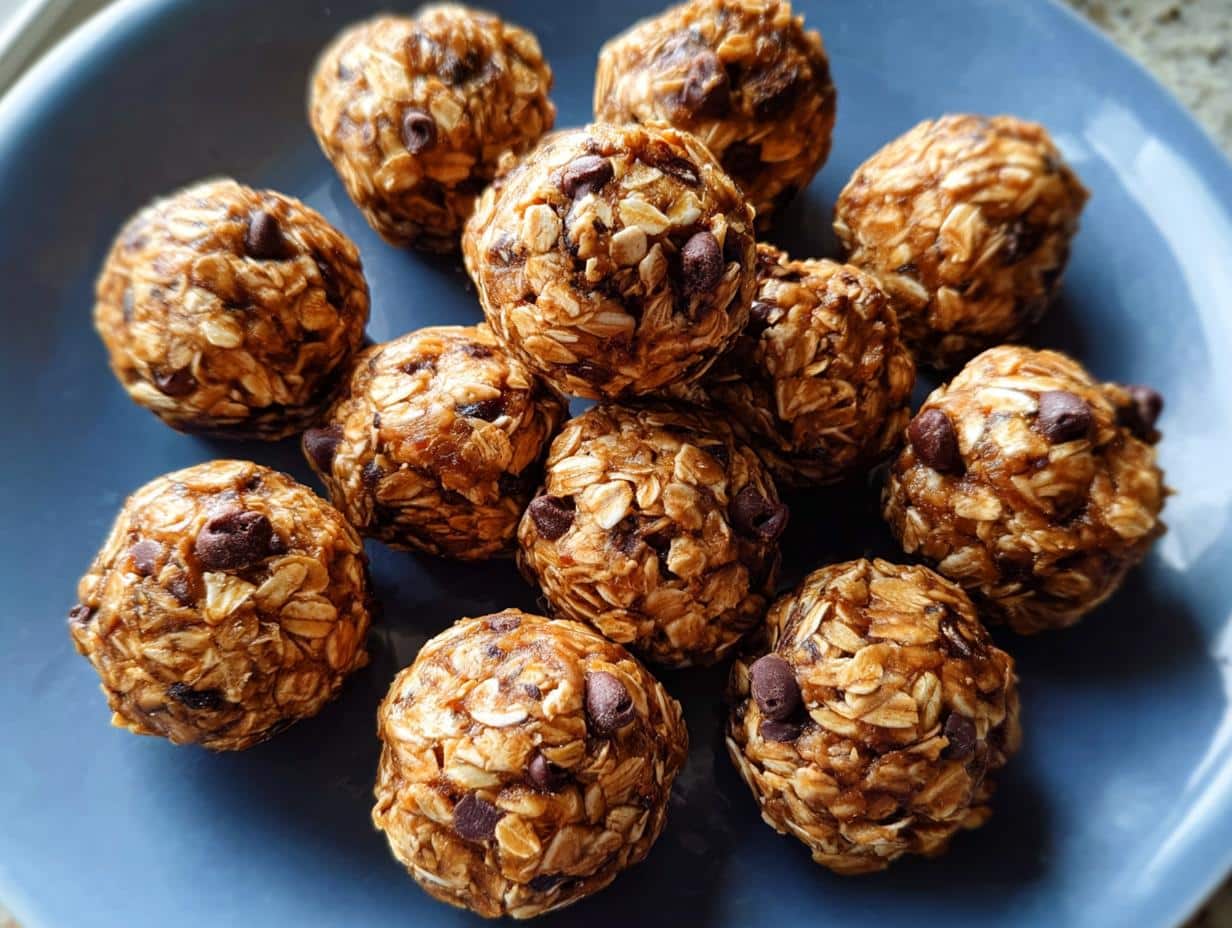
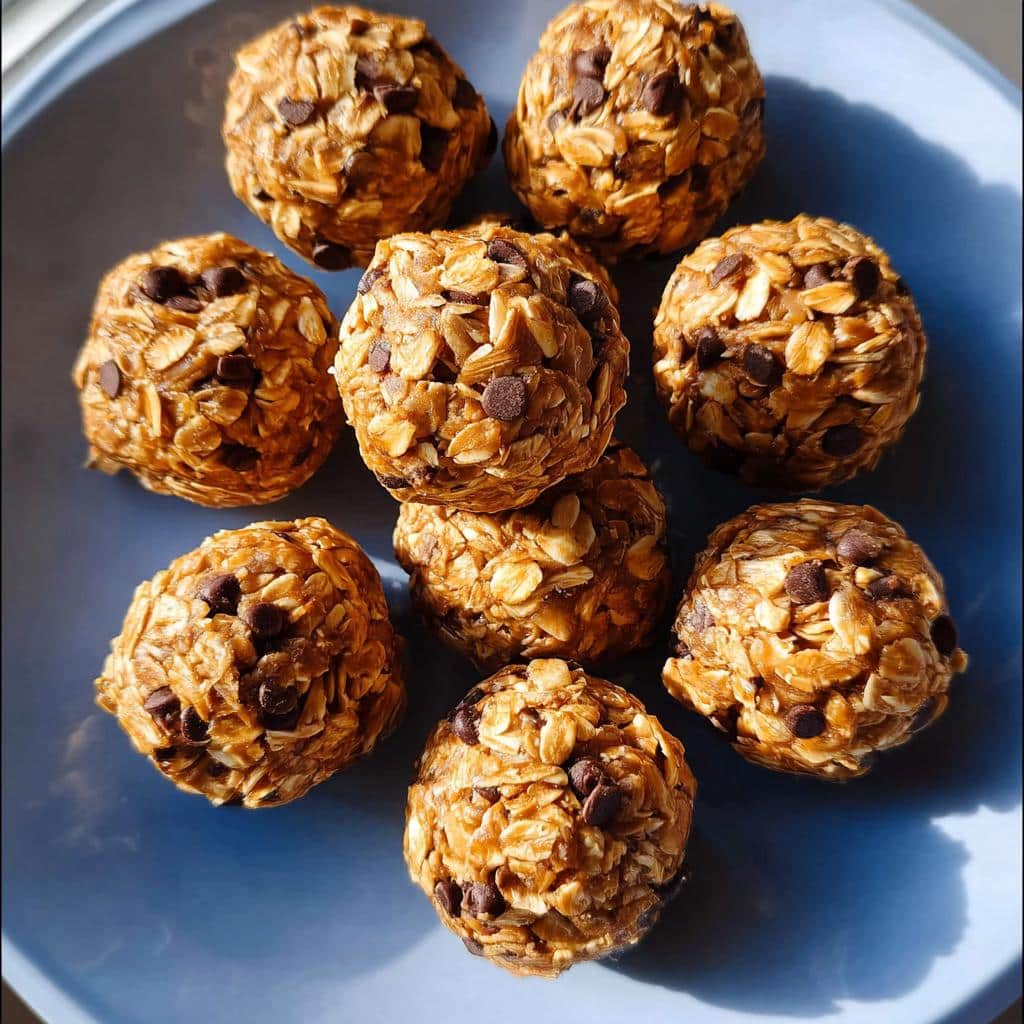
Essential Ingredients for Perfect No-Bake Protein Ball
When you’re working with simple recipes like these no-bake protein balls, the quality and type of ingredient really shine through. Trust me on this—using the right items for this recipe makes all the difference between a good snack and a truly satisfying one. I designed this batch to make exactly 16 servings, so you have plenty to stash away for the week ahead!
Because these are so easy, we can focus all our energy on these core components that pack the flavor and the protein. When you grab your ingredients, head over to high protein recipes for inspiration, but stick to these specifics for this batch!
For the No-Bake Protein Ball:
- 1.5 cups whole rolled oats (please use whole rolled oats, not the quick or instant kind—we need that texture!)
- 1 cup creamy natural peanut butter (natural works best because it mixes smoother)
- 1/4 cup ground flaxseed (this is super important for healthy fats and binding)
- 1/4 cup honey (or maple syrup if you like things less sweet)
- 2 scoops protein powder (I recommend unflavored so it doesn’t overpower the peanut butter, or about 1/4 cup equivalent)
- 1 teaspoon vanilla extract
- 6 tablespoons mini chocolate chips (optional, but why wouldn’t you?)
Step-by-Step Instructions for Making No-Bake Protein Ball
It’s almost too easy, which frankly, is what I love about these! Since we aren’t turning on the oven, the instructions are totally straightforward, but paying attention to the consistency makes a huge difference. You’ll need a big bowl and your hands for this part, so dig in! For more easy snack ideas, check out my favorite easy recipes for kids—they often overlap perfectly with stress-free adult snacking!
Mixing the No-Bake Protein Ball Base
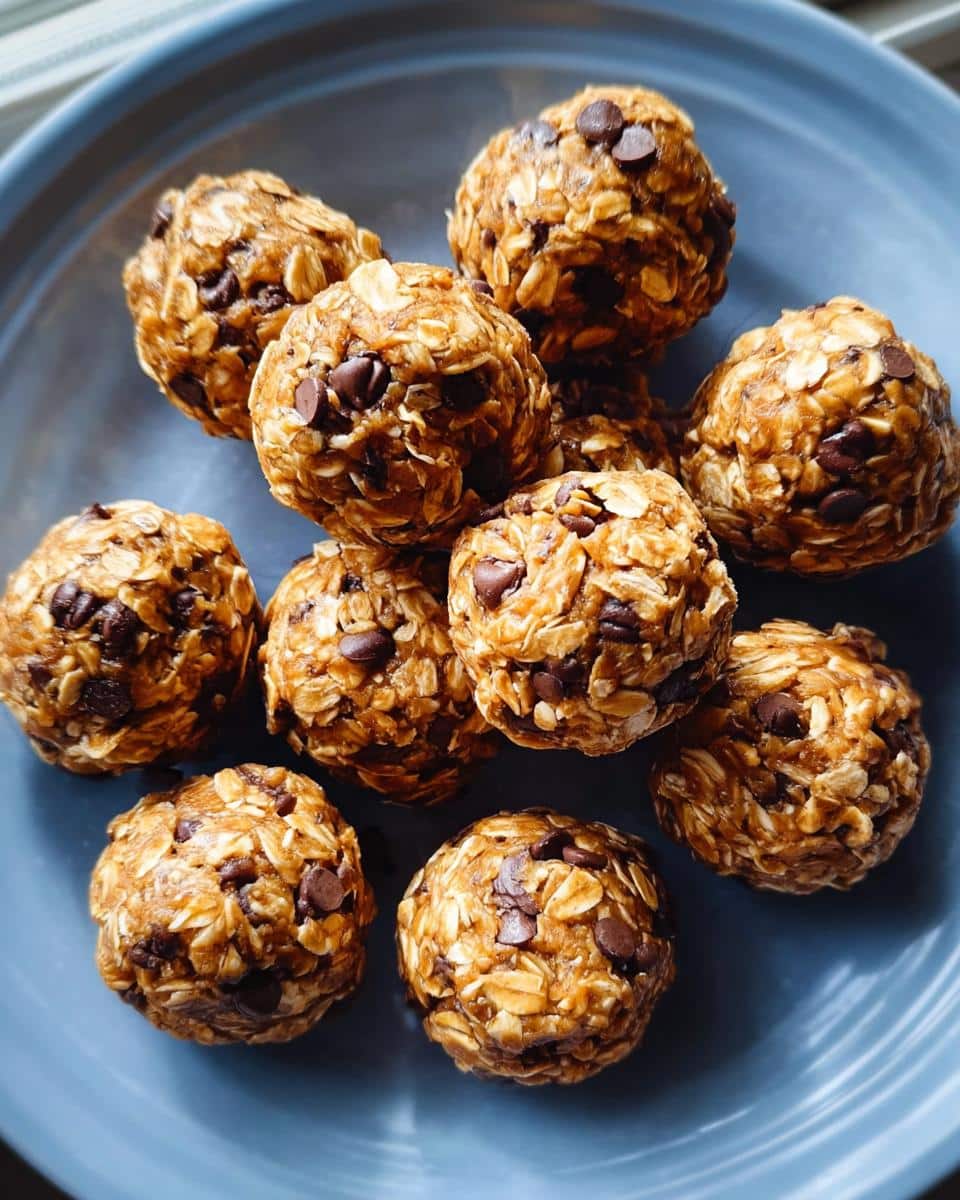
First things first, grab that large bowl and toss everything in there! We’re talking the oats, the peanut butter, the flaxseed, the honey, the protein powder, the vanilla, and those lovely chocolate chips. Now, start mixing it all together. You need to use some muscle here because this mixture will get really, really thick fast. Don’t panic when it looks stiff; that’s exactly what we want for these no-bake desserts!
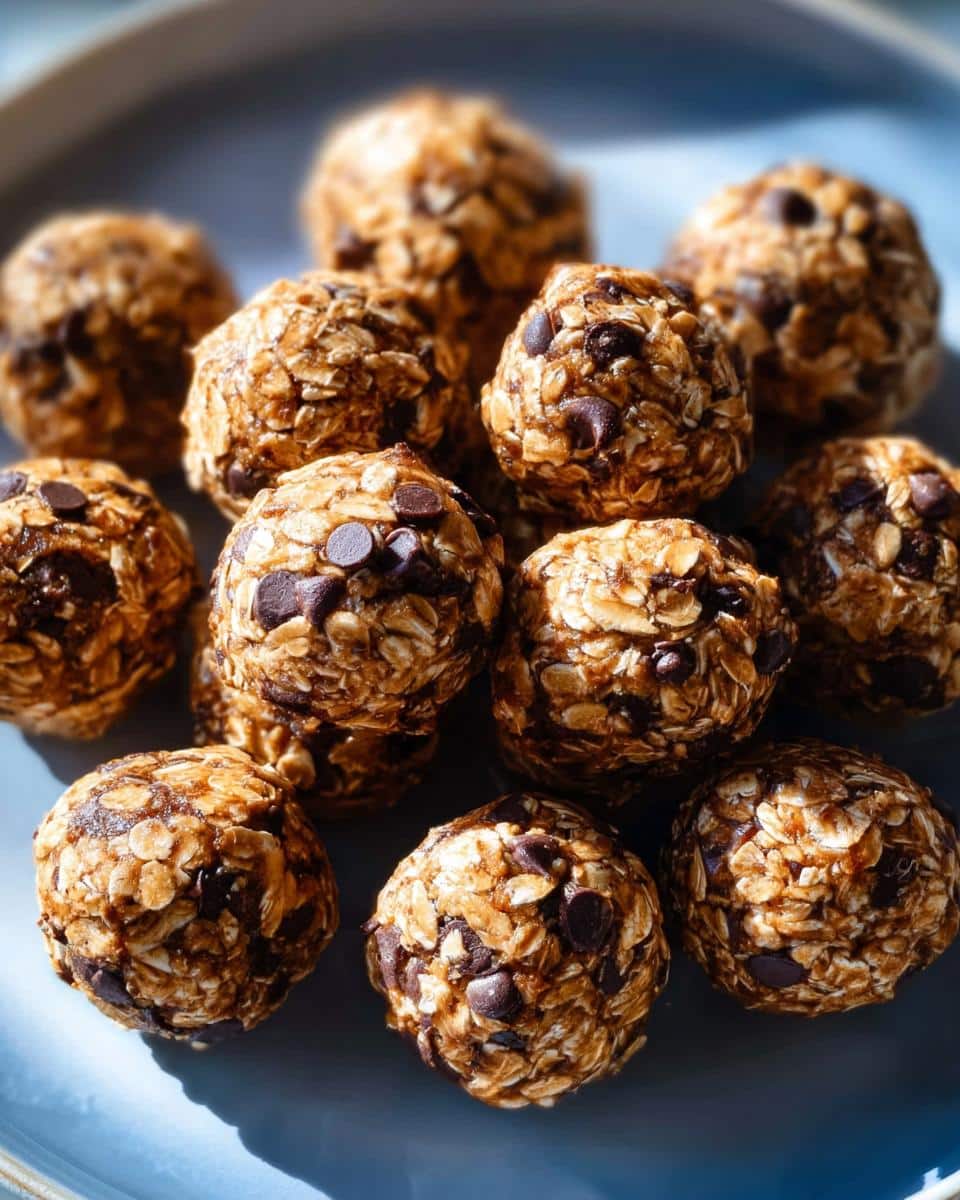
Portioning and Chilling Your No-Bake Protein Ball
Once it’s all uniform, grab that 2-tablespoon cookie scoop. This ensures all your energy bites are about the same size, which helps with consistent texture later. Scoop out the mixture and then roll those portions firmly between your palms to create smooth balls. Now, this next step is non-negotiable: they need to chill! Pop them into the refrigerator for at least one full hour, but I always let mine sit for two hours until they are totally firm and ready to grab. That chilling time is vital so they don’t just turn into a peanut butter puddle!
Tips for Success When Making No-Bake Protein Ball
Even though these are no-bake protein balls, technique still plays a role! I’ve learned over the years that very rarely does a batter or mix come out perfectly uniform right out of the bowl. These are totally fixable situations, though. Since I’m all about making healthy eating repeatable and stress-free, let’s talk about troubleshooting your texture before you chill them. When you’re working with recipes this simple, slight adjustments based on humidity or the exact thickness of your peanut butter can make a big difference.
Adjusting Consistency in Your No-Bake Protein Ball
If you mix everything and your mass seems crumbly or won’t hold together when you try to roll it, don’t panic and don’t add a ton of extra sticky stuff! That usually means the mixture is too dry. Just add liquid, one teaspoon at a time—a splash of milk or even just water works—and mix again until it feels slightly tacky. Now, if you overdid it and your mixture feels too gooey or wet to form a ball, add more of your dry ingredients, usually by increasing the rolled oats by a tablespoon or two. It soaks up the extra moisture perfectly and barely changes the flavor profile.
Ingredient Substitutions for Your No-Bake Protein Ball
You might be out of peanut butter or just want to mix things up, and that’s totally fine. These are super versatile! If you can’t do peanuts, swapping in creamy almond butter is usually a perfect one-for-one substitution, and it still gives you that satisfying healthy fat base. For the sweetener, if you are trying to keep things strictly vegan or prefer a different flavor profile, maple syrup is a great stand-in for honey in these snack recipes. Generally, I always advise readers to stick close to the structure unless you’re looking to make a completely new recipe. If you want more tips on substitutions and building balanced flavor, I keep a lot of my strategist notes over on my About page!
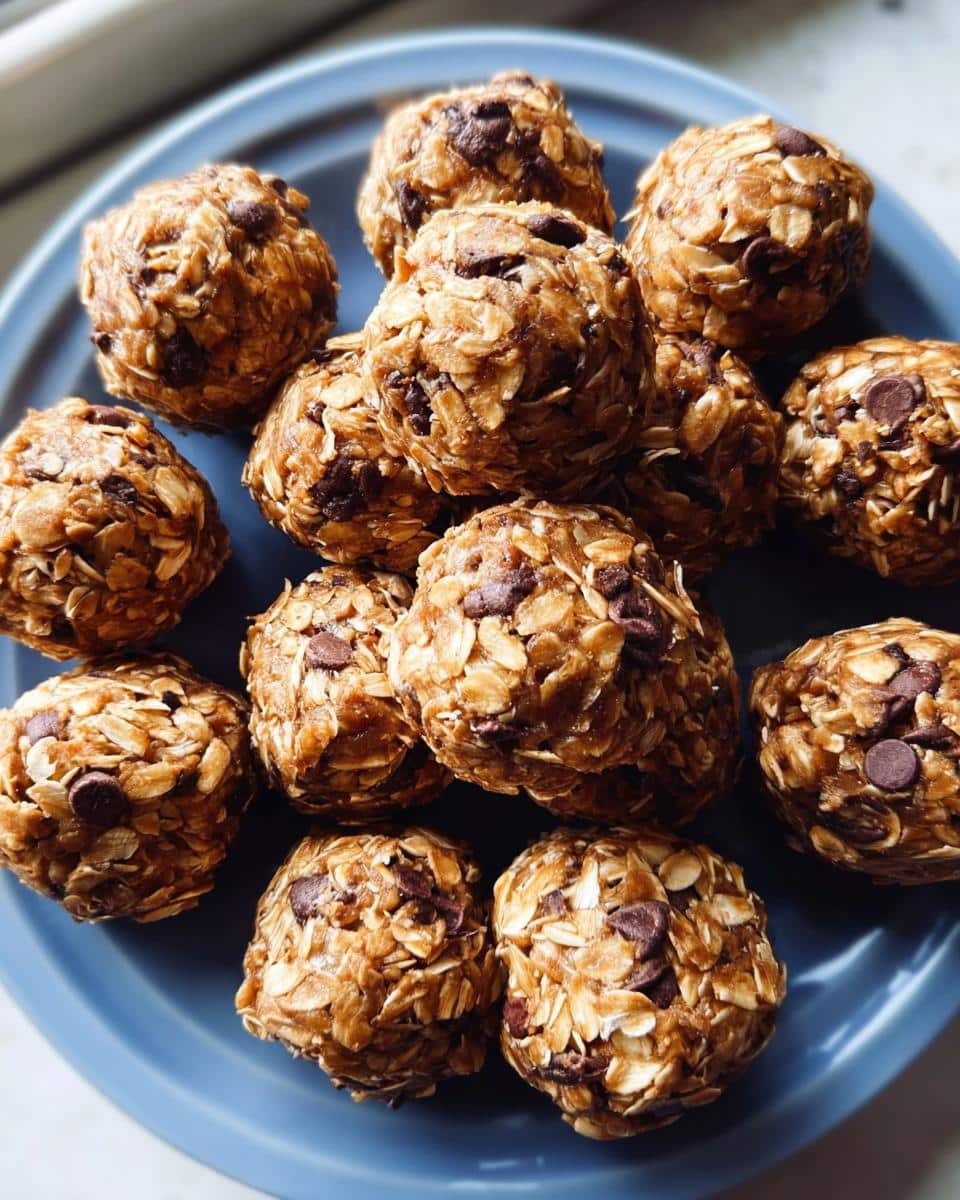
Storage and Make-Ahead Tips for Your No-Bake Protein Ball
This is where these little gems really shine for busy people! Since these no-bake protein balls require absolutely no baking, they are the ultimate make-ahead snack. You make them once, and then you have healthy fuel ready for grab-and-go all week long. It cuts down on decision-making when you’re rushing out the door, which is a huge win for everyone!
My main note says you can store them airtight in the fridge for up to a week, and that’s exactly what I do. I keep mine in a glass container, stacked loosely, so they don’t get smushed. If you’re prepping for an even busier schedule, or maybe you made a double batch (which you totally should!), freezing is the way to go. You can find more ideas for batch cooking over at easy lunch ideas that rely on similar make-ahead strategies.
Freezing Instructions for Long-Term No-Bake Protein Ball Storage
If you’re going to freeze them, listen closely because this step ensures they don’t turn into one giant frozen protein clump. Before you put them in the freezer bag or container, you need to flash freeze them first. Roll your balls and place them on a baking sheet lined with parchment paper. Don’t let them touch! Slide that sheet into the freezer for about 30 to 45 minutes. This hardens them up super quick.
Once they are rock solid, you can transfer them into a freezer-safe bag or container. Having them frozen solid before stacking them prevents them from sticking together later. When you need one, just pull it out and let it thaw on the counter for about 10 minutes. They taste just as fresh as the day you made them!

Frequently Asked Questions About No-Bake Protein Ball
When trying out any new snack recipe, it’s natural to have a few questions brewing! I love hearing what you’re wondering about, especially when it comes to dialing in the nutrition or making substitutions. Since these are fantastic no bake desserts, they’re usually pretty flexible, but there are a few core science-backed details I want to make sure you keep in mind for the best texture and function. If you want to read up on our site policies after you’ve got your snack game sorted, you can always check the privacy policy.
Can I make this recipe a 5 Ingredient Dessert?
That’s a great question if you’re aiming for ultimate simplicity! Technically, the core structure of this recipe uses five main binding/bulk ingredients: oats, peanut butter, flaxseed, honey, and protein powder. That means we’re already super close to a 5 ingredient dessert! However, I’ve included vanilla (for flavor depth) and chocolate chips (because treats!), bringing us to seven total items. If you absolutely need to cut it down, you could skip the chocolate chips, but cutting the vanilla might make the flavor a little flat. You’ll still get great energy bites, but you lose a little flavor complexity!
Are these No Bake Desserts suitable for meal prep?
They aren’t just suitable for meal prep; they were practically engineered for it! That’s why I always recommend using that flash-freezing technique we discussed earlier. These are top-tier healthy cookies when it comes to making ahead. I often make three times the batch listed here on a Sunday afternoon, and I know I have grab-and-go protein portions ready right through Friday. Seriously, this is the easiest way to ensure you always have a good option when hunger strikes.
Estimated Nutritional Information for This No-Bake Protein Ball
As a Registered Dietitian, I always want to be clear that these numbers are based on the ingredients listed and are estimates per single serving—that’s one perfect little protein ball. Since we are relying on natural peanut butter and rolled oats, these snack recipes really shine with fiber and good fats! For full details on how this works into your broader diet, you can always review the general information over at our disclaimer page.
Here’s the breakdown for one ball:
- Calories: 180
- Protein: 10g
- Total Fat: 8g
- Total Carbohydrates: 18g
Share Your Experience with This No-Bake Protein Ball
I truly hope these no-bake protein balls become a staple in your busy week! Give them a try and then come back here when you can. Let me know how they turned out—did you stick to the recipe, or did you try a fun substitution? I always love reading your feedback and success stories in the comments below! If you want to tag along with my kitchen adventures and daily quick tips, you can find me over on LinkedIn or Instagram, or use the contact form!
No-Bake Protein Balls
Ingredients
Equipment
Method
- In a large bowl, combine the oats, peanut butter, flaxseed, honey, protein powder, vanilla extract, and chocolate chips.
- Mix the ingredients thoroughly. The mixture will be thick.
- Use a 2-tablespoon cookie scoop to portion the mixture. Roll the portions between your hands to form balls.
- Place the rolled balls in the refrigerator for 1 to 2 hours, or until they become firm.