There’s something undeniably charming about a dessert made just for you, right? Forget slicing up a giant cake; when you’re hosting or just want a perfect treat without the commitment of a whole pie, individual portions are the absolute best way to go.
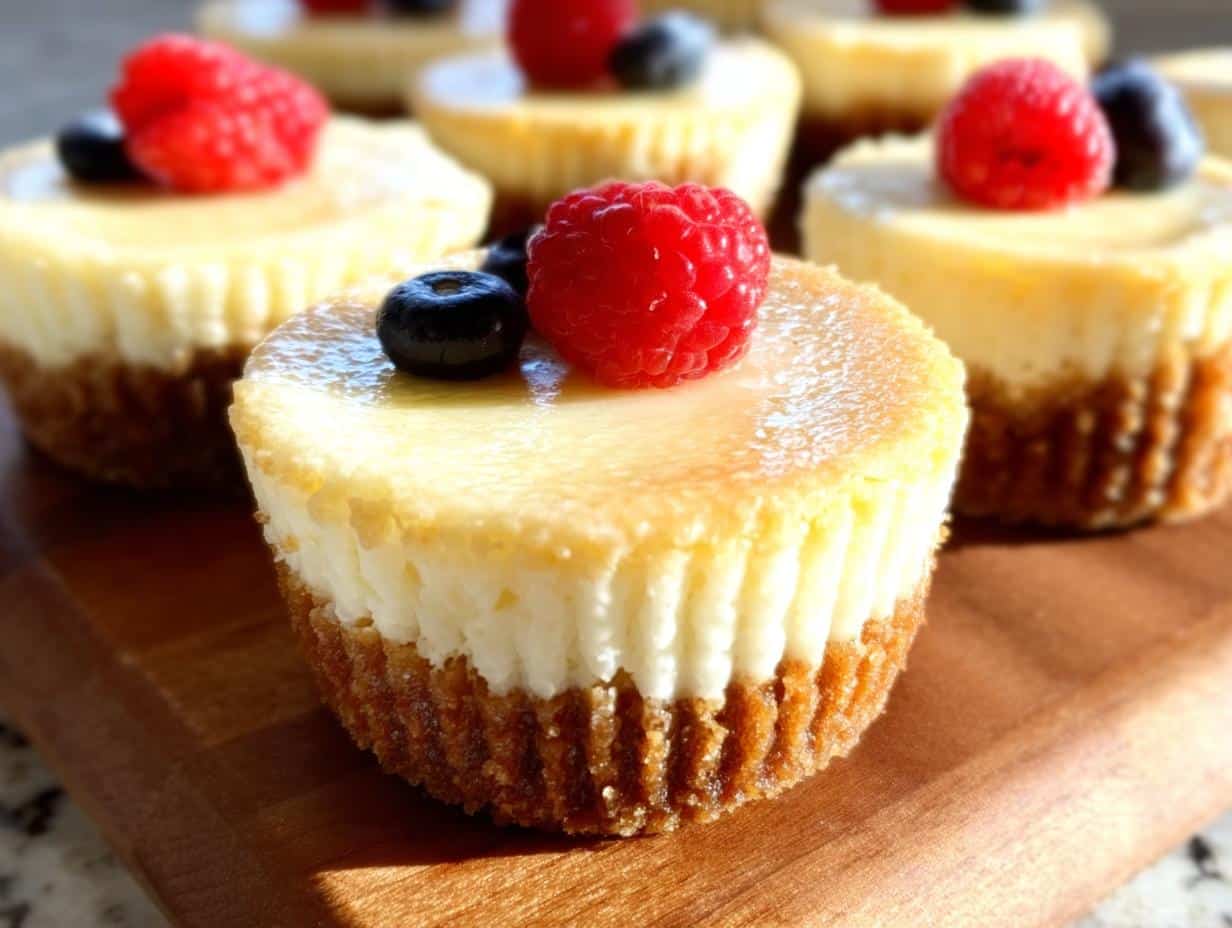
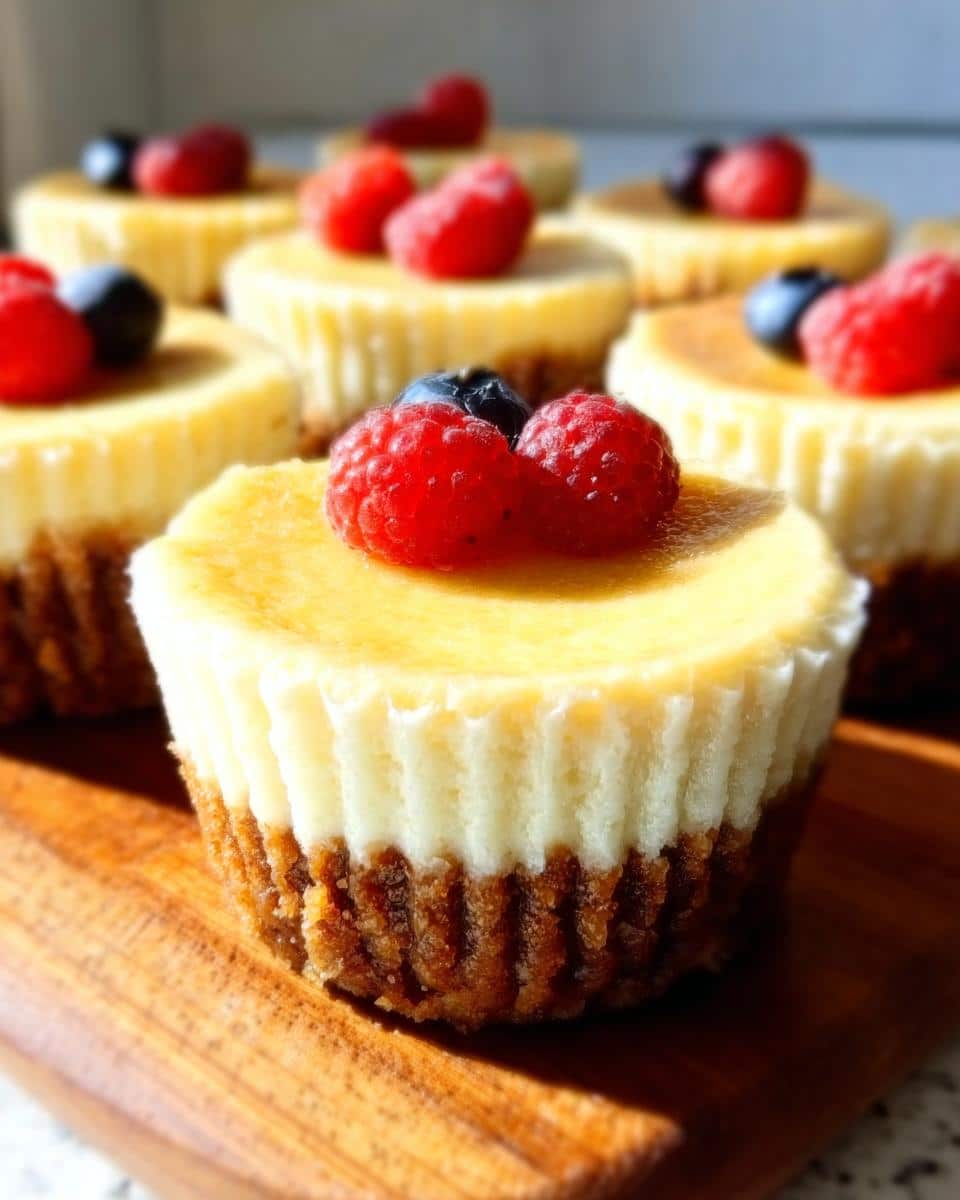
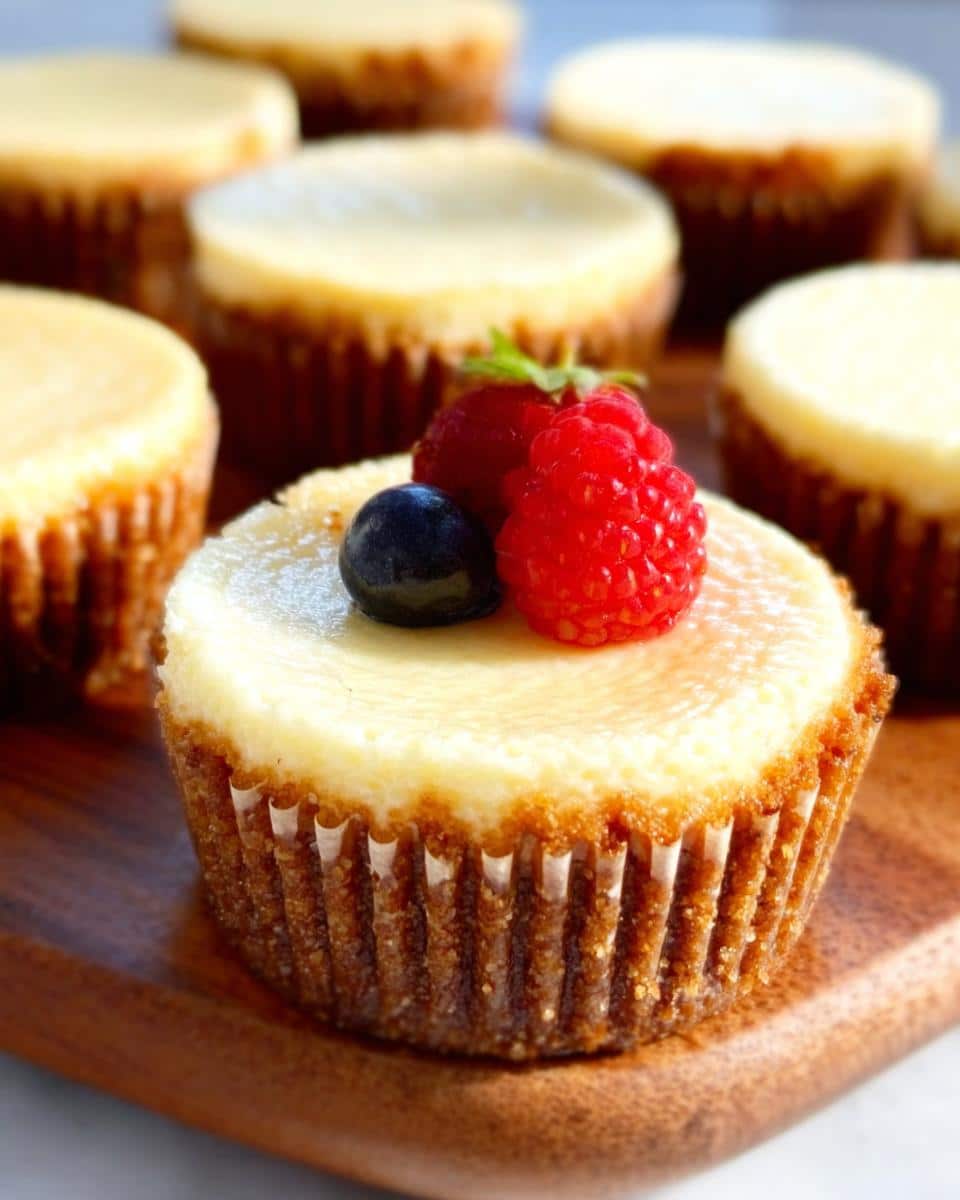
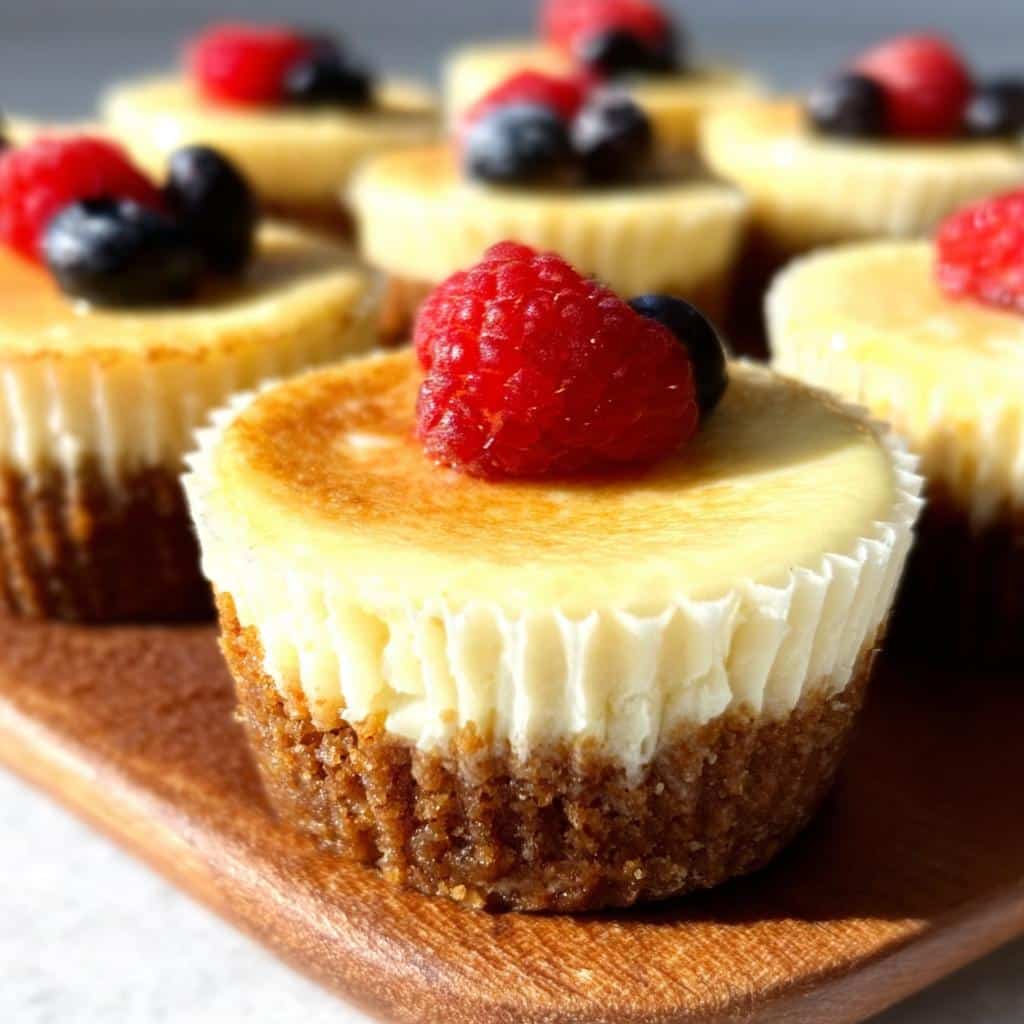
I’m James Porter, and as a writer who digs deep into the history of food, I find that the best recipes are those that take the classics and make them easier to love. That’s exactly what we’re doing today with these creamy, decadent Gluten Free Cheesecake Cups. They give you that rich, tangy flavor you crave, but they bake up beautifully in a muffin tin. Trust me, these little bites of heaven are incredibly simple to whip up, yet they look like they took hours of effort. Perfectly portioned, perfectly delicious, and absolutely no fuss!
Why You Will Love These Gluten Free Cheesecake Cups
Honestly, these cups are my go-to when I need something impressive without the stress. They’re just so practical! You get all that creamy, classic cheesecake taste, but in a neat little package that’s perfect for any gathering. They look elegant, but they barely take any time at all.
- They’re portion-controlled, so it’s easy to serve exactly what you need!
- Prep is super fast—we’re talking minutes before they go into the oven.
- Perfect for parties; guests can just grab one and mingle.
- They provide that deep, rich cheesecake flavor we all adore, just easier to manage. You can see more easy dessert recipes over here!
Essential Equipment for Perfect Gluten Free Cheesecake Cups
When you’re making anything that relies on a smooth, silky texture—like these no-fuss treats—having the right tools makes all the difference in the world. Since we aren’t tackling a giant, temperamental cheesecake, the equipment here is pretty standard, which is what I love most about this recipe.
But I have to talk about the filling for a second. If you want that super fine, gorgeous texture that blends so well with the crust, your cream cheese and sour cream absolutely must be at room temperature. If they’re cold when they hit the electric mixer, you’ll end up defeating the machine’s purpose and scraping down the sides forever trying to get rid of those tiny lumps. Let them sit out! A little patience here saves a huge headache later on.
Key Tools Mentioned in This Gluten Free Baking Recipe
You don’t need a fancy stand mixer for this, but you do need a few key items to get those individual portions just right. Here is the setup I always use:
- A 12-cup muffin pan—this is crucial for the right shape and baking time.
- Cupcake liners. Line ’em up! They make cleanup almost non-existent.
- Something to crush those crumbs. You can use a food processor, or if you’re feeling scrappy, just put your crackers in a sturdy plastic bag and smash away with a rolling pin or even the bottom of a heavy mug.
- An electric mixer (handheld is fine!) for whipping that filling until it’s dreamy.
- A greased cookie scoop. Seriously, this is the secret weapon for getting perfectly even amounts of filling into every single cup. No cheating here!
Ingredients for Gluten Free Cheesecake Cups Crust
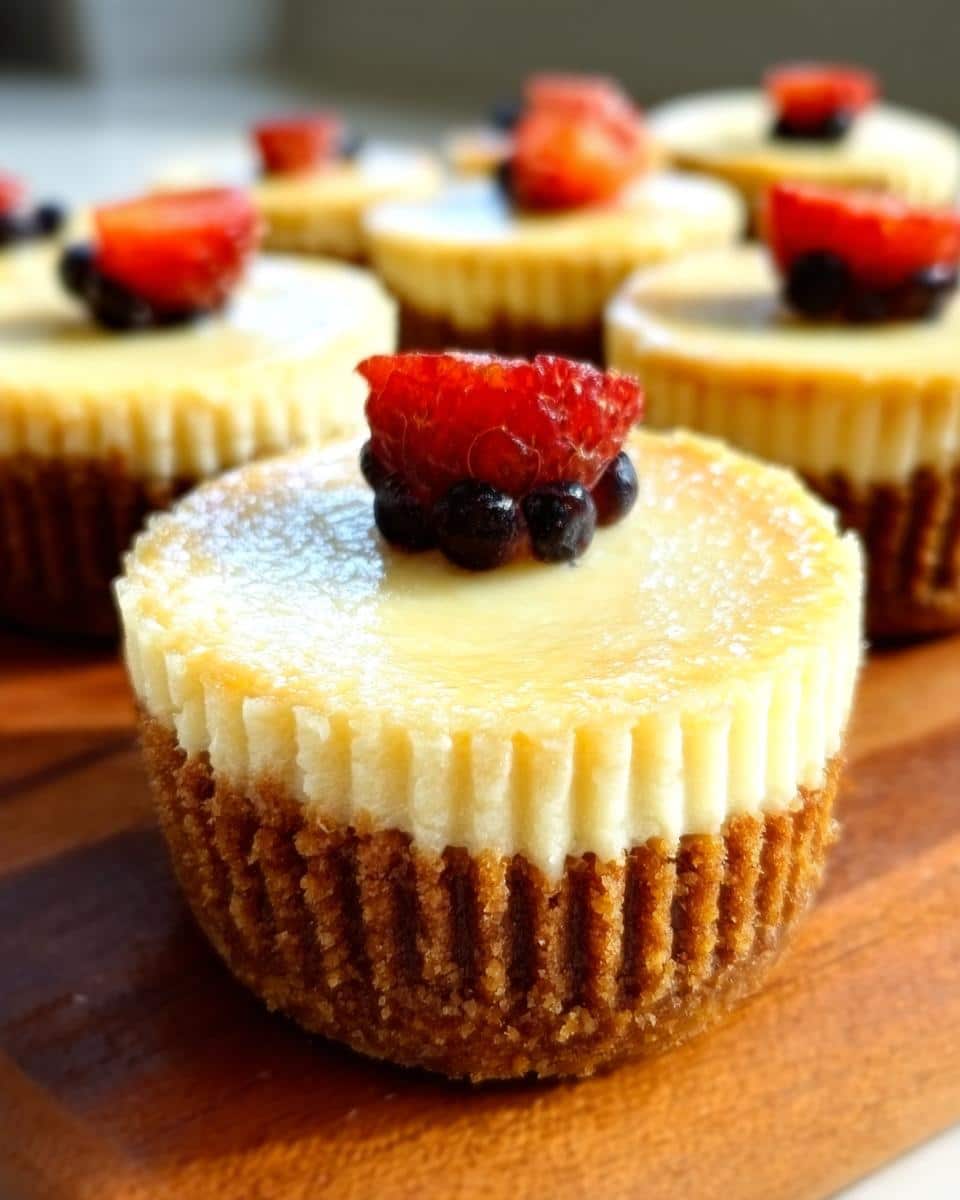
When we talk about a great foundation, we mean it, especially in baking. A perfect crust not only holds everything together beautifully but also adds that delightful textural contrast to the smooth filling that follows. Since we are making these gluten-free, the base needs to be sturdy and flavorful!
Don’t stress about finding specialty items; you can usually find what you need right in your local grocery aisle. But always check that label to ensure your crumbs are certified gluten-free. That’s step one for success!
Here is exactly what you need to create that crumbly, buttery home for your filling:
- 1.25 cup gluten-free graham cracker crumbs. I like to use the Schär Honeygrams if I can find them, but any good, plain gluten-free graham cracker will do the trick. If you want to make your own by crushing up GF vanilla wafers, go for it!
- 2 tbsp light brown sugar. Make sure this is packed tightly into your measuring spoon. The molasses in the brown sugar helps that crust set up nicely once it cools down.
- 5 tbsp butter, melted. Only melted butter will bind these crumbs together properly, so make sure you’ve got that ready to go before you mix the dry ingredients.
Putting this crust together is honestly the quickest part of the whole recipe. Just toss it all together and press it down firmly into those lined muffin cups. A firm press ensures the crust doesn’t crumble apart when your guests try to enjoy their little treat!
Ingredients for the Creamy Filling of Your Gluten Free Cheesecake Cups
Now we move on to the main event! This is where the magic happens, and where we make sure everyone—no matter their dietary needs—gets to enjoy a truly classic dessert experience. Believe me when I say that getting these ingredients right is the secret to the best Gluten Free Cheesecake Cups you’ll ever taste.
My biggest piece of advice, which I learned years ago trying to make a regular cheesecake in a rush, is this: Everything needs to be room temperature. I mean everything! Cold cream cheese just won’t mix right, and you’ll fight with lumps the entire time you are using your electric mixer. Same goes for the eggs and the sour cream; let them sit out for at least an hour before you even think about turning the machine on.
If you take nothing else away from this guide, remember the room temperature rule—it’s what separates a smooth, dreamy filling from a slightly grainy one. These ingredients are what make the filling so beautifully rich, and you can certainly adapt them for other easy gluten-free recipes later on!
Here is the superstar lineup for the filling:
- 16 oz cream cheese. That’s two standard 8 oz packages. Make sure they are fully softened!
- 0.5 cup sour cream. This gives such a wonderful tang that keeps the filling from being too heavy or overly sweet. Room temperature, please!
- 2 large eggs. Don’t forget to bring these babies to room temp, too.
- 0.5 cup granulated sugar. Simple white sugar works best here to keep the flavor clean.
- 2 tsp pure vanilla extract. Use the good stuff; the flavor really pops.
- 1 tsp lemon juice. This little pinch of brightness cuts through the richness beautifully.
Step-by-Step Guide to Making Gluten Free Cheesecake Cups
Alright, here are the directions for assembling these absolutely marvelous Gluten Free Cheesecake Cups. Remember what I always say? Following the steps ensures you get that perfect, creamy result every single time, and we want zero surprises when it comes to baking!
First thing’s first: get that oven warmed up to 350°F, and make sure you’ve lined that 12-cup muffin pan with liners. Prepping is half the battle, trust me.
Preparing the Crust Base for Your Gluten Free Treats
We start by crushing those crumbs. If you used the food processor, great! If you smashed them with a rolling pin like I often do when I’m channeling some aggressive energy, make sure they are fine. Once you mix the crumbs with the brown sugar and the melted butter, you’re ready to scoop.
Take about 1 ½ tablespoons of that crust mixture and press it firmly into the bottom of each paper liner. You really need to pack it down well so it stays put during baking. Imagine you are setting the foundation for a tiny house!
Mixing the Smooth Filling for Delicious Gluten Free Cheesecake Cups
This is where that room temperature magic comes in handy! Start by beating just the cream cheese on medium speed until it looks fluffy—we’re talking one to two good minutes here. This first step creates the air pockets we need.
Then, and only then, do you slowly add in the sour cream, sugar, eggs, vanilla, and that squeeze of lemon juice. Keep the mixer speed low to medium so you don’t over-incorporate air, which can lead to cracking later. Don’t worry about a few streaks until the very end, just mix until it’s beautifully uniform.
Baking and Chilling These Individual Gluten Free Desserts
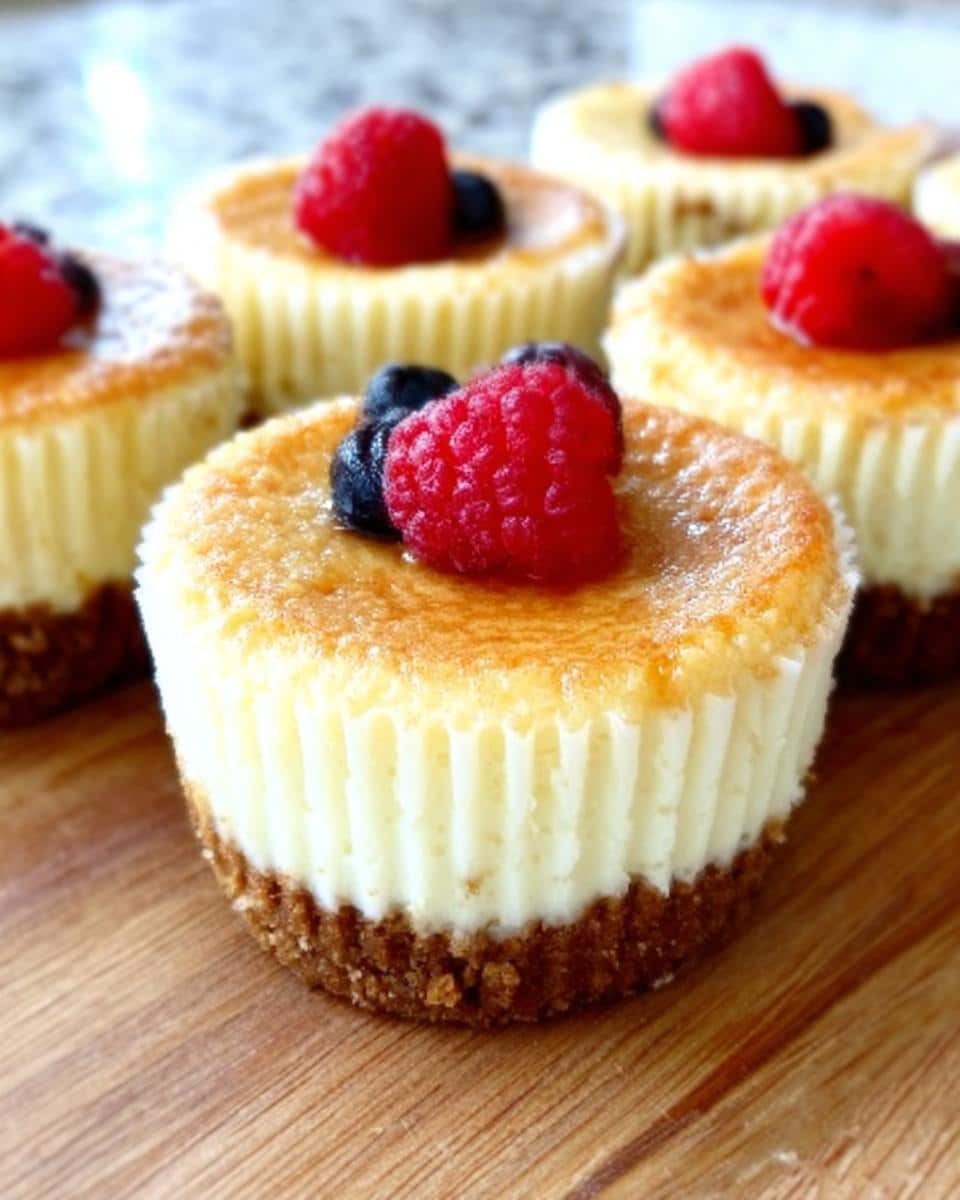
Time to fill ’em up! Use that greased cookie scoop to divide the filling evenly among the crusts. They should be filled right to the top because they will puff up a bit in the oven. Bake these goodies for 20 minutes at 350°F. You’ll notice the tops look puffy and just might start showing the slightest hint of golden color around the edges.
As they cool, they will sink back down—that’s normal, so don’t panic! The crucial final step for amazing Gluten Free Cheesecake Cups is the chill. You absolutely must cover them and let them chill for at least three hours, but overnight is truly the chef’s kiss. That time in the cold is what sets the structure. Check out some fun ideas for no-bake cookie variations while you wait!
Ingredient Notes and Substitutions for Gluten Free Cheesecake Cups
When you start adapting recipes, especially when baking gluten-free, you need to know where you can bend the rules and where you absolutely cannot. Luckily, when it comes to these individual desserts, we have some great flexibility, particularly if you’re trying to accommodate other dietary needs. As a culinary historian, I love showing folks how these classics can migrate across different diets without losing their soul!
The notes scribbled on my original test cards for these Gluten Free Cheesecake Cups show a few things I learned the hard way. For instance, don’t substitute the cream cheese for something overly watery, or your structure will fail. However, we can certainly look at lactose-free and dairy-free options successfully!
If you are aiming for a dairy-free experience, I’ve heard from readers who have great luck substituting lactose-free cream cheese and lactose-free sour cream. It keeps the flavor profile almost identical, which is wonderful. You can also experiment with Greek yogurt instead of that sour cream—it adds brilliant body! Just remember my little trick: if you use plain yogurt, stir in a little lemon juice or vinegar to give it that necessary sour tang back.
Also, let’s quickly chat about size, because this is a big difference maker. These instructions are designed for a standard 12-cup muffin tin, giving you a good, satisfying mini cheesecake. However, if you decide to use a mini muffin tin, you have to adjust your expectations significantly. Bake Time drops dramatically, usually down to just 10 or 12 minutes, and you only need about 1 teaspoon of crust mix and maybe 1 tablespoon of filling per cup. Too much time in the heat, and you’ll end up with something dry!
These little tweaks help keep our collection of easy gluten-free recipes accessible to everyone. Trust me, a bit of experimentation goes a long way when you learn the core components!
Tips for Success When Making Gluten Free Sweets
Even though these cups are super forgiving, especially since they are individual servings, I have a few foolproof tricks I learned from years of testing rich desserts like this. When dealing with any cheesecake, getting that texture right is everything. It should be smooth, dense, and melt right in your mouth, not tough or crumbly.
If you are dead set on having that flawlessly smooth surface, the water bath is your friend. It’s a classic technique where you place your muffin tin inside a larger roasting pan filled with hot water before it goes into the oven. The steam keeps the temperature around the cheesecakes super gentle and even. It’s a bit more work to set up, but it guarantees a creamy filling and virtually eliminates cracking.
Now, about those cracks! You might see a few tiny fissures appear after you take them out, especially if they cooled too quickly. Don’t let that stress you out! As I mentioned, they usually sink down and disappear as the cheesecake cools and settles into the chilling process. If you are serving them plain, you’ll never even notice. If you plan on using a nice topping later, like fresh berries or some chocolate drizzle, the slight sinking just creates a nice little valley for the topping to sit in!
And let’s revisit that warming-up trick, because it applies to so much more than just cheesecake. If you forget to pull your ingredients out, don’t use the microwave—it heats unevenly! Instead, place your cold containers of cream cheese or sour cream in a bowl, fill the bowl with hot, but not boiling, water, and let them sit for just three minutes. It’s a quick fix that brings them right to workable temperature. This little shortcut has saved me more times than I can count when I’m rushing. You can look over our privacy policy while you wait for the ingredients to soften up!
Storage and Serving Suggestions for Gluten Free Treats
One of the best things about this recipe for Gluten Free Cheesecake Cups is that they are built to last—or at least last until everyone gets seconds! Because they bake up sturdy and dense, they handle storage like a dream compared to a light, fluffy cake that might get squished.
Once these babies are completely chilled (and remember, we let them chill for at least three hours, but longer is always better for that firm texture!), you need to store them correctly to keep that creamy filling perfect. I always grab an airtight container and line the bottom with a paper towel first. This helps wick away any extra condensation that might form, which can sometimes make the crust a little soft.
Keep them tightly covered in the refrigerator. They hold up wonderfully for about four or five days. If you’re planning far ahead, I’m sure you could freeze them successfully, but I’ve never actually had leftovers long enough to try it! If you’re curious about other aspects of site usage while they chill, feel free to read our site disclaimer.
Thawing and Bringing Your Cups to Their Best Temperature
If you have kept these in the fridge, they are ready to go, but if you’ve frozen them (or just want to serve them slightly softer), you’ll want to take them out for a little bit before you serve them. That dense, cold texture is tasty, but we want that classic melt-in-your-mouth feel!
When you’re ready to serve, just pull the Gluten Free Cheesecake Cups out of the fridge and leave them on the counter for about two to three minutes. That’s it! Seriously, two or three minutes gives the fats in the cream cheese just enough time to soften up without letting the whole thing get sloppy or warm. They firm right back up once they’re back in the cold.
Easy Toppings to Elevate Your Gluten Free Cheesecake Cups
Honestly, a perfect cheesecake cup needs very little help, but a little dressing up makes them feel so festive! You can serve them plain, and they are still amazing, but if you want to go the extra mile, toppings are the way to go. Remember, since they are individual, it’s easy to decorate them right before serving so they look magazine-ready.
I always keep a few simple things handy. A swirl of fresh whipped cream is elegant. A tiny dollop of high-quality cherry pie filling on top goes a long way. For a little color and tang, a single fresh raspberry or a thin slice of lemon peel sits perfectly on the center where the filling meets the rim.
If you’re feeling adventurous, you can mix a little powdered sugar with a tiny splash of orange juice to create a thin glaze, which you can drizzle over the tops just before serving. Whatever you choose, these little cups are designed to shine, no matter how much (or how little!) you decorate them.
Frequently Asked Questions About Gluten Free Cake Recipes
I know when you start looking at recipes online, you run into a million questions about technique or substitutions, especially when dealing with gluten-free baking. That’s totally normal! Trying to get that perfect texture without traditional ingredients takes a little bit of guidance, but you’ve got this. I’ve gathered some of the most common things folks ask me about when they are looking to make easy gluten free desserts that truly shine.
Can I make these Gluten Free Cheesecake Cups without baking?
That’s a great question, especially if you’re looking for something super quick or if your oven is already packed full! Now, the recipe written above does require baking for about 20 minutes. That short baking time is what sets the eggs properly and gives the filling that signature creamy but firm structure we love.
If you are hoping for a true no-bake version, you’ll need a slightly different recipe. No-bake versions rely heavily on chilled gelatin or stabilizers mixed with those room-temperature dairy items. You can certainly search around for a crust made with just crushed crumbs and melted butter that sets up cold, and a filling made with whipped toppings and a stabilizer.
For these cups specifically, though, baking is what brings out the best in that gluten-free graham cracker crust and ensures the filling doesn’t weep or fall apart when you pull the liners away. Stick with the bake time, and you’ll be rewarded!
How do I make these into Non Dairy Desserts?
This is where things get fun! Making these into truly Non Dairy Desserts is entirely possible, but you have to be mindful of texture swaps. The goal remains the same: creamy richness without lumps.
For the cream cheese swap, you need something firm. Don’t just grab any tub of vegan cream cheese; look for the block-style or firm varieties made from cashew or coconut bases. They hold their shape much better during baking than the spreadable tubs.
For the sour cream, you have a couple of great options. You can use a high-fat plant-based sour cream if you find one, or you can use full-fat coconut cream that has been chilled overnight in the fridge. Just scoop the thick cream off the top, leaving the watery liquid behind. This gives you the necessary fat content and that slightly tangy lift that balances the sweetness. If you use Greek yogurt as a swap, just use the same dairy-free coconut or soy-based yogurt you prefer!
Remember, just like with the dairy version, make sure these substitutes come to room temperature before you mix them in, or you’ll end up staring down a lumpy mess!
Why does the filling sink after baking?
Oh, the sinking mystery! Honestly, this is one of the most common things people worry about, but it’s actually a sign that you made a fantastic, rich cheesecake. When you pull them out of the oven, the air pockets created by the eggs and the heat make the cups look puffy and proud. As they cool down, gravity and relaxation take over, and they settle back down into a denser state.
This sinking is totally normal and desired! It creates that lovely little dip in the center, perfect for holding a dollop of fruit topping or a chocolate drizzle later on. If they didn’t sink, it would mean they were overbaked and dried out. So, when you see that gentle slump, pat yourself on the back—you nailed the texture!
Gluten Free Cheesecake Cups
Ingredients
Equipment
Method
- Preheat your oven to 350°F. Line a 12-cup muffin pan with cupcake liners.
- Crush the graham crackers in a food processor or by placing them in a plastic storage bag and crushing them with a rolling pin or your hands to make the crust mixture.
- Stir together the crumbs, brown sugar, and melted butter. Add about 1 ½ tablespoons of this mixture into the bottom of each muffin liner and press down to form a crust.
- Beat the room temperature cream cheese with a mixer on low-medium speed for 1 to 2 minutes until it is fluffy.
- Beat in the room temperature sour cream, eggs, sugar, vanilla, and lemon juice. Keep ingredients at room temperature to avoid lumps.
- Use a greased cookie scoop to evenly divide the cheesecake filling among the crusts, filling the muffin liners to the top.
- Bake for 20 minutes, until the tops just begin to brown. The cheesecakes will look puffy when you remove them from the oven but will sink as they cool.
- Cool the cheesecakes completely. Cover them and refrigerate for a minimum of 3 hours, or preferably overnight.
- Allow the cups to thaw for 2 to 3 minutes before removing them from the muffin pan. Serve plain or add your preferred toppings.