When you need a dessert that just screams celebration, nothing beats the pure, unadulterated joy of a Rainbow Layer Cake. Seriously, just slicing into those vibrant layers gets everyone at the table excited! As a Registered Dietitian, I’m all about finding that sweet spot between nourishing my body and soul, and this cake hits that balance perfectly. It delivers that familiar, comforting vanilla flavor everyone loves but wraps it up in the most spectacular package imaginable. Forget fussy techniques; we are making a showstopper dessert that’s totally achievable for your next big event or even just a fun Saturday afternoon!
You can always find other great easy dessert recipes around here, but this one is special because it proves indulgence can be beautifully fun. It’s designed to be the centerpiece, the moment everyone pulls out their phones for a picture before taking that first bite.
Why You Will Love This Rainbow Layer Cake
This cake is pure fun captured on a plate! Honestly, baking this brings me so much joy because it proves you don’t need complicated flavors to make something show-stopping. Here’s why I know you’re going to ditch the box mixes and make this a staple:
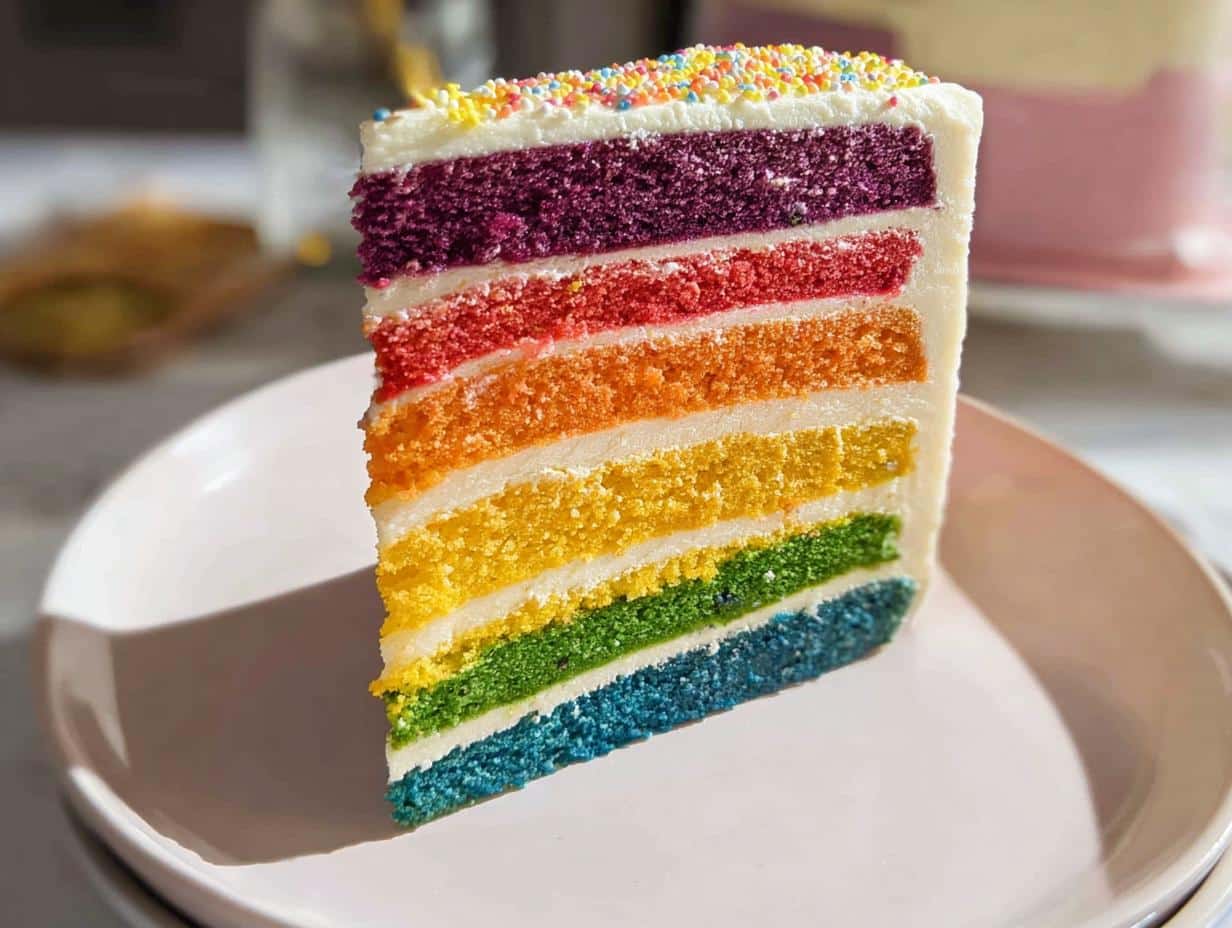
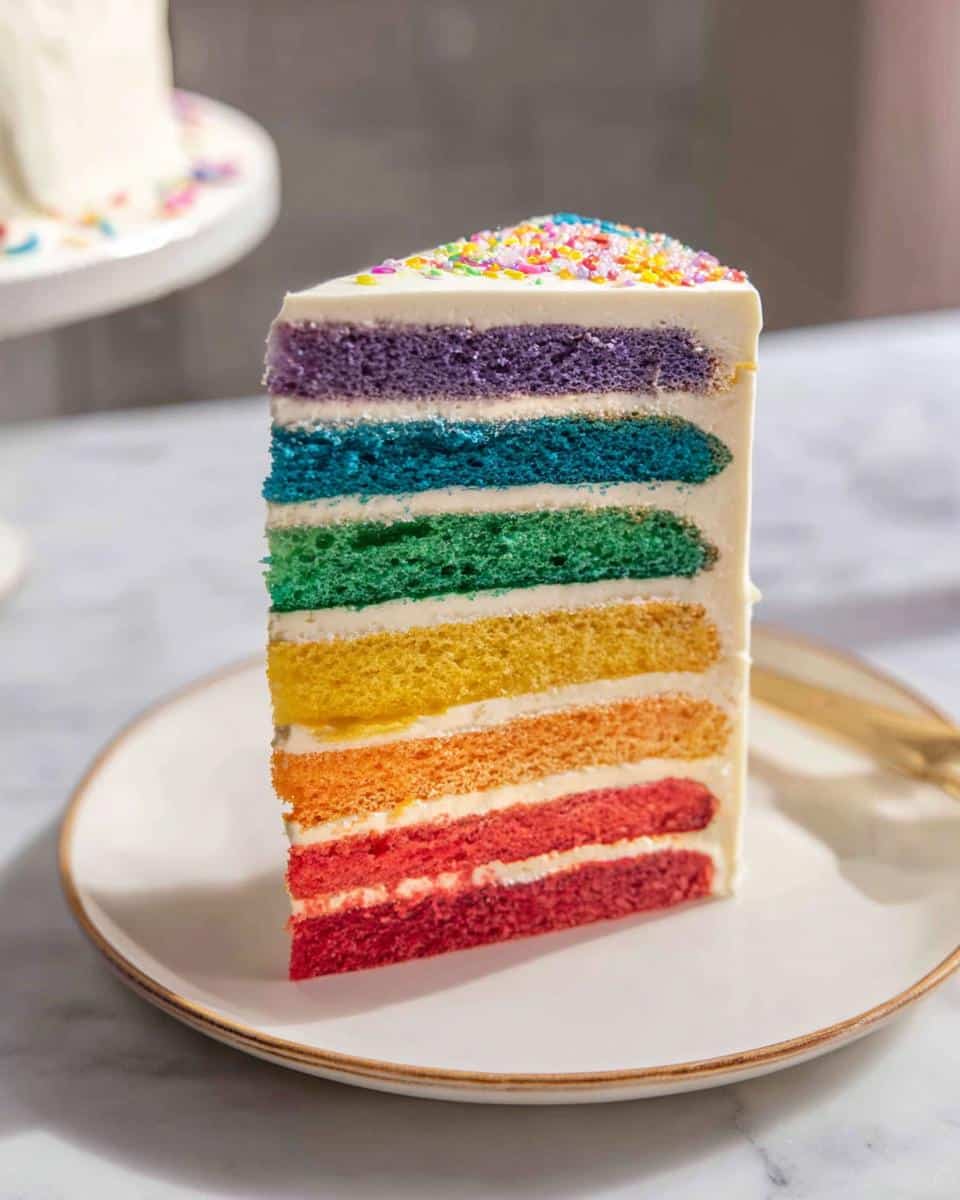
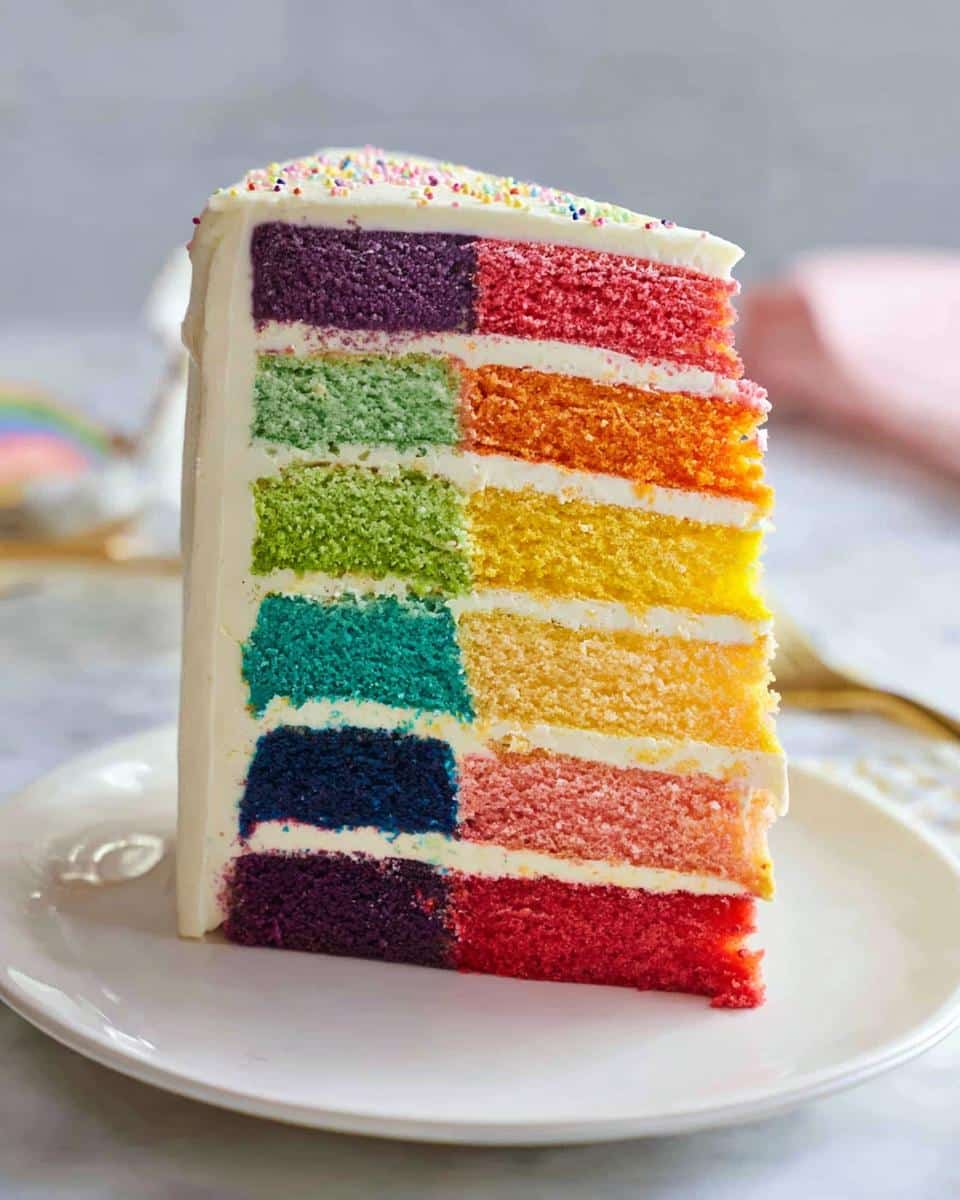
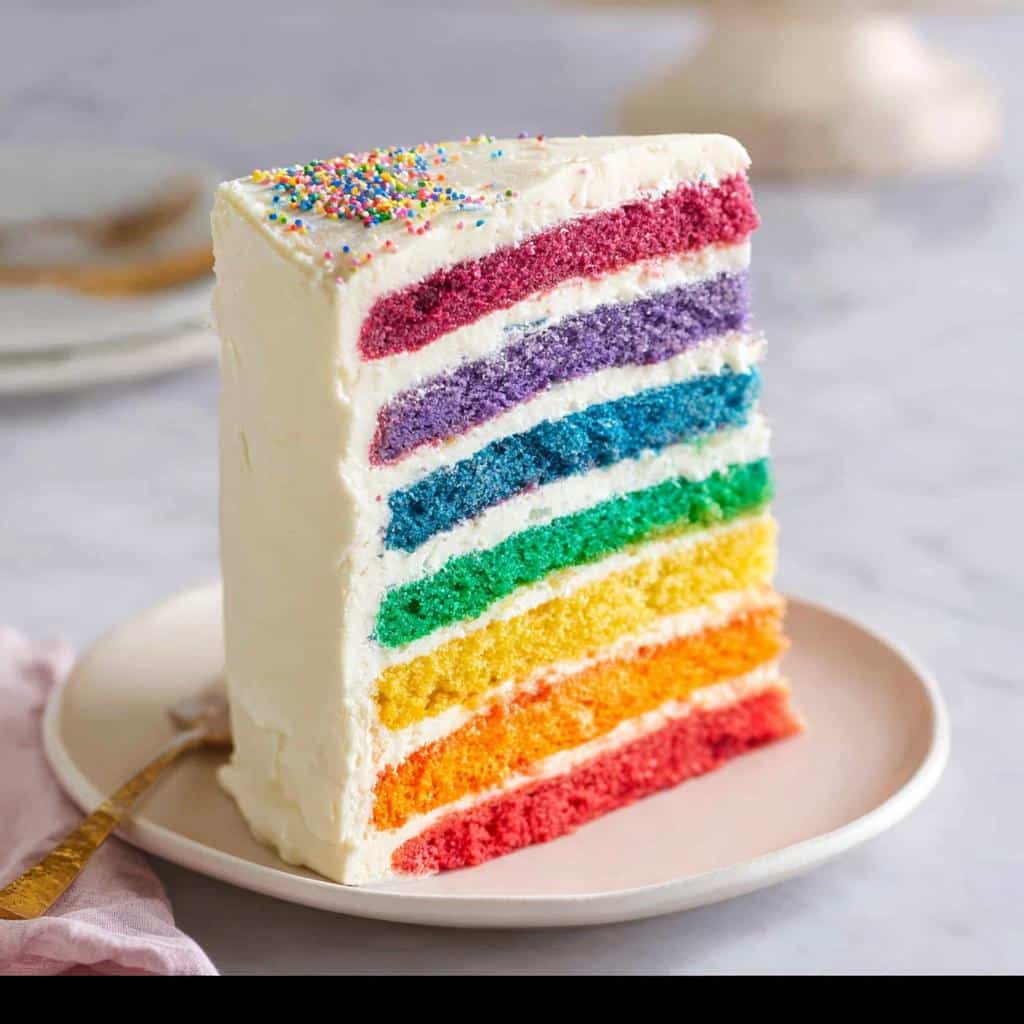
- It brings instant happiness! The visual impact of those six distinct layers is unmatched for birthdays, big milestones, or any time you just need a serious color boost.
- The flavor is classic perfection. We’re using a lovely, simple vanilla base, so there’s nothing too weird or risky—everyone, even the picky eaters, will clean their plates.
- It’s easier than it looks! Coloring the batter takes a minute, but the assembly is straightforward. You don’t need five different recipes; it’s all one master vanilla batter.
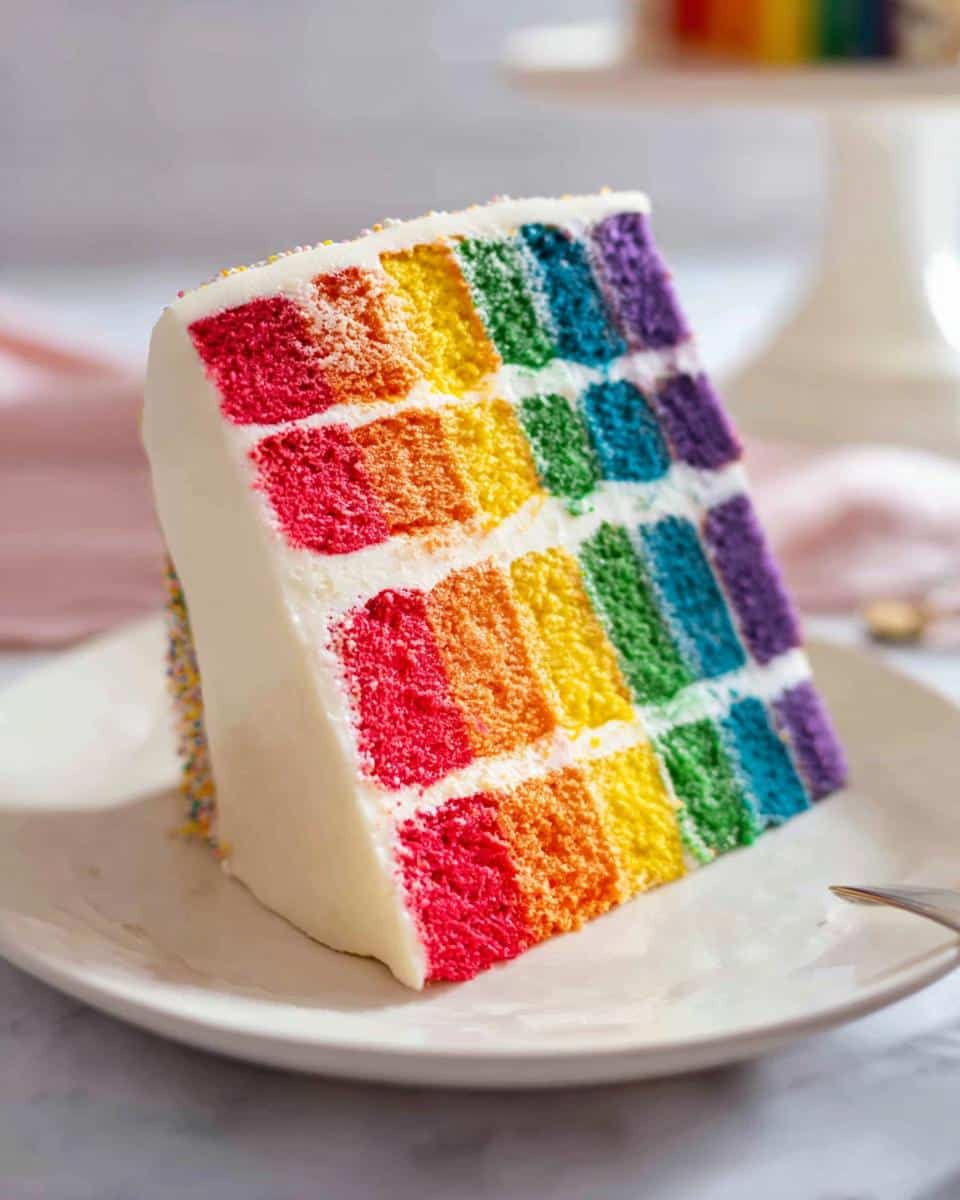
- This cake is forgiving. Since we’re covering it in fluffy buttercream, those tiny imperfections on the side layers just disappear under the frosting, making it look professional effortlessly.
- It’s customizable fun. Are you hiding a secret layer of green for a St Patrick’s Day Food Ideas Party? Or maybe sticking to pastel pinks and blues? You’re in total control of the vibe!
See? Nothing scary here! Just simple steps leading to a stunning result that looks like it took years of practice.
Essential Equipment for Your Rainbow Layer Cake
Okay, listen up, because the right tools make all the difference when you’re managing six different colors of batter. You don’t need a whole commercial kitchen, but a few specific items will make this whole process so much smoother. Trust me on this one; cheap equipment can lead to uneven baking, and we want those layers looking gorgeous!
First off, you absolutely need two or three 8-inch round cake pans. If you only have two, you’ll just have to bake in two batches, which is totally fine—we talk about how to keep that extra batter happy in the notes later. Having three is ideal so you can bake most of the colors closer together.
Next, since we are tackling a full batch of cake and nearly a kilo of frosting, you’ll want your trusty stand mixer with the whisk attachment. Mixing all that sugar and butter by hand just isn’t fun! If you’re using a hand mixer, make sure you have strong arms!
You’ll also need a large mixing bowl for bringing the main batter together, and then six smaller bowls to divide the colors into. Any small bowls or even large coffee mugs will work—just something to hold the separated colors while you mix in the drops of food coloring.
And finally, don’t forget the cooling racks! A sturdy wire rack is essential for letting the layers cool completely. As a Registered Dietitian, I always remind folks that measuring accurately is key to recipe success, and that applies to pans too! Getting the correct size pans—those 8-inch rounds—is vital for keeping all six layers looking uniform. If the pans are too deep, the middle cakes take forever to bake and you end up with dry edges. Consistency across all those rainbow layers is what makes the final stacking look so stunning!
Ingredients for the Perfect Rainbow Layer Cake
Alright, gather everything up! You’re going to need a long list, but don’t panic. It’s mostly pantry staples for the yummy vanilla base, and then our star players for the frosting. Remember, since we are making six separate layers, it’s easy to think you don’t need as much flour or sugar as you do—but measure everything out accurately. If you need help getting those dry ingredients right, check out my guide on baking tips for kids which covers accurate flour measuring!
For the Rainbow Cake Layers
We are starting with a sturdy, moist vanilla base. That means we need plenty of dry structure and just the right amount of fat to keep it tender!
- 5 cups all-purpose flour (don’t pack it in!)
- 3 cups granulated sugar
- 1 tablespoon baking powder
- 1/2 teaspoon baking soda
- 1 teaspoon salt
- 6 large eggs, make sure they are at room temperature—this helps them emulsify better!
- 1.5 cups vegetable oil
- 1.5 cups whole milk (room temperature too, please!)
- 1 tablespoon vanilla extract
- Food coloring—you’ll want the concentrated gel kind for vibrancy. I always use red, yellow, blue, and green to mix up the full spectrum.
For the Buttercream Frosting
This is the glue that holds our beautiful colors together. The key here is the butter. It has to be perfectly soft to whip up fluffy without tasting greasy.
- 2.5 cups unsalted butter, truly softened to room temperature (this is non-negotiable for smooth frosting!)
- 1/2 teaspoon salt
- 10 cups confectioners’ sugar (yes, that’s a lot, but it’s necessary!)
- 1/2 cup cream, room temperature
- 2 teaspoons vanilla extract
Step-by-Step Instructions for Your Rainbow Layer Cake
Okay, this is where the magic really happens, but we need to be organized since we’re dealing with six different colors! Don’t rush the process; think of it like a fun science experiment. We start by getting the infrastructure ready so we can move quickly once the batter is mixed.
Preparing the Cake Pans and Oven
First thing first: fire up that oven to 350F. While it’s heating, take your 8-inch round cake pans—you need two or three—and get them prepped like a pro. I always grease them well and then cut out little circles of parchment paper to line the bottoms. This is your insurance policy against sticking! I’ve also heard great things about using special cake strips wrapped around the outside to keep the sides from baking too fast, which prevents those big domes on top. If you do get a dome, don’t sweat it; just use a long serrated knife to gently level the top once they are cool—we want straight stacks!
Mixing the Vanilla Cake Batter
Grab that big bowl and whisk together all your dry stuff: the flour, sugar, baking powder, baking soda, and salt. You want this combined really well so the leavening agents are evenly distributed. Now switch bowls for the wet ingredients—whisk those room-temperature eggs, oil, milk, and vanilla until they look happy together. Gently pour that wet mixture into the dry. The rule here, which I learned the hard way, is DO NOT OVERMIX! Just mix until you no longer see streaks of flour. Lumps are better than creating tough gluten.
Coloring and Baking the Six Layers
Now for the fun part! Divide that perfect vanilla batter evenly into six smaller bowls. This is where you add your colors: purple, blue, green, yellow, orange, and red. If you only have two or three pans, just color half or a third of the batter and keep the rest refrigerated under a damp towel—it keeps the baking soda from losing its lift while you wait for the first batch to bake. Pour one color into each prepared pan and bake for about 20 minutes. Test them with a toothpick; if it comes out clean, they’re done! Let them cool in the pan for 10 minutes, then transfer them to a wire rack to cool completely before you dare touch them with frosting.

Making the Fluffy Buttercream
While those layers cool down (patience, friend!), let’s make the frosting. Get your softened butter and salt into the stand mixer bowl. Beat it on medium speed until it gets seriously fluffy and pale—this takes a good five minutes, and you can’t rush the creaming step! Then, slowly, *slowly*, add that confectioners’ sugar in large handfuls. Add a little splash of cream or vanilla between additions. Keep scraping the bowl down. You want it light and airy, not dense and stiff!
Assembling the Rainbow Layer Cake
Once every single layer is totally cool—I mean cold to the touch—you can stack! Start by placing the purple layer down on your serving plate. Slather about 1/2 cup of that fluffy buttercream right on top. Then comes the blue layer, then more frosting. Keep stacking in order: purple, blue, green, yellow, orange, and finally, the red layer on top. Use another dollop of frosting to “crumb coat” the whole thing by applying a very thin layer over the sides and top—this locks in any loose crumbs. Chill that whole thing for at least an hour. The final coat of frosting goes on after chilling, and believe me, the chilling helps the frosting stick perfectly!
Tips for Success When Making a Rainbow Layer Cake
Even though this cake is super fun, a few little details can elevate it from great to absolutely show-stopping. Since my whole philosophy is about joyful eating that’s built on a solid foundation, I want to share the insider knowledge I gathered from my notes—the stuff that prevents baking headaches!
First, let’s talk flour measurement, because this is crucial for a tender cake, not a brick! If you don’t use a kitchen scale (which I highly recommend for accuracy!), you *must* use the fluff-and-spoon method. Don’t just scoop the flour straight out of the bag; it compacts so much that you end up adding way too much. Seriously, gently use a spoon to fluff up the flour in its container, spoon it loosely into your measuring cup, and then level it off with a straight knife. This detail makes sure your layers bake up light!
Next up: Temperature matters for both steps! I stress this in the frosting section, but it bears repeating: your butter for the buttercream needs to be room temperature—soft enough to indent slightly, but definitely not greasy or melted. Cold butter equals lumpy, sad frosting. Similarly, room temperature eggs and milk in the cake batter help everything combine smoothly, creating a professional emulsion right from the start.
And please, please, please heed my warning about patience regarding cooling! You absolutely must let those rainbow layers cool completely before you even think about frosting them. If they are even slightly warm, the buttercream will melt right off, creating a messy puddle instead of a neat structure. A fully cooled layer allows the frosting to adhere properly, which leads us to the final secret: chilling! The longer you chill this layered masterpiece after the initial crumb coat, the firmer everything gets, which makes that final frosting layer look impossibly smooth. This confidence you build when the cake stands up perfectly? That’s what I want for you!
Variations for Your Colorful Celebration Cake
Part of the fun with a Rainbow Layer Cake is that, at its core, it’s just a wonderful, moist vanilla cake! Once you master the basic technique, you can totally swap out the colors to fit any party theme you’re throwing. This is where you get to be the flavor strategist!
For birthdays, go wild! Instead of the full six colors, maybe you want six shades of pink, or alternating blue and white for a winter wonderland theme. If you are using different colors, you can even give each layer a hint of flavor—like a drop of lemon extract in the yellow layer, or almond in the purple one. Just remember not to overdo the extracts, or they might clash with that lovely vanilla base.
Now, if you’re planning for March, this cake becomes the ultimate statement piece for your celebration. We can lean hard into the theme! For fabulous St Patrick’s Day Food Ideas Party, you absolutely must feature the green layer prominently. You could bake five layers in pale vanilla and then make that one green layer extra vibrant. Or, ditch the whole rainbow and make all six layers shades of green, from pale mint to deep kelly green! It looks incredible when you slice it.
If you’re looking for simple Green Snacks for kids that are less formal than a full cake, try dividing the remaining batter into cupcakes and coloring them green. They disappear fast at any St Patrick’s Day gathering or just as a fun afternoon treat. These kinds of colorful treats are so easy to whip up and they always look festive!
Don’t forget about the filling! While I love the classic buttercream, you could swap layers out for different fillings. Imagine a raspberry jam between the red and orange layers, or a simple lemon curd between the yellow and green. Since we are dealing with a dessert that needs to hold up tall, just make sure your filling isn’t too loose. A thicker filling works best to secure those vibrant layers!
Storing and Reheating Your Rainbow Layer Cake
So, you’ve made this incredible, massive, beautiful cake, and now you have leftovers—which is honestly a great problem to have! Storing a layer cake like this requires a little bit more thought than a simple sheet cake, mostly because we want to protect that fluffy buttercream and keep our colors bright.
The good news is that this cake, thanks to all that oil in the recipe, keeps really well, which is one of the perks of using a sturdy vanilla base. If you plan on eating the whole thing within a day or two, you can absolutely keep it right there on the counter, covered loosely. I usually just put it on a nice cake pedestal and tent it gently with a large, overturned bowl or a proper cake dome if I have one. Keeping it at room temperature (around 70°F or below) maintains the best texture for both the cake layers and the buttercream—it keeps the frosting soft and dippable, which is how it should be eaten!
If you know you won’t tackle the whole thing for three days or more, or if your kitchen is just way too hot, you should refrigerate it. When you do that, though, you need to cover it tightly with plastic wrap, making sure the wrap doesn’t actually touch the frosting, or it’ll smudge those pretty decorative swirls.
Now, here’s the most important part if you refrigerate: you HAVE to let it come back to temperature before serving. Cold cake usually tastes a bit stiff, and the butter firms up. Take your fully frosted cake (or individual slices in an airtight container) out onto the counter about an hour before you plan to serve it. This resting time lets the fats soften up again, bringing back that wonderful, moist texture we worked so hard to achieve!
For incredibly long storage, say if you want to save a few slices for later, freezing is your friend! Once the cake is fully assembled and chilled, wrap any individual slices *very* tightly first in plastic wrap, and then throw them into a freezer-safe bag or container. They’ll be perfect for up to a month. When you’re ready to eat one, just let it thaw overnight in the fridge, and then let it sit on the counter for that final hour before digging in. Easy peasy!
Frequently Asked Questions About This Rainbow Layer Cake
These are the questions I get asked the most when I bring this colorful beauty to potlucks! It’s natural to have a few concerns when you’re juggling six different colors. Don’t worry, we’ve got the fixes right here so your cake turns out flawlessly every time. Now, if you want to check out some of my other recipe guidelines, you can always read my official disclaimers too!
Can I make the layers ahead of time for this Rainbow Layer Cake?
Oh, absolutely! If you have a busy party day, breaking this up is smart. Once your layers are completely cool—and I mean zero residual heat anywhere—wrap each individual layer tightly in plastic wrap. You can even add a second layer of tin foil if you want extra protection. Store them at room temperature for up to two days, or pop them in the fridge for up to four days. When you’re ready to assemble, let them sit on the counter for about 30 minutes to take the chill off before frosting. This ensures they don’t sweat when the buttercream hits them!
What are the best colors to use if I need Saint Patrick Day Food Ideas Party?
That is such a fun way to use this recipe! For Irish Party Food, ditch the full spectrum and lean heavily into the green shades. You can make five layers a very light, pale green, almost white, and then make that special sixth layer an intense, vibrant shamrock green! When you cut into it, it still looks like a celebration, but the overriding theme is green. It turns an amazing birthday cake into fantastic St Patrick’s Day For Kids Treats without having to bake a totally different recipe. Even if you need Green Snacks for the more casual guests, a few dyed cupcakes alongside the main event look fantastic!
My buttercream is too soft. How can I fix it?
This happens, especially if your kitchen is warm or you over-added cream! If your frosting is looking a little soupy when you’re trying to spread it, don’t panic and reach for more liquid. Instead, stop mixing immediately, pop the whole bowl into the refrigerator for about 15 to 20 minutes. You want it to firm up slightly—but don’t let the butter get hard! Once it’s slightly chilled, put it back on the mixer, add a third of a cup of extra confectioners’ sugar, and beat it again on medium speed. That small addition of sugar firms up the structure instantly, and it should be perfect for stacking those pretty layers without sliding!
Sharing Your Joyful Baking Creations
Now that you’ve got this stunning, vibrant Rainbow Layer Cake cooling on the counter, my absolute favorite part comes next: seeing how *you* customized it! Honestly, my role as a Flavor Strategist means I love seeing readers put their own spin on things, whether you went classic rainbow or made a special St. Paddy’s green masterpiece. Don’t let all that hard work hide on your table!
I’d be thrilled if you took a quick snap of your creation and shared it in the comments below or tagged me on Instagram. I read every single comment, and knowing that my recipes are making your celebrations brighter is seriously the best part of my job. Seeing those colorful crumbs sliced at a party? That’s the goal!
If you felt like this recipe gave you the confidence boost you needed to tackle a big decorative bake, please consider leaving a rating right here on the page. Those little stars really help other bakers find reliable, joyful recipes like this one. And of course, if you ever have questions while you’re mixing, or if you want to share ideas for what I should bake next, don’t hesitate to reach out through the contact page. Happy baking, friends—go show off those rainbows!
Rainbow Layer Cake
Ingredients
Equipment
Method
- Preheat the oven to 350F. Grease two or three 8-inch round cake pans with baking spray or butter. Line the bottoms with parchment paper.
- In a large mixing bowl, whisk together the flour, sugar, baking powder, baking soda, and salt.
- In another large mixing bowl, combine the eggs, vegetable oil, milk, and vanilla. Whisk until well combined. Pour this wet mixture into the flour mixture and whisk until combined.
- Divide the batter among 6 mixing bowls. Color each batter with food coloring to make red, orange, yellow, green, blue, and purple batters. Pour a single color batter into each cake pan. Place the remaining batter bowls in the fridge until ready to bake. This stops the baking powder from reacting while waiting.
- Bake for 20 minutes or until a toothpick inserted into the center comes out clean. Let the cakes cool for 10 minutes in the pan, then remove and finish cooling on a wire rack. Wash the pans, grease and line with parchment paper again, and bake the remaining batters.
- For the buttercream, beat the butter and salt in a large mixing bowl or stand mixer on medium speed until very fluffy and pale, about 5 minutes.
- With the mixer on low speed, gradually add the confectioners’ sugar one cup at a time, adding one tablespoon of cream at a time throughout mixing. Scrape down the bowl occasionally during mixing.
- Once all the sugar is added, beat in the vanilla. Add additional cream if the frosting feels grainy when rubbed between your fingers. Increase the speed to medium-low and beat until light and fluffy, about 1 minute.
- Remove the parchment paper from the cake layers. Place the purple layer on a cake plate and spread 1/2 cup of frosting over the top. Place the blue layer on top and spread another 1/2 cup of frosting. Repeat with the remaining cake layers in the order of green, yellow, orange, and red.
- Spread the remaining frosting all over the outside of the cake. Chill the cake for at least 1 hour before serving. Cover leftover cake and store it at room temperature for up to 3 days.