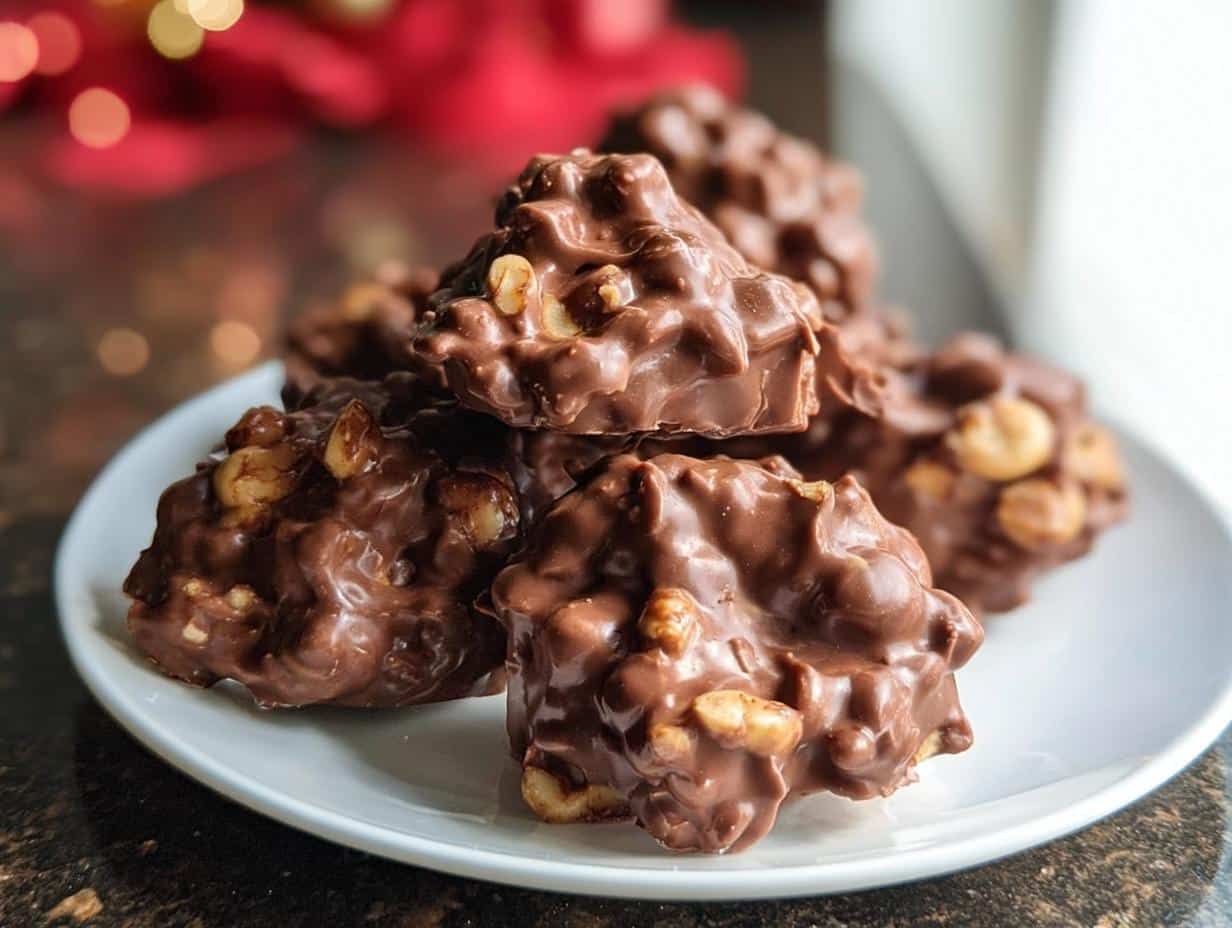
It happens to everyone—that sudden, intense craving for something sweet and wonderfully salty that just won’t quit. When those moments hit and you don’t want to turn on the oven or spend ages measuring things out, I have your absolute lifesaver. These Chocolate Peanut Clusters are my secret weapon for instant sweet satisfaction. They really are the ultimate fix for easy homemade candy, hitting that perfect sweet and salty payoff every single time.
As a culinary educator, my whole philosophy revolves around making the kitchen feel joyful, not stressful. That’s why this recipe is in constant rotation at my house. There’s zero baking involved, super minimal active time, and you’re left with this amazing, nostalgic candy that tastes like it took hours to make. Trust me, if you need a quick dessert recipes fix that tastes gourmet, get your peanuts ready!
These treats fit right into my need for simple, accessible cooking. We’ll take just a few basic ingredients and turn them into something special. If you’ve been hunting for easy desserts with few ingredients or just need a set of simple dessert recipes to rely on, you’ve found it. Grab your microwave-safe bowl; we’re about to make magic!
You can check out more of my favorite quick treats over in my collection of no-bake cookie recipes while you wait for these to chill!
Why You Will Love These Chocolate Peanut Clusters
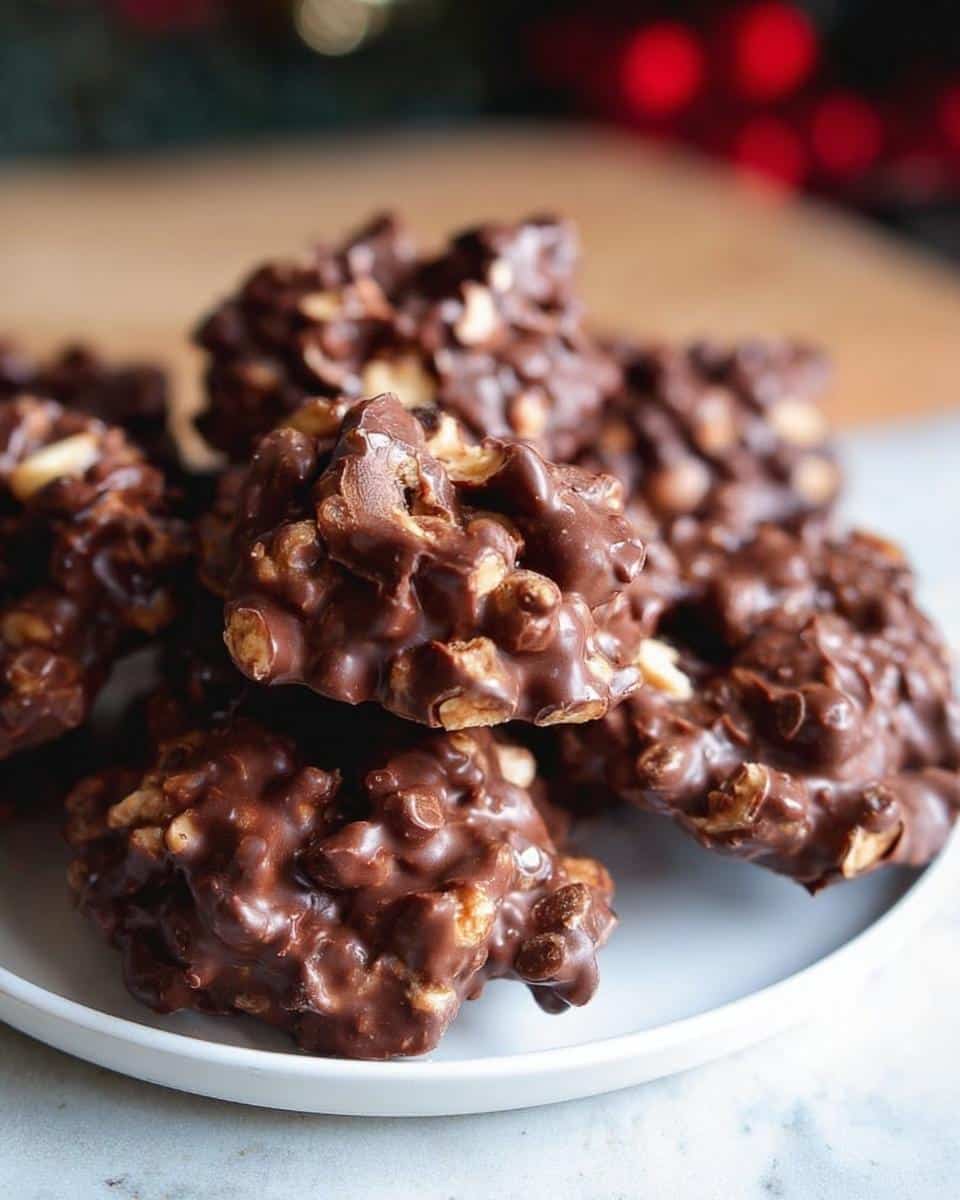
Honestly, these chocolate peanut clusters are my go-to when I need something impressive fast. I keep the ingredients on hand all the time because you just never know when that sweet craving will strike! They are effortless, but they taste like they belong on a fancy holiday platter.
Why do I always turn to this recipe? It just checks all the boxes for what a great, simple homemade dessert should be!
- They are the definition of easy homemade candy. No tricky tempering, no standing over a hot stove, just pure, satisfying melting!
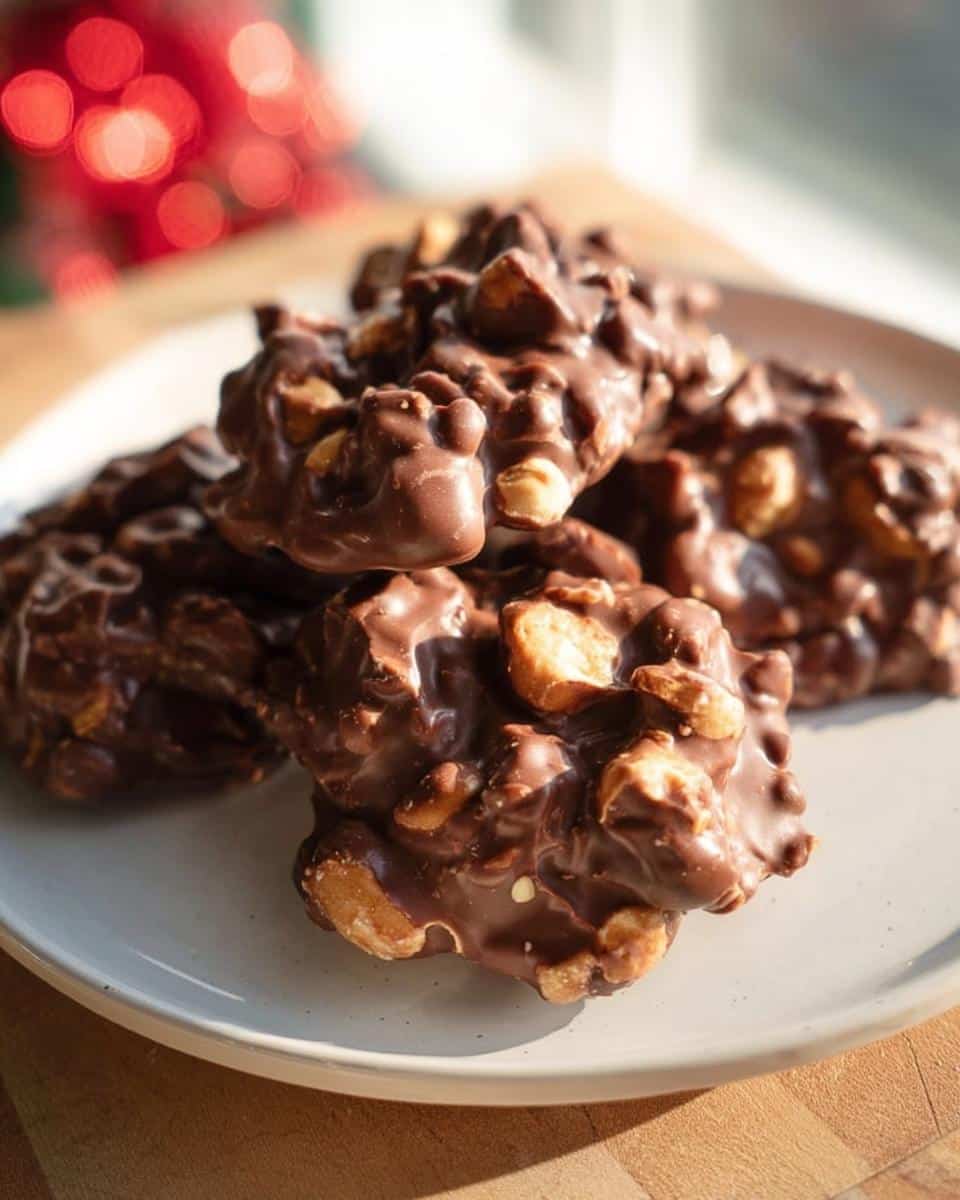
- They bring that perfect sweet and salty flavor combination that keeps you coming back for just one more.
- They are incredibly easy to customize, which keeps them fresh and fun even when you make them every other week!
Quick Dessert Recipes Ready Fast
You won’t believe how fast these come together. Active time is less than ten minutes—seriously! You’ve got 5 minutes to prep, and then about 5 minutes of microwaving time. After that, they just need about 30 minutes in the fridge to get perfectly firm. If you are looking for quick dessert recipes, this is your winner.
Simple Dessert Recipes With Few Ingredients
I hate recipes that require a dozen obscure things from the specialty aisle. Not this one! We’re relying on just four main players here: the two kinds of coating chocolate and the peanuts. If you’ve got those in your pantry, you’re basically done! It’s a fantastic example of simple dessert recipes with few ingredients that deliver huge flavor.
Gathering Ingredients for Perfect Chocolate Peanut Clusters
Whenever I share a no-bake treat, I get asked about ingredient swapping, but for these clusters to reach their full potential, the quality matters! This recipe is so simple—only four main components!—that’s why using decent chocolate makes all the difference. We want a smooth, glossy coating, and using both almond bark and chips gets us there perfectly. They provide the structure and the flavor we need for these homemade desserts.
If you’re grabbing supplies this week, think about checking out my guide to easy snacks and small bites while you’re browsing for ingredients!
Candy Coating Components
We start with the chocolate mixture. You need 1.5 pounds of white almond bark, and make sure you chop it up coarsely first! That helps it melt down evenly during microwaving. We mix that with 2.75 cups of semi-sweet chocolate chips. Using both gives us that beautiful texture that sets up crisp but melts beautifully in your mouth.
The Nut Component for Your Chocolate Peanut Clusters
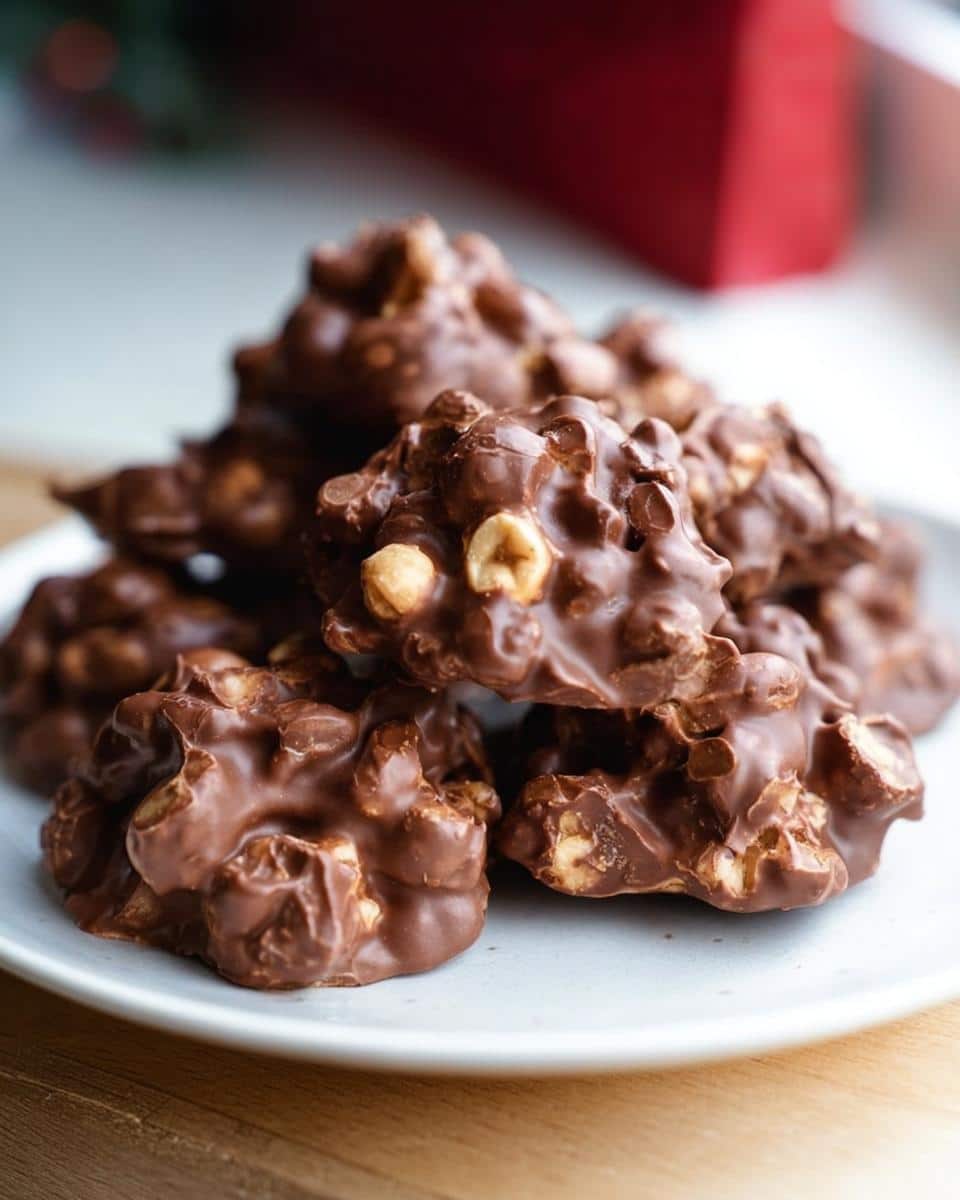
Now for the crunch! You need 2 (12-ounce containers) of salted peanuts. That sounds like a lot, but once they’re coated, it makes about 20 perfect clusters. Seriously, don’t skip the salt! That pop of salt is what cuts through the sweetness and makes these the best dessert recipes around. Using salted peanuts is the secret to achieving that craveable contrast in your Chocolate Peanut Clusters.

Step-by-Step Instructions for Homemade Chocolate Peanut Clusters
This is where the fun starts! Since we aren’t using our oven, the microwave does all the heavy lifting, but we have to be super smart about how we use it. Scorching chocolate is the number one sin in the candy world, and I absolutely refuse to let that happen on my watch. We need smooth, satiny meltiness for our Chocolate Peanut Clusters, not grainy, seized-up disaster!
Before you start zapping anything, make sure you’ve prepped your cooling surface. I always grab my big baking sheet and line it completely with waxed paper or parchment paper—whatever you have handy. This stops sticky messes later, which is crucial when you’re dealing with melted chocolate. Once that’s ready, we can get melting!
If you’re looking for more incredibly easy ways to serve up treats, check out my ideas for easy recipes for kids that keep the kitchen clean!
Melting the Chocolate Base
First, put your chopped almond bark and semi-sweet chocolate chips right into that big bowl we talked about. Now, hear me out on the timing here: Microwave it on high for exactly 45 seconds. When that timer goes off, pull it out and stir, stir, stir! It will look lumpy, but keep stirring until you see it start to smooth out.
Then, you need to go in 30-second bursts. Every 30 seconds, pull it out, stir it completely, and then put it back in. This gentle approach is crucial! If you stop stirring, the heat stays trapped, and boom—burnt chocolate. Keep going like this until everything is completely smooth and glossy. It shouldn’t take more than two or three extra spurts after that first 45 seconds.
Coating the Peanuts and Forming Your Chocolate Peanut Clusters
Once you have that perfectly smooth base, dump those 4 cups of salted peanuts right in there! You need to stir quickly but gently until every single peanut is covered in that gorgeous melted chocolate. Make sure you scrape the bottom and sides so nothing is left naked!
This is my favorite part: forming the clusters. I use my cookie scoop—it’s the best way to get uniform shapes, which means they all set up nicely at the same time. Drop little spoonfuls of the peanut mix onto your prepared, lined baking sheets. Don’t sweat making them perfect circles; these are rustic! They are supposed to look charmingly homemade. Now, we just send them to the fridge to chill until they are totally set up. That’s it for making your wonderful Chocolate Peanut Clusters!
Tips for Success Making Easy Chocolate Peanut Clusters
Even though these are wonderfully simple, a couple of tiny tricks will elevate your Chocolate Peanut Clusters from good to absolutely addictive. Remember, because we’re using the microwave, temperature control is your best friend! If your melted chocolate mixture ever looks like it’s getting too stiff while you’re stirring in the peanuts, don’t panic. Just pop it back in the microwave for 10 or 15 seconds—no more—and stir until it loosens up again.
Another insider tip for the perfect set: make sure your wax paper or parchment paper is completely dry before scooping. Any water or moisture will cause the chocolate coating to seize up instantly, giving you a grainy finish instead of that beautiful snap we want. Also, don’t try to rush the chilling time! If you try to remove them from the tray too soon, they might stick or crumble, so give them the full 30 minutes unless your fridge is just exceptionally cold.
If you’re making these during the holiday season, they are fantastic when drizzled with a contrasting color of melted chocolate—maybe some white chocolate over the semi-sweet candies—you can find some fun ideas on my page for Christmas chocolate desserts!
Equipment Needed for This No-Bake Treat
The biggest perk of making these addictive clusters is that you don’t need a big fancy mixer or specialized candy molds! We are keeping things super streamlined here, which is fantastic for quick dessert ideas when you need something fast. You probably have everything sitting in your drawers already, which is why this recipe is such a lifesaver for easy desserts for a crowd.
For this job, you only need three main things. Having these ready means you can go from craving to eating in under an hour!
- Large microwave-safe bowl: You need something substantially sized to mix the melted chocolate and all those peanuts without making a huge mess or having the chocolate overflow when you stir.
- Waxed paper or parchment paper: This is non-negotiable unless you love scrubbing melted chocolate off your counter! Line a couple of baking sheets with this—it lets the clusters cool and prevents sticking instantly.
- Cookie scoop: While you can use a regular spoon, a cookie scoop helps you portion out uniform treats quickly. This guarantees your homemade desserts look consistent when they set up.
Storage and Keeping Your Homemade Desserts Fresh
These chocolate peanut clusters are so good they rarely last long enough to need proper storage! But if you manage to make a batch that sits around for more than a day—which is a feat in my house—you need to know how to keep that chocolate crisp and firm.
The recipe notes mentioned an air-tight container, and that’s exactly where they need to live. I always advocate for keeping sweet and salty homemade desserts like this in a cool, dry place, and for these clusters, that usually means room temperature. Because they rely on the cooling process to set the chocolate rather than baking, keeping them too cold in the fridge can actually cause a little bit of condensation when you bring them out.
If your kitchen is perpetually warm, though, go ahead and use the fridge. Just make sure they are sealed up tight! I find that if they are chilling, it’s nice to pull them out about 15 minutes before serving so they lose that super brittle refrigerator chill and melt just a tiny bit better in your mouth. Don’t stack them too high either, or you risk cracking the bottom layer off your beautiful clusters!
Keep an eye on my privacy policy page for details on sharing photos of your incredible candy creations, because I always love seeing them!
Variations for Your Candy Making
What I love most about these simple dessert ideas is how easily they flex to whatever you have on hand! You don’t need to stick to the basic chocolate and peanut combo if you’re feeling adventurous with your baking ideas. Since this recipe bypasses the oven entirely, mixing up the textures and flavors is incredibly easy and fast. It keeps things interesting when you’re making them regularly!
If you want to spruce these up for a holiday spread or just because you feel like experimenting, here are a few of my favorite swaps. Feel free to mix and match these for your next batch of homemade desserts!
- Swap Your Chocolate: If you aren’t a huge fan of the white almond bark or semi-sweet chip combo, go dark! Swap the semi-sweet chips for high-quality dark chocolate chips. It gives the clusters a much richer, slightly more bitter edge that complements the saltiness of the nuts. You could even try using butterscotch chips if you want a totally different vibe.
- Crunch Time Swap: Peanuts are classic, but they aren’t the only player in the crunch game. My runner-up uses crushed pretzels instead of peanuts. The pretzel pieces give you a better salty hit and that unmistakable shatter when you bite into them. You could also try chopped almonds or even toasted coconut if you’re looking for different baking ideas.
- Mix-Ins for Fun: Don’t be afraid to fold in a half-cup of mini marshmallows or some chopped caramels right at the end with the peanuts. The marshmallows fluff up a bit when they cool, giving you a slightly softer center. This is a great way to make them extra decadent and perfect for easy desserts for a crowd!
Discovering these little twists is what makes making simple candy recipes so fun. Head over to my collection of Christmas recipes for more inspiration on easy sweets that look like they took ages!
Frequently Asked Questions About Making Candy
I absolutely love hearing from you when you try these simple dessert recipes! Since these Chocolate Peanut Clusters are so quick, sometimes people have specific questions about how to execute them perfectly, especially when making them for a big group. Answering these really helps build confidence in the process, and that’s what I’m here for!
Let’s clear up a few things about making this easy homemade candy!
Can I use regular chocolate chips instead of almond bark?
That’s a great question, and yes, you can definitely manage it! The reason I usually call for the white almond bark alongside the semi-sweet chips is because the bark helps the mixture get super firm and glossy quickly, thanks to its coconut oil base. It sets faster than pure chocolate chips do.
If all you have are regular chocolate chips, just be extra patient during the microwaving process. You’ll need to do more stirring, and you have to keep your 30-second bursts shorter—maybe even 15 or 20 seconds towards the end—to prevent it from seizing up. It will still work, but it might take an extra minute or two of stirring to get that same smooth texture.
Are these considered easy cookie recipes or candy?
Technically, since these don’t involve any flour, leavening agents, or baking, they are firmly in the candy category! But I totally get why you ask that! They sure have the ease and simplicity of those easy cookie recipes you’re looking for when you need a fast treat. You drop them onto a sheet like you would a drop cookie, which is probably why they feel so familiar.
Either way you classify them, they taste phenomenal and require the same speed and simplicity as the best dessert recipes that skip the oven!
How do I make these a great option for easy desserts for a crowd?
Oh, this is where these shine the absolute brightest! If you are planning a party or just have hungry teenagers descending on your kitchen, these are your best friends. The biggest advantage? Zero oven space needed! This means your oven stays free for appetizers or a necessary hot side dish. To scale up, just double or triple the recipe as needed. Because the process is just melt, stir, scoop, and chill, handling a huge batch is much easier than juggling three trays of cookies under a timer!
If you want to keep exploring my kitchen wisdom, you can always learn more about me on my About Page!
Estimated Nutritional Information
Now, I know some of you are working toward specific goals, and sometimes knowing the basics helps you plan snacks or treats! Please remember, because we are using semi-sweet chips and salted nuts, these numbers are highly generalized estimates based on standard ingredient calculations. The exact sodium or sugar content will change depending on the brands you pick up at the store.
For about 20 clusters, here’s what you can generally expect per serving:
- Calories: Around 180
- Carbohydrates: About 20 grams
- Fat: Roughly 10 grams (with 4 grams being saturated fat)
- Protein: About 5 grams
- Sugar: Around 18 grams
It’s a little snack packed with energy! To see how these compare to my other baking projects, check out the figures over on my disclaimer page.
Share Your Homemade Desserts
I truly hope you dive into these Chocolate Peanut Clusters and find them as unbelievably easy and satisfying as I do! These are the kinds of homemade desserts that are just too good not to share.
If you give this recipe a whirl—and I know you will—please come back and rate it for me! A simple 5-star rating tells me what’s working for readers. And if you snap a picture while you’re prepping them or showing off your perfectly set clusters, tag me on social media!
Seeing your wonderful creations always brings a smile to my face and inspires my next batch of baking ideas. I love hearing how you customized them, too! If you need help or just want to chat about cooking in general, don’t hesitate to reach out via my contact page!
Chocolate Peanut Clusters
Ingredients
Equipment
Method
- Combine the almond bark and chocolate chips in a large microwave-safe bowl.
- Microwave on high for 45 seconds, then stir the mixture.
- Continue microwaving in 30 second increments until the mixture is smooth.
- Add the peanuts to the smooth mixture and stir until all peanuts are coated.
- Use a cookie scoop to drop spoonfuls of the mixture onto baking sheets lined with waxed paper or parchment paper.
- Place the sheets in the refrigerator and let the clusters cool until they are set.
- Store the finished clusters in an air-tight container.