You know those days? The ones where you need a genuine ‘wow’ dessert, like, yesterday, but your energy levels are hovering somewhere near zero? Trust me, I live for those moments because that’s when the truly great, simplest recipes come out to save the day. If you’re anything like me, you probably have a can of refrigerated dough hiding in the back of the fridge waiting for its moment of glory. Well, this is it!
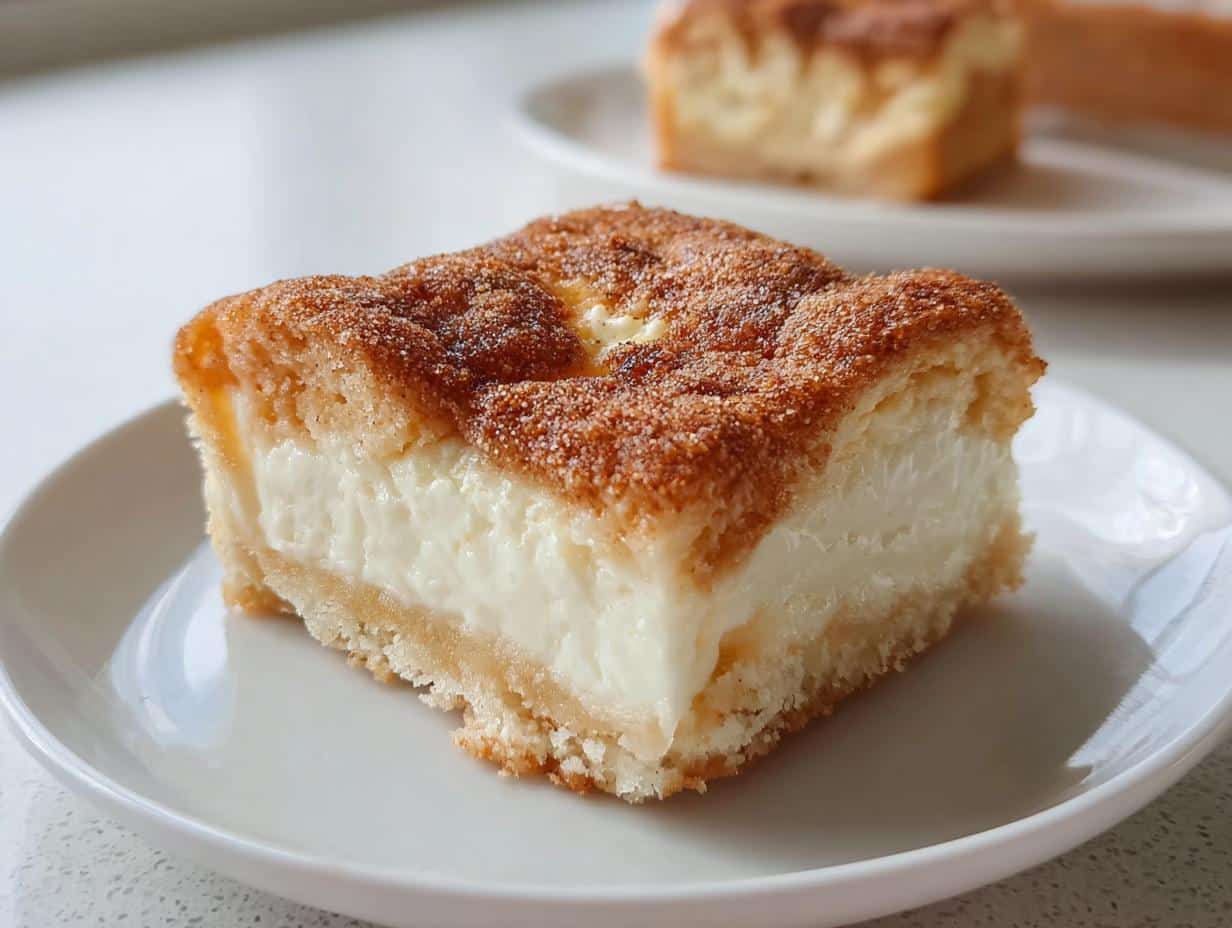
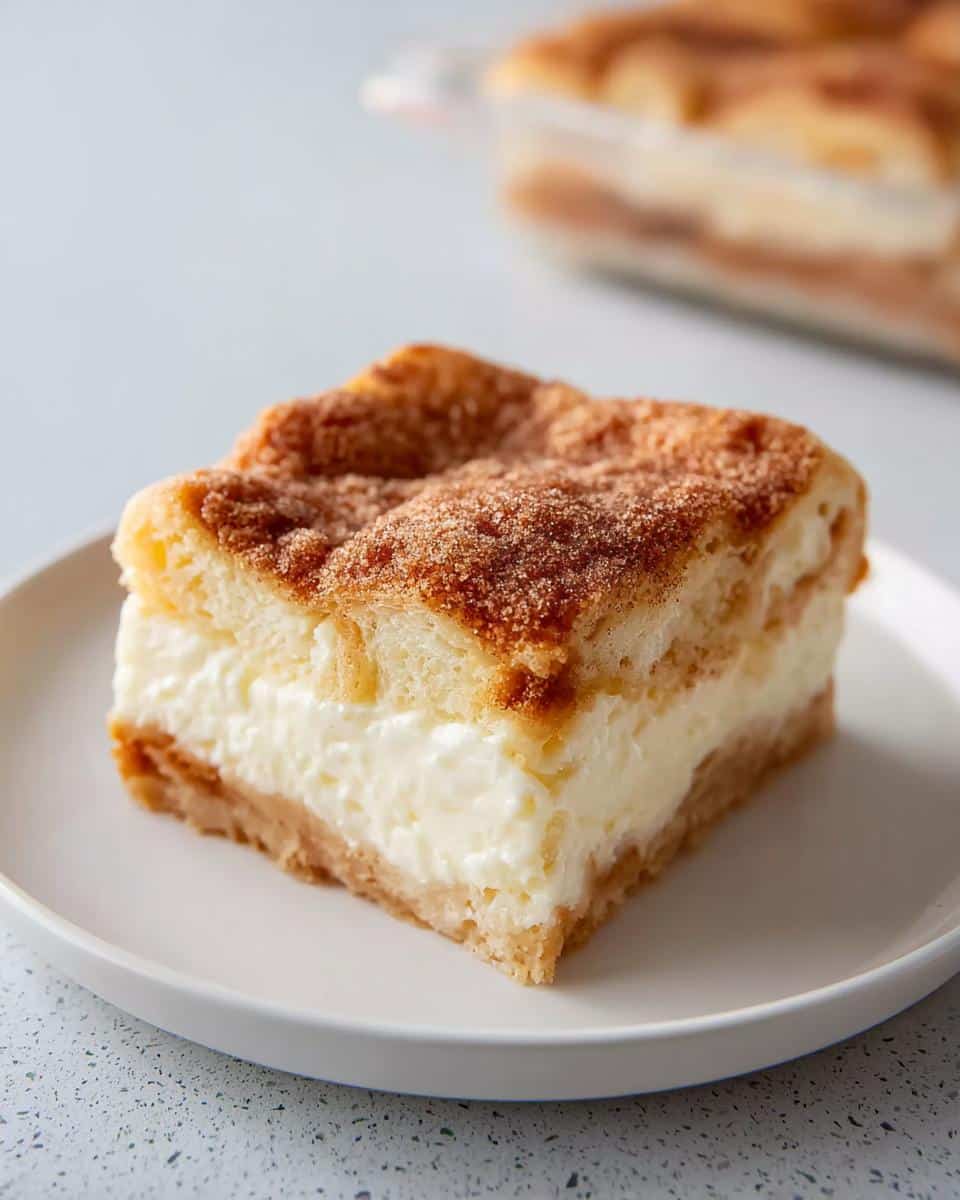
These Easy Cream Cheese Dessert Squares are the ultimate cheat code for dessert perfection. We’re talking about three distinct, creamy, buttery layers that come together faster than you can find your good mixing spoon. I honestly whip these up whenever unexpected guests stop by, and they fly off the plate every single time. I’m Sarah Bennett over at Top Chicken Eats, and I promise you, this recipe is about to become your trusted weeknight hero.
It’s amazing how just a few staple ingredients create something that tastes like you spent all afternoon assembling a fancy cheesecake bar. You won’t believe how quick this is! To see more about the philosophy behind making simple food shine, check out my About Page.
Why You Will Love These Easy Cream Cheese Dessert Squares
I call this one of the absolute Best Dessert Recipes for anyone needing speed and flavor. Seriously, why complicate things when you can have perfection this fast? These fit right into my category of Quick Dessert Recipes.
- They come together in under an hour, including bake time!
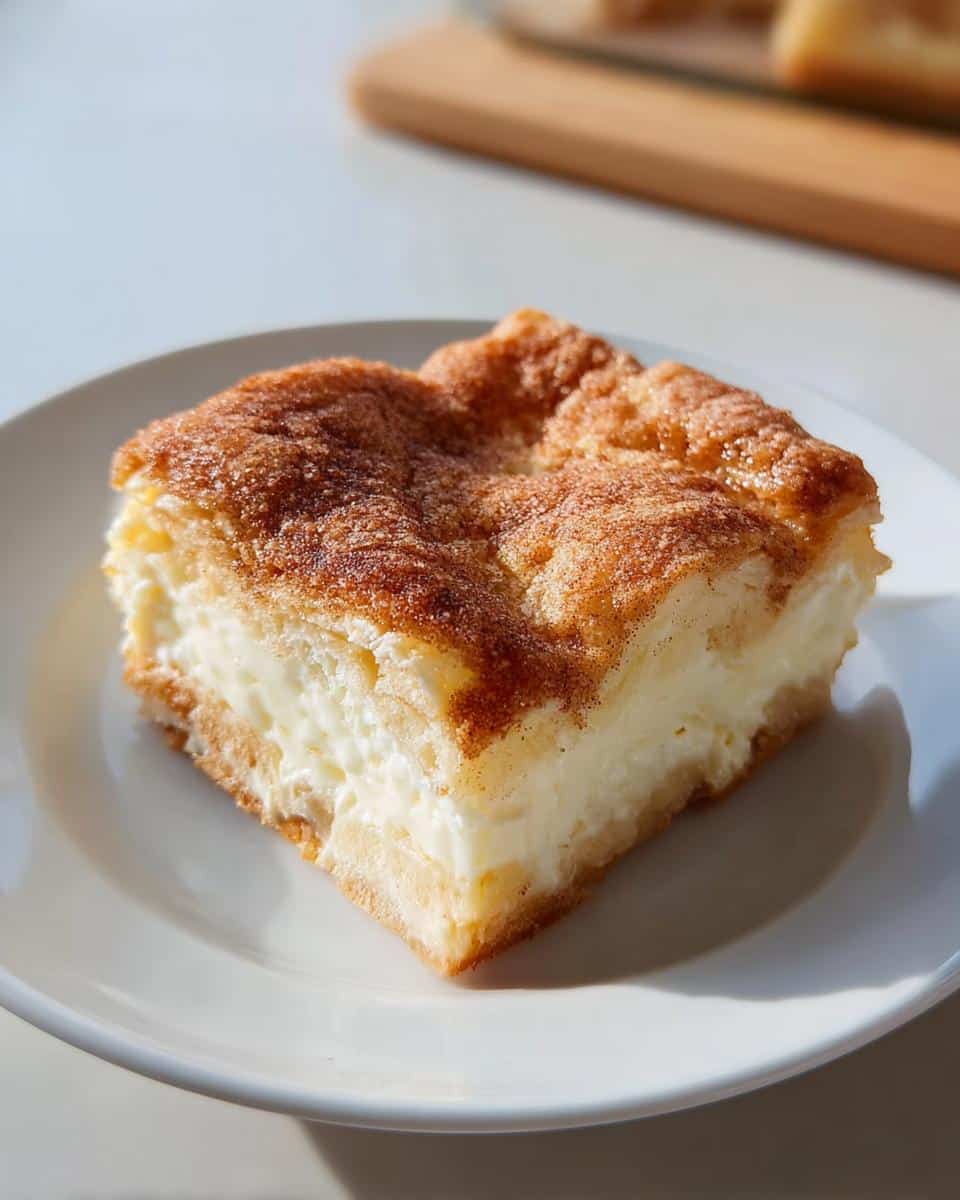
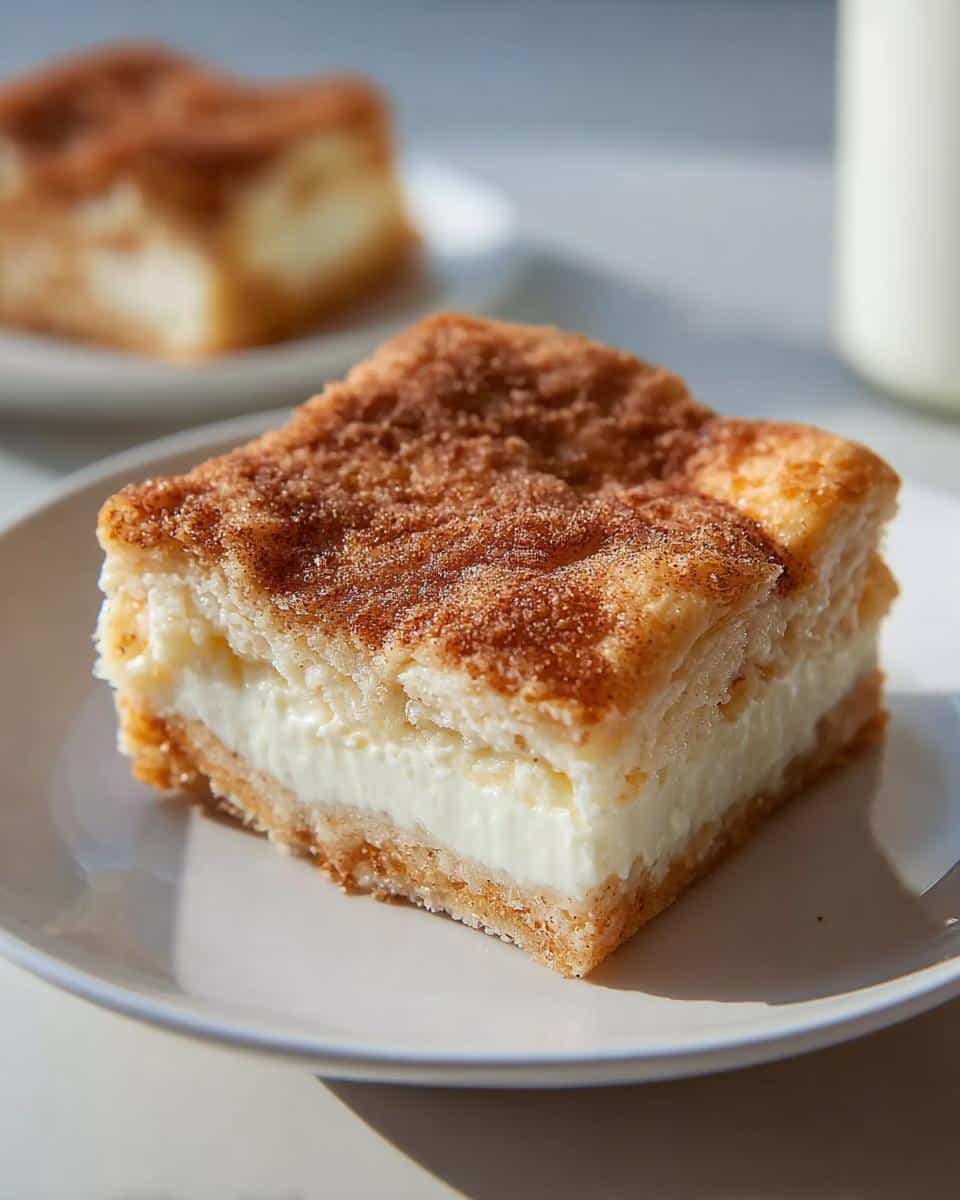
- The texture is incredible—a buttery crust with a filling that’s smooth like cheesecake but way less work.
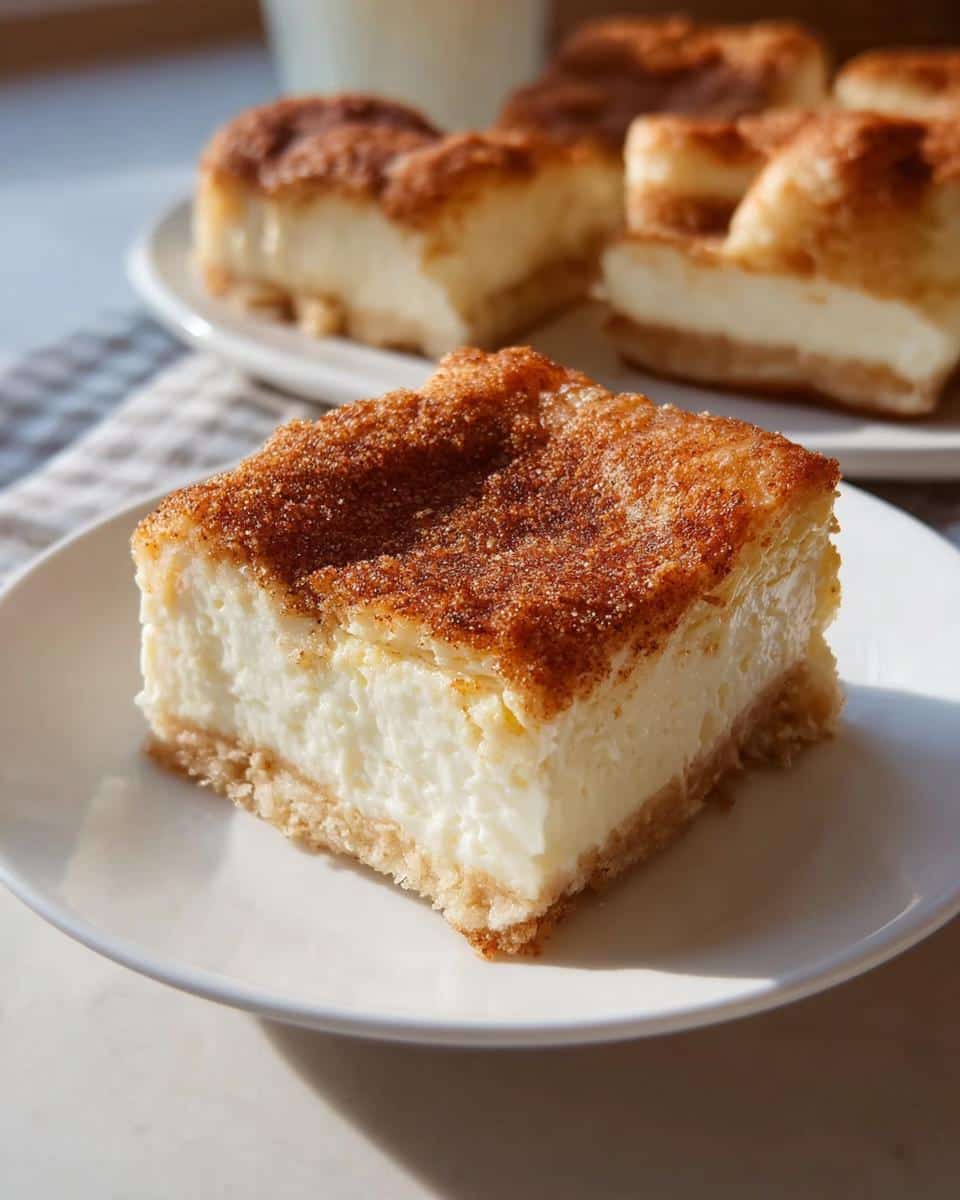
- They are perfect Easy Desserts With Few Ingredients that still manage to look beautiful on a serving platter.
- They’re sturdy enough to pack for parties or potlucks—no messy drippy frosting here!
Equipment Checklist for Perfect Easy Cream Cheese Dessert Squares
When you’re working with something this quick, having your tools ready makes all the difference. Luckily, you probably have everything floating around in your kitchen right now. No fancy stand mixers needed here—we’re keeping this simple!
For these Easy Cream Cheese Dessert Squares, you really only need three things. I always get my gear out before I even look at the ingredients list; it saves me that frantic searching midway through mixing!
- A standard 9×13-inch baking pan. This is crucial for getting those perfect, thick squares.
- A medium bowl for whipping up that dreamy cream cheese filling.
- A smaller bowl for mixing the cinnamon sugar topping.
Now, here’s a little trick I learned the hard way after trying to rescue one batch that decided to stick: even though the recipe just says to grease the pan, I always go one step further. I give it a good spray with baking spray, and then I cut a piece of parchment paper to fit just the bottom. You don’t need it to go up the sides or anything fussy, just a lining on the bottom. When they are totally cool, you can just lift the entire dessert sheet right out! It makes slicing so much cleaner, which is essential when you’re serving a crowd.
Gathering Ingredients for Your Easy Cream Cheese Dessert Squares
Okay, let’s talk ingredients. This is why these Easy Cream Cheese Dessert Squares are so brilliant. You don’t need a long shopping list full of fancy items. Most of this is stuff I always keep on hand for quick baking projects. The magic here is using packaged dough as a shortcut for the crust and topping, which saves so much time but still tastes homemade!
We keep everything separated into two sections, just like in the recipe directions. This helps keep your counter tidy and ensures you don’t accidentally dump the cinnamon sugar into the cream cheese mixture—oops! If you’re baking with little ones, this separation is great for giving them specific, manageable tasks. Check out some of my other fun recipes perfect for little helpers over at this link!
For the Base and Topping Ingredients
This section is all about that buttery, crisp crust and the sugary sprinkle on top. Notice we use the sugar *twice*—once in the filling and once sprinkled on top. Don’t skip that top sprinkling; it caramelizes beautifully while baking!
- Two whole cans of refrigerated crescent roll dough. Yes, two! One for the bottom, one for the top.
- Half a cup of butter, melted. Make sure it’s fully melted so it coats the top layer evenly.
- A quarter cup of white sugar for the topping.
- One teaspoon of ground cinnamon. This gives that warm contrast to the cool cream cheese layer.
For the Cream Cheese Filling Ingredients
This is the star of the show! The filling needs to be perfectly smooth, which brings me to my most important note here:
- Two full packages of cream cheese. This is non-negotiable for that rich texture.
- One full cup of white sugar. This adds the necessary sweetness to balance the tang of the cheese.
- One teaspoon of vanilla extract for depth of flavor.
Please, please make sure your cream cheese is truly softened! I mean room temperature soft. If it’s cold, you’ll end up stirring forever trying to beat out the lumps, and you’ll wind up with chunks in your otherwise perfect, uniform filling. Leave it out on the counter for an hour or just warm it gently in the microwave for about 15 seconds—but watch it closely!
Step-by-Step Instructions for Easy Cream Cheese Dessert Squares
Alright, here’s where the magic happens, and trust me, the assembly line moves fast once you get going! We are building these wonderful Easy Cream Cheese Dessert Squares layer by layer, and I guide you through every single part to make sure you get that signature creamy center.
Prepping the Pan and Base Dough Layer
First things first, get your oven warmed up to 350 degrees F (175 degrees C). Remember how I told you about greasing and lining that pan? Do it now so you’re ready to go. Take one entire can of your crescent roll dough. Carefully unroll it and gently press that dough right into the bottom of your prepared 9×13-inch pan. Don’t stretch it or pull it, just press it evenly across the bottom. That’s our foundation!
Creating and Spreading the Cream Cheese Filling
Grab that medium bowl we talked about for this part. Beat that softened cream cheese first—you want it looking silky smooth—then beat in your cup of sugar and the vanilla extract until there are absolutely no lumps left. Seriously, take your time here; a smooth filling equals a smooth bake! Once it looks like soft, thick frosting, pour it right over that first dough layer and spread it carefully to the edges.
Layering the Top Dough and Cinnamon-Sugar Sprinkle
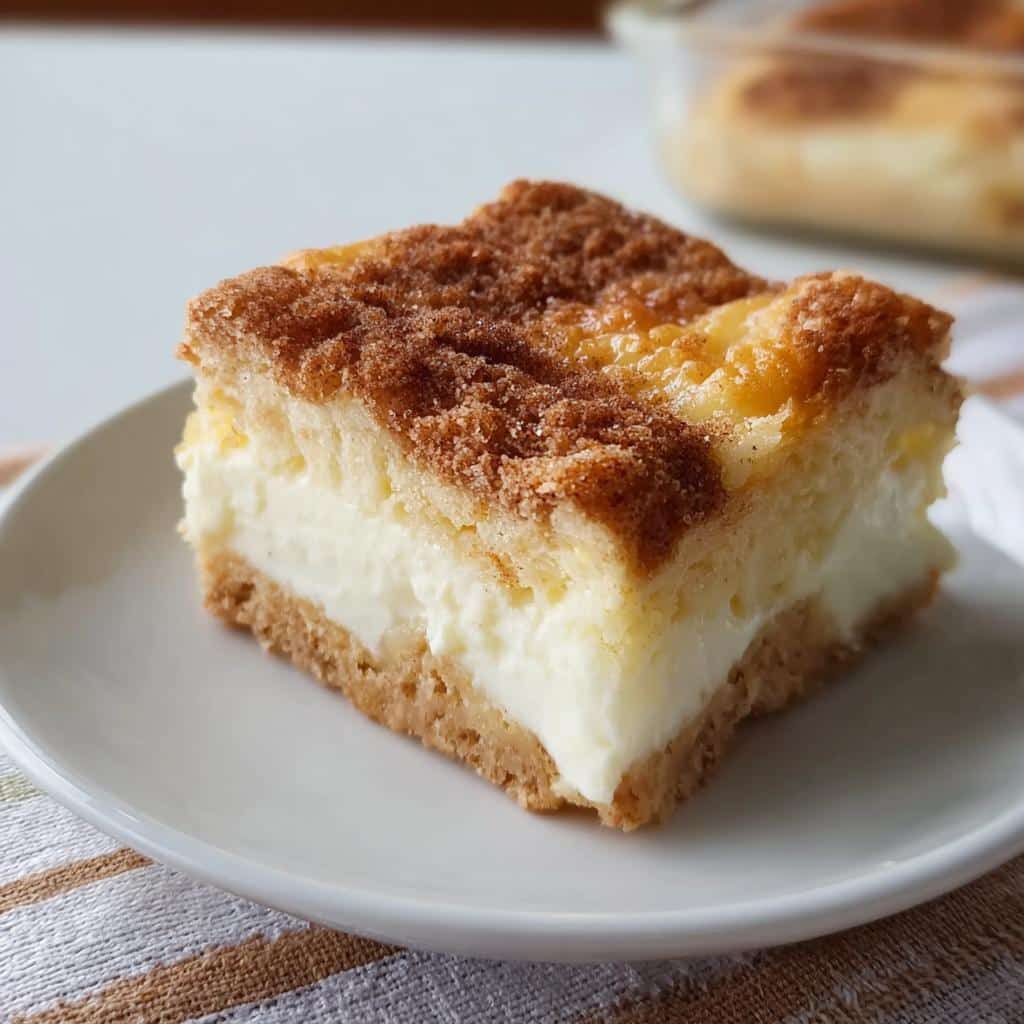
Now for the second can of crescent dough. Unroll this one and lay it gently *over* the cream cheese layer. This is super important: Do NOT press this top dough down. You want that layer to stay light and puffy so it separates from the filling when it bakes! Next, slowly drizzle that half cup of melted butter evenly across the top. Finally, take that tiny bowl with the remaining sugar and cinnamon and sprinkle it everywhere. It’s going to look gorgeous when it bakes!
Baking and Cooling Your Easy Cream Cheese Dessert Squares
Pop the whole thing into the preheated oven for about 25 to 30 minutes. You are looking for that top layer to be crisp and a beautiful golden brown color—that’s your sign it’s done! Resist the urge to cut into them right away! These Easy Cream Cheese Dessert Squares need time to set up. Let them cool completely, maybe even put them in the fridge for an hour or so, before slicing them into 24 perfect squares. If you want more tips on making easy baking even simpler, take a peek at some of my favorite gluten-free guides while you wait for them to cool down: easy gluten-free recipes.
Baking Tips for Perfect Easy Cream Cheese Dessert Squares
Since we are relying on pre-made crescent dough, things can sometimes go a little sideways if we aren’t paying attention. That’s okay, though! That’s what these little expert pointers are for. My goal is always to make sure your Easy Cream Cheese Dessert Squares look exactly like mine—flawless, creamy, and easy peasy!
My biggest piece of advice, which I learned the hard way mixing up batches for brunches, is handling that dough when it’s too warm. If you open the can and the dough feels super soft, sticky, and tears when you try to press it out, just put it back in the fridge for 15 minutes. Seriously! Working with cold dough is far easier than trying to patch up torn dough in the pan, especially that bottom layer.
Another thing I watch carefully is the bake time. Because we have three distinct layers here, if the top starts looking really dark but the center feels wiggly, the filling hasn’t quite set. You can totally save it, though! Just loosely tent a piece of aluminum foil over the top. This deflects the direct heat so the topping doesn’t burn while giving the center a few more minutes to solidify. It keeps that golden color beautiful without turning the sugar on top into charcoal.
When you’re mixing that cream cheese filling, you might notice it getting thin if you over-beat it or if your cream cheese was too warm. If that happens, don’t panic! Don’t add flour, that will mess up the texture. Instead, just keep it moving gently and pop the entire bowl into the freezer for five minutes. That little bit of cold firms up the mixture just enough so you can spread it without it running straight down into the crescent dough. For more brilliant tips on quick bakes, check out my recipe for Kid-Friendly Cheerio Granola Bars!
Trust me, mastering these tiny temperature and handling tricks is what turns a good crescent roll dessert into one of your favorite Simple Dessert Recipes.
Ingredient Notes and Substitutions for These Simple Dessert Recipes
I know what you’re thinking: “What if I don’t keep crescent rolls in the house?” Hey, I have those days too! That’s why I love recipes that respect the pantry we actually have. While the crescent dough is what makes these Easy Cream Cheese Dessert Squares so wonderfully fast, you can absolutely pivot if you need to. This recipe is forgiving, which is why it stays on my rotation of Simple Dessert Recipes.
If you’re out of the refrigerated stuff, don’t throw in the towel! You can create a really lovely alternative base using a very basic shortbread approach. It takes a little more effort, but the texture is fantastic—a little richer and more crumbly.
Basically, you’d mix about a cup and a half of flour, half a cup of powdered sugar, and then cut in half a cup of cold butter until it resembles coarse crumbs. Press that mixture firmly into the bottom of your pan for the base layer instead of the crescent dough. Don’t worry about the top layer in this case; just pour the cream cheese filling right on top of that pressed shortbread base. Bake it exactly as directed (usually around 30 minutes at 350°F).
Remember, any substitution means you are changing the final texture, but it will still taste wonderful! If you want to see my general philosophy on swapping pantry items around, you should definitely check out the disclaimer page; sometimes knowing what you *can’t* change is as important as knowing what you can!
One more quick note on the filling: If you decided that regular white sugar isn’t your jam, you can use an equal amount of light brown sugar in the filling, too. It will give the cream cheese layer a slightly deeper, almost toffee note, which complements the buttery crust perfectly. Just make sure if you swap the sugar in the filling, you use plain white sugar for that top sprinkle so you get the best crisp, crunchy caramelization.
frequently asked questions about easy desserts for a crowd
I always know when a recipe is a real winner based on the questions I get afterward! Since these Easy Cream Cheese Dessert Squares are so fantastic for parties and gatherings, people often ask about prep timing and how to keep them looking perfect until serving time. I’ve pulled the top 3 questions I always hear about these simple baked bars right here for you!
If you’re looking for more simple recipes that are easy to scale for big groups, you should wander over to check out my collection of easy snacks and small bites!
can i make these easy cream cheese dessert squares ahead of time?
Oh yes, you absolutely can! In fact, I highly recommend it. These squares are actually better the next day, which is rare for something this quick, right? You can bake them completely, let them cool to room temperature, then cover the pan tightly with plastic wrap or foil but leave them on the counter for a few hours.
For best results, I try to make them the night before. Store the entire covered pan right in the refrigerator overnight. The chilling time really firms up that creamy center, making that clean slicing so much easier. When you’re ready to serve, just pull it out about 30 minutes before you want to cut into it.
what is the best way to slice these bars neatly?
This is linked to the chilling tip above, but it’s worth mentioning separately because a messy slice can ruin the presentation of these delicate bars! The biggest mistake people make is trying to cut them when they are even slightly warm. If the filling isn’t fully set, the knife drags the layers together.
So, the secret is chilling completely—at least two hours, preferably overnight. When you are ready to cut, grab a large, sharp chef’s knife. Dip the knife into a tall glass of very hot (almost boiling) water, wipe it totally dry with a clean towel, and then make your cut. You might have to reheat the knife in the water once or twice per cut, but I promise you’ll get the cleanest slices you’ve ever seen!
are these considered one of the best dessert recipes for beginners?
Hands down, yes! If you are new to baking or just need a win after a tough week, these are the recipe you turn to. They fall under the banner of Easy Cookie Recipes because they are so much more forgiving than a delicate cake.
There is no fussy creaming method required, and we aren’t measuring flour precisely for aeration. You’re just pressing dough, spreading a filling, and sprinkling a topping. It’s basic assembly! The crescent roll dough does like 90% of the heavy lifting, which means you get maximum flavor reward for minimum effort. This is definitely one of my go-to Simple Dessert Recipes when I need guaranteed success!
Storage and Reheating Instructions for Homemade Desserts
One of the best things about these Easy Cream Cheese Dessert Squares is that they play well with leftovers, which, let’s be honest, is a wonderful bonus when you make a big 9×13 batch!
Because we have that beautiful, rich cream cheese filling in the middle, you absolutely need to treat these like you would any other cheesecake bar or dairy-based treat. That means refrigeration is key for food safety and structure.
Once the squares have cooled completely—and I mean totally room temperature, or even chilled slightly—cover the pan tightly with plastic wrap or transfer them to an airtight container. They keep wonderfully in the fridge for up to four days! I find that four days is my personal limit before the crust starts to soften too much for my liking, but they are perfectly safe and taste great for that long.
Now, here’s the best part about serving them later: you have options! Some people prefer these chilled straight from the fridge because the filling is almost fudgy when it’s cold. I often enjoy them this way, especially on a warm afternoon when I need something satisfying but not heavy.
However, if you want that layer to be a little softer and creamier, just pull the container out of the refrigerator about 30 to 45 minutes before you plan to serve them. That little bit of time on the counter lets the butter in the crust soften up just enough. I wouldn’t bother reheating them in the oven or microwave, though—these are designed to be served cool or room temperature.
If you ever have questions about other recipes or want to get in touch with me about my baking philosophy, you can always reach out through my contact page. Happy storing!
Share Your Experience Making These Easy Cream Cheese Dessert Squares
That’s it! You’ve officially made one of the easiest, most satisfying desserts out there. These Easy Cream Cheese Dessert Squares are a go-to for a reason, and now they’re part of your baking arsenal, too. I truly love hearing about how these recipes work in *your* kitchen!
Once you’ve let them chill and sliced them up perfectly (remember that hot knife trick!), please hop back here and leave a star rating. I read every single review. It tells me if the recipe worked for you, and your feedback helps other new bakers feel confident trying it out.
Also, I’m always so curious if you played around with the recipe a bit! Did you decide to add a sprinkle of chopped pecans to the top layer? Maybe you decided to use a bit of almond extract instead of vanilla in the filling? Let me know in the comments!
If you need more inspiration for simple, comforting bakes—especially if you’re gearing up for the holidays—you absolutely must check out some of my favorite Christmas cookie recipes. I promise they carry the same spirit of ‘easy comfort’!
In closing, remember that home cooking is all about connection and confidence. I’m Sarah Bennett, a Culinary Educator and Visual Storyteller at Top Chicken Eats. From my Seattle kitchen, I combine teaching and photography to make cooking approachable, creative, and full of heart. I hope these simple squares bring a little bit of joy and sweetness to your table today!
Easy Cream Cheese Dessert Squares
Ingredients
Equipment
Method
- Preheat your oven to 350 degrees F (175 degrees C). Grease a 9×13-inch baking pan.
- Unroll one can of crescent rolls and press the dough into the bottom of the prepared pan. Set the second can aside.
- Stir the cream cheese, 1 cup of sugar, and vanilla together in a medium bowl until the mixture is smooth and creamy. Spread this mixture over the crescent dough layer.
- Unroll the second can of crescent rolls and lay the dough on top of the cream cheese mixture; do not press the top dough layer down. Pour the melted butter evenly over the top of the dough.
- Combine the remaining 1/4 cup sugar and cinnamon in a small bowl. Sprinkle this mixture evenly over the top layer.
- Bake in the preheated oven until the top is crisp and golden, which takes 25 to 30 minutes.
- Once the squares are cool, cut them into 24 pieces. Serve them.