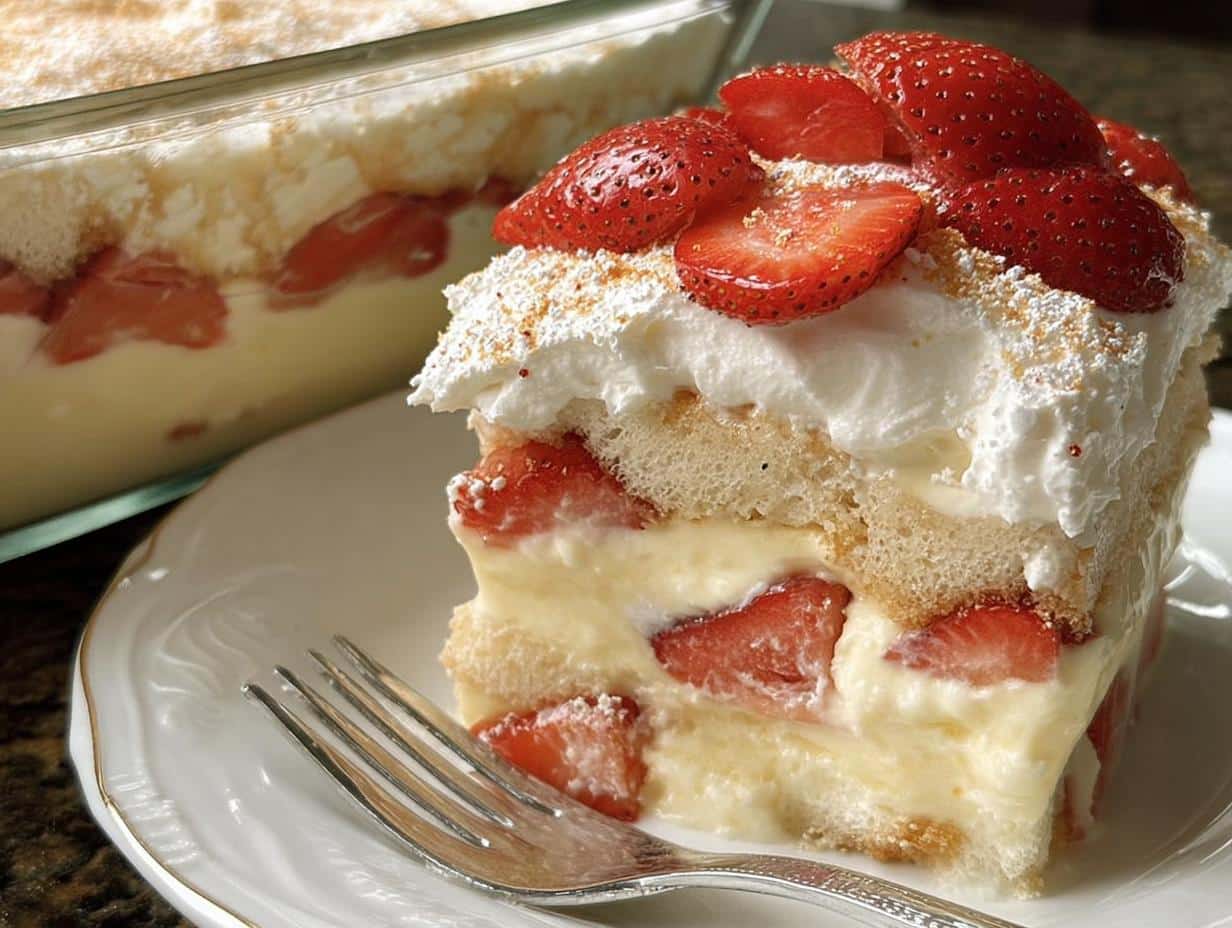
Oh, you know those desserts that just instantly transport you back to childhood gatherings? That’s exactly what this Vanilla Pudding Layered Dessert does for me every single time. It’s pure, creamy Southern comfort, and the best part is you don’t even have to turn on the oven!
Here at Top Chicken Eats, we believe in food that feels like a loving hug, and this recipe—developed with those heirloom, simple tastes in mind—is just that. It’s incredibly easy to assemble the layers of smooth vanilla pudding, crunchy wafers, and tart strawberries. If you love fuss-free, soulful cooking, you’re going to adore my approach to this classic. Check out more of my story and philosophy over on the About Page!

Why This Vanilla Pudding Layered Dessert Is a Go-To Recipe
There’s a reason I keep this recipe right up front. When you need something phenomenal but don’t have hours to fuss, this hits the spot every time. It truly belongs in the lineup of the best Quick Dessert Recipes you can keep in your rotation.
It checks all the boxes for me:
- It’s completely no-bake! We get all the flavor without heating up the house, which is a big win down here in Asheville.
- It requires just a handful of components, making it one of those magical Easy Desserts With Few Ingredients.
- You can scale it up or down easily, making it fantastic for a small family weeknight treat or an instant hit when you have unexpected company.
The Comfort of Homemade Desserts
This layered beauty just tastes like home, plain and simple. It taps right into that deep, satisfying feeling you get from true Southern cooking—creamy, sweet, and utterly dependable. It’s not fancy, but it’s definitely perfected, and that’s what matters most in my kitchen. If you’re looking for other simple, satisfying treats, you might want to peek at my collection of no-bake treats!
Gathering Ingredients for Your Vanilla Pudding Layered Dessert
You don’t need a massive grocery run for this one, thank goodness! The beauty of this Vanilla Pudding Layered Dessert is relying on pantry staples that bring big flavor without any fuss. I always make sure to have these components ready before I even think about mixing anything together. Trust me, having everything measured out beforehand stops you from accidentally forgetting the sweetened condensed milk—oops!
For the Pudding Mixture
This is the creamy heart of the whole operation. Make sure your milk is really cold; that’s key for the instant mix to cooperate!
- 2.75 cups cold milk
- 1 package (5.1 oz) instant vanilla pudding mix
- 1 can (14 oz) sweetened condensed milk
- 1 carton (12 oz) frozen whipped topping, thawed
For the Layers and Topping
These elements give us our crunch and freshness! When you crush those wafers, try to leave some texture; we don’t want powder!
- 4 cups crushed vanilla wafers (About 120 wafers—that measurement is non-negotiable for the right texture!)
- 3 cups sliced fresh strawberries
Expert Tips for Perfect Vanilla Pudding Layered Dessert Assembly
As the owner of Top Chicken Eats, I’ve assembled hundreds of these creamy beauties, and trust me, the secrets aren’t in fancy techniques—they’re in timing and knowing your ingredients! Getting those distinct layers without having everything turn into sweet mush is what separates a good dessert from one of the Best Dessert Recipes out there. My Southern background always reminds me that simple ingredients handled right yield the best results.
The most critical step? Chilling time! Don’t even think about serving this right after you top it. It needs at least three hours in the fridge, but overnight is truly where the magic happens. That time lets the wafers soften just enough to meld with the pudding but keeps enough structure for beautiful scoops.
Ingredient Notes and Substitutions
Always use *instant* pudding mix here. Cooked pudding is just going to break down too quickly when layered like this, and we aren’t going for soup, honey! If you’re out of vanilla wafers, you can definitely lean into other simple cookie recipes. Golden Oreos work surprisingly well, or maybe even shortbread cookies if you want a buttery crunch. They just won’t have that classic vanilla wafer flavor, of course.
For the strawberries, if fresh aren’t looking great, you can toss frozen berries with a tiny sprinkle of sugar and let them thaw completely before layering. Just make sure they are drained really well so they don’t bleed too much juice into the pudding. When you’re making these for the little ones, I sometimes link to some kid-friendly recipe variations on the site!
Step-by-Step Instructions for Your Vanilla Pudding Layered Dessert
Okay, darling, now for the fun part! Since this is one of my favorite Simple Dessert Recipes, I want to walk you through this assembly so it comes out looking just as good as it tastes. It’s all about layering with intention. We’re keeping this relaxed, but paying attention to timing makes all the difference between a sloppy pile and a gorgeous presentation in that 3-quart dish.
Preparing the Creamy Pudding Base
First things first, grab your large bowl. You are going to whisk that cold milk and the instant vanilla pudding mix together, and you need to do this for a full two minutes. Don’t rush it—that whisking is what activates the pudding.
After the two minutes are up, you need to pause! Let that mixture stand on the counter for about 15 minutes. That rest time is crucial for it to thicken up properly. Once 15 minutes have passed, go ahead and fold in the entire can of sweetened condensed milk. Then, take your thawed whipped topping; gently fold in *most* of it. Just make sure you squirrel away about one tablespoon for the very top layer later, along with a couple of spoonfuls of those crushed wafers for garnish.
Building the Layers in the Serving Dish
Now we build! In your 3-quart serving bowl, we go layer by layer, remembering that we repeat the sequence three times. Start by spreading one-third of your sliced fresh strawberries across the bottom. Next, dust with one-third of your crushed vanilla wafers. Finally, dollop in one-third of that beautiful, creamy pudding mixture we just made.
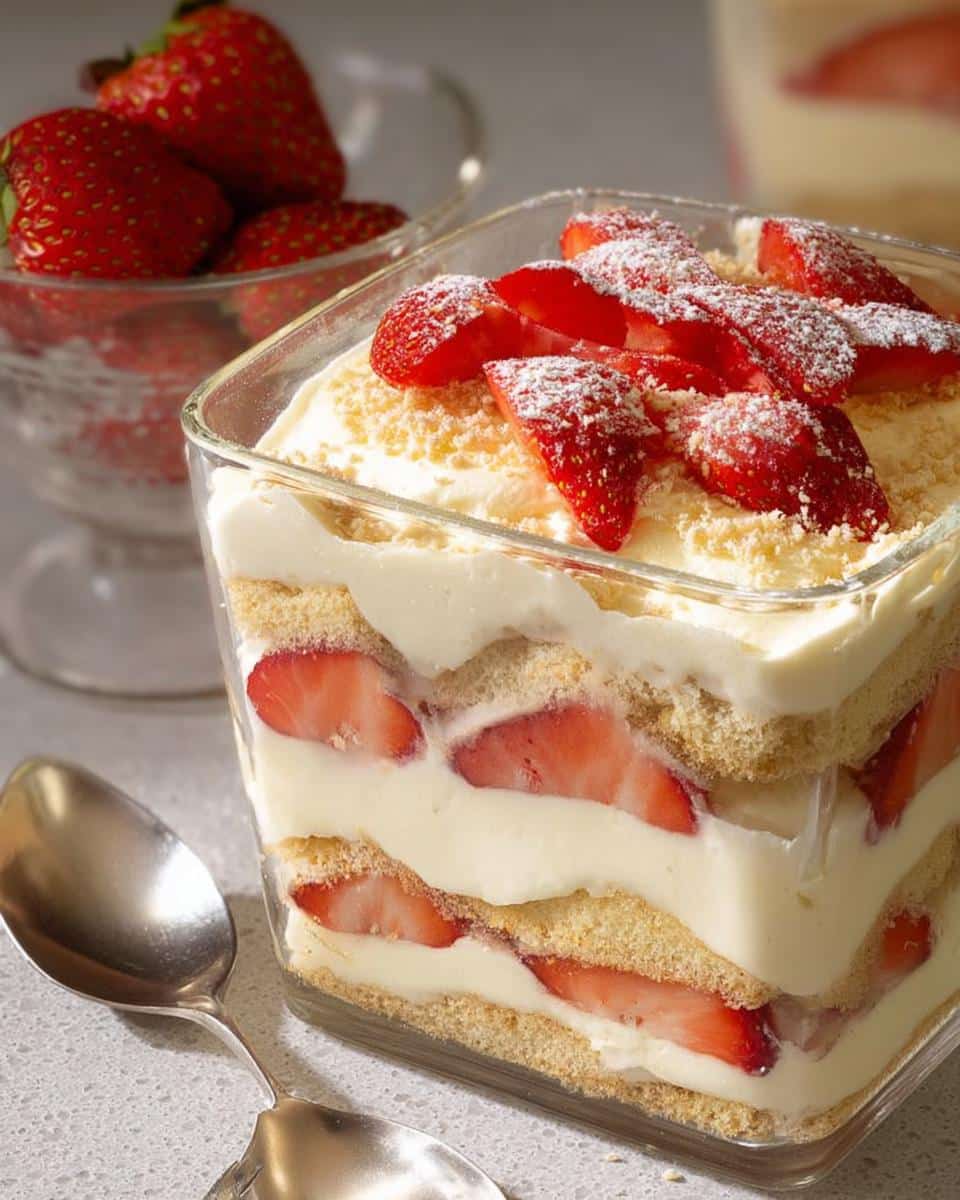
You just repeat that trio—strawberries, crumbs, pudding—two more times, stacking it high! If you want some fun ideas to simplify prep, you can check out some easy prep ideas on the site that might help on busy days!
Making Ahead and Storing Your Vanilla Pudding Layered Dessert
One of the major reasons I consider this one of the absolute Simple Dessert Recipes is how wonderful it is for planning ahead. Seriously, don’t try to eat this right away! It needs time to chill out and let those flavors truly get acquainted.
The recipe notes say three hours (that’s 180 minutes of cooling time), but I always aim to make mine the day before serving. When it sits in the fridge overnight, those vanilla wafer edges soften up beautifully, creating a cohesive, dreamy texture that’s impossible to achieve if you rush it.
It keeps really well covered in the fridge for up to three days. Just be aware that as time goes on, the wafers get softer and softer. For storage questions or other site policies, you can always check out the site disclaimer!
Serving Suggestions for Your Layered Dessert
When it comes time to finally serve this beauty, you might be wondering what pairs best with all that creamy vanilla and bright strawberry goodness. Since this is such a rich and satisfying treat on its own, I like to keep the accompaniments light. Trust me, you don’t want to overpower the delicate balance we worked so hard to achieve!
For me, nothing beats a classic, hot cup of coffee alongside a chilly slice of this dessert. That little bit of bitterness from the coffee just cuts through the richness of the pudding so perfectly. A good, strong brew makes this feel like a true Southern ending to any meal.
If coffee isn’t your thing, a simple, lightly sweetened black tea works wonderfully too, especially if you’re serving this after a heavier meal. If you’re looking for other cozy ideas for drinks that fit the mood for a comforting dessert, I’ve put together a list of cozy drinks and breakfast sides that might inspire your next gathering!
And honestly? Sometimes the best serving suggestion is just a nice spoon and a quiet moment. This dessert is pure joy when eaten straight from the bowl!
Troubleshooting Common Vanilla Pudding Layered Dessert Issues
Even with five simple ingredients, sometimes things go a little sideways in the kitchen—I totally get it! Troubleshooting is part of the fun, and knowing the quick fix means you can save dessert night without stress. These issues popped up for me early on, so I know exactly what to tell you!
The most common headache I hear about is when the pudding base just won’t firm up right. Remember, we rely on that 15-minute rest time after whisking the milk and pudding mix. If you skip that, or if your milk wasn’t cold enough to begin with, it might stay a little thin.
My Pudding Mixture is Too Loose
If the mixture is runny even after folding in the thawed whipped topping, don’t panic! This dessert is very forgiving. My trick is to use a little more patience and a little more cold. Cover the bowl tightly with plastic wrap and put it in the fridge for an extra hour before layering. Sometimes that extra chill time is just what the instant mix needed to fully set up. It works every time, I promise!
Wafers Are Soggy Too Soon
If you’re worried about the wafers getting too soggy before serving, especially if you’re prepping this a day ahead, focus on keeping the wet layers away from the dry ones as much as possible during assembly—even though you are layering them, the pudding should act as a good buffer.
Here’s a pro tip: Lightly toast your crushed vanilla wafers in a dry skillet over medium heat for just 3 to 4 minutes before crushing them. Toasting them dries them out ever so slightly, giving them a little extra backbone to hold up against that creamy pudding layer. It adds a richer, almost nutty flavor, too, which is a lovely bonus!
Frequently Asked Questions About Vanilla Pudding Layered Dessert
I always get tons of questions—and I love hearing from all of you! It’s so rewarding to know you’re making this incredible Vanilla Pudding Layered Dessert at home. If you have other burning questions once you dive into the recipe, please feel free to reach out on my contact page!
Can I use different cookies instead of vanilla wafers in this Vanilla Pudding Layered Dessert?
Absolutely, you sure can! While the vanilla wafer gives you that classic, nostalgic taste we’re going for, this is one of those Easy Dessert Ideas where you can easily customize the crunch. Graham crackers are a wonderful substitute; they add a slightly honeyed note. Golden Oreos are also killer here if you want something a bit richer. Just make sure whatever you choose is crushed fairly evenly so you get that nice textural contrast with the smooth pudding.
Is this considered one of the best dessert recipes for large gatherings?
Oh, yes, 100%! This is probably my top choice when I have to bring a sweet treat to a potluck or a huge family dinner. Since the standard recipe serves 8 people comfortably—and we all know Southerners go back for seconds—it’s scalable! You can easily double or triple the recipe and layer it up in a 9×13 pan. It’s one of the most reliable Easy Desserts For A Crowd because it sets up beautifully in the fridge ahead of time.
How long do I really need to keep this in the refrigerator?
I mentioned this earlier, but it bears repeating because it’s so important! While you *can* serve it after about 90 minutes, you really won’t get the full experience unless you let it chill for at least three hours. For the absolute best result, I always recommend making it the night before. That chilling time is what truly brings all those simple ingredients together into one perfect bite. Don’t rush the magic!
Can I swap out the strawberries for another fruit?
You bet! This recipe is begging for fresh fruit, making it a fantastic foundation for many Easy Desserts With Few Ingredients. Sliced bananas or blueberries work incredibly well mixed into the pudding layers. If you use bananas, though, you definitely need to serve this sooner rather than later, as they brown faster than strawberries. If you want to try raspberries, use them sparingly because their tartness is much sharper than the strawberries.
Sharing Your Homemade Vanilla Pudding Layered Dessert Experience
Well, that’s it! You’ve made something truly divine with just a few simple things, and I hope your house smells amazing right now. I always love hearing how these classic, comforting recipes turn out for you all.
If you made this Vanilla Pudding Layered Dessert, please take a second to drop a rating below—it helps other home cooks find it! Let me know in the comments if you tried a different cookie or added extra vanilla to your mix. Snap a picture and share it; seeing your beautiful layers always makes my day!
Vanilla Pudding Layered Dessert
Ingredients
Equipment
Method
- In a large bowl, whisk the cold milk and pudding mix for 2 minutes.
- Let the mixture stand for 15 minutes, then fold in the sweetened condensed milk.
- Set aside 1 tablespoon of the whipped topping and 2 tablespoons of the wafer crumbs for the top layer.
- Fold the remaining whipped topping into the pudding mixture.
- In a 3-quart serving bowl, create the first layer using one-third of the strawberries, wafer crumbs, and pudding mixture.
- Repeat these layers twice more.
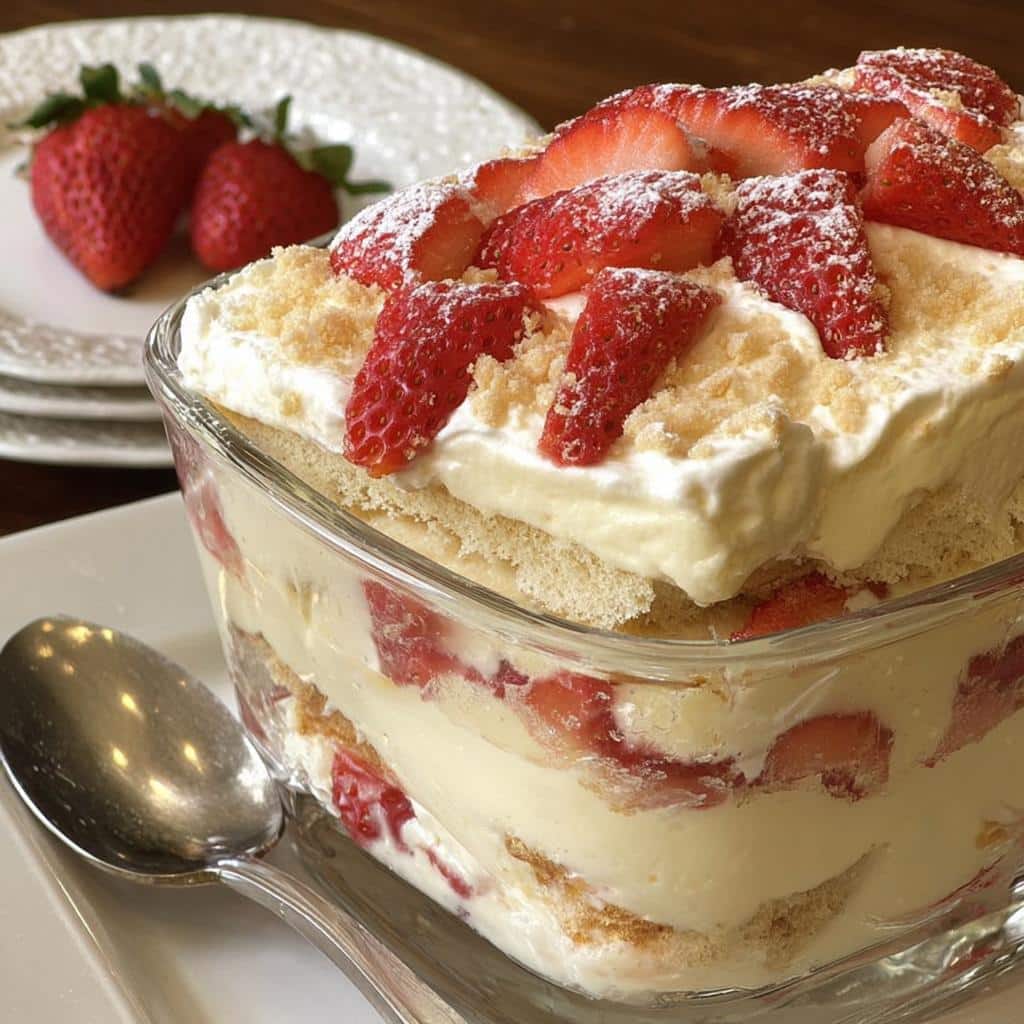
- Sprinkle the top layer with the reserved wafer crumbs, then top with the reserved whipped topping.
- Refrigerate the dessert until you are ready to serve it.