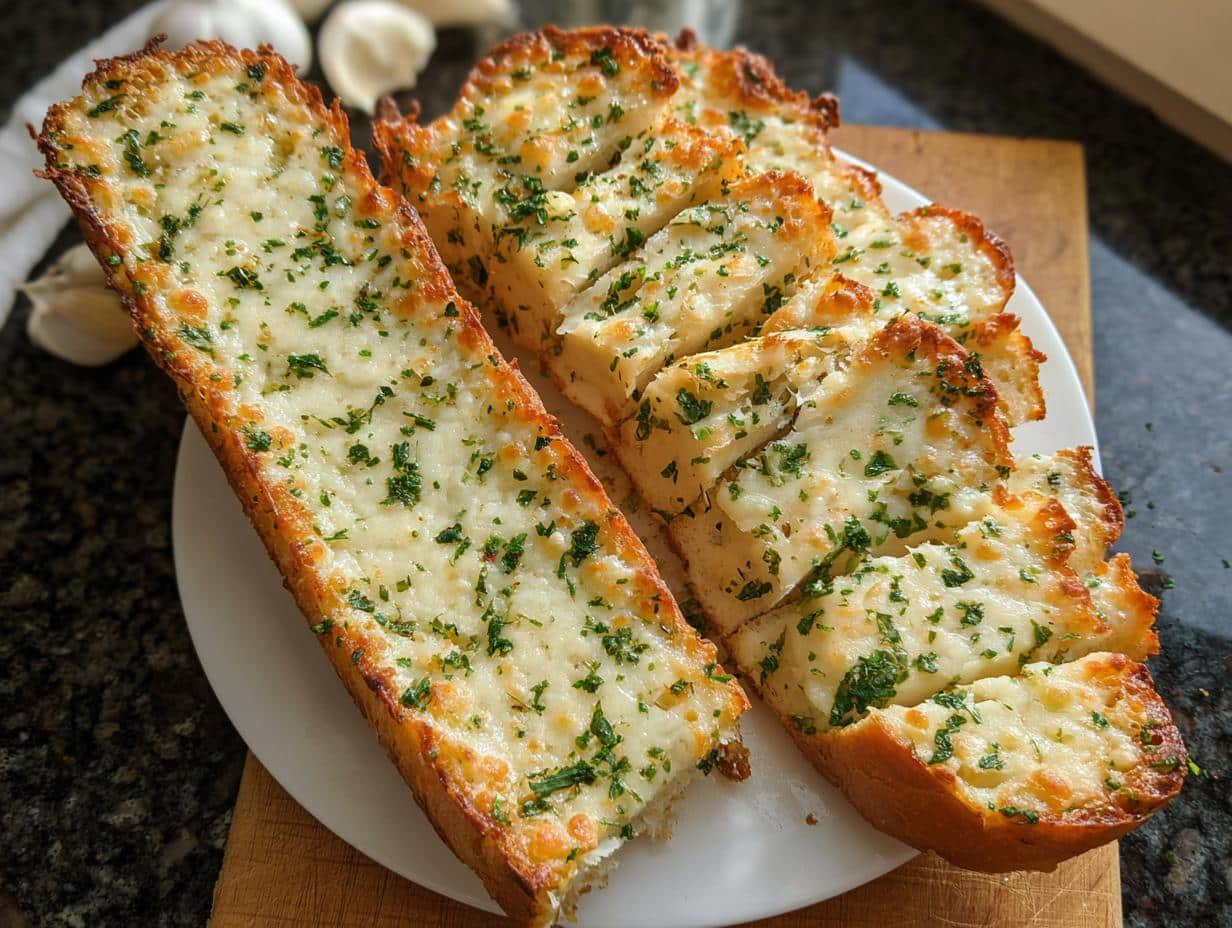
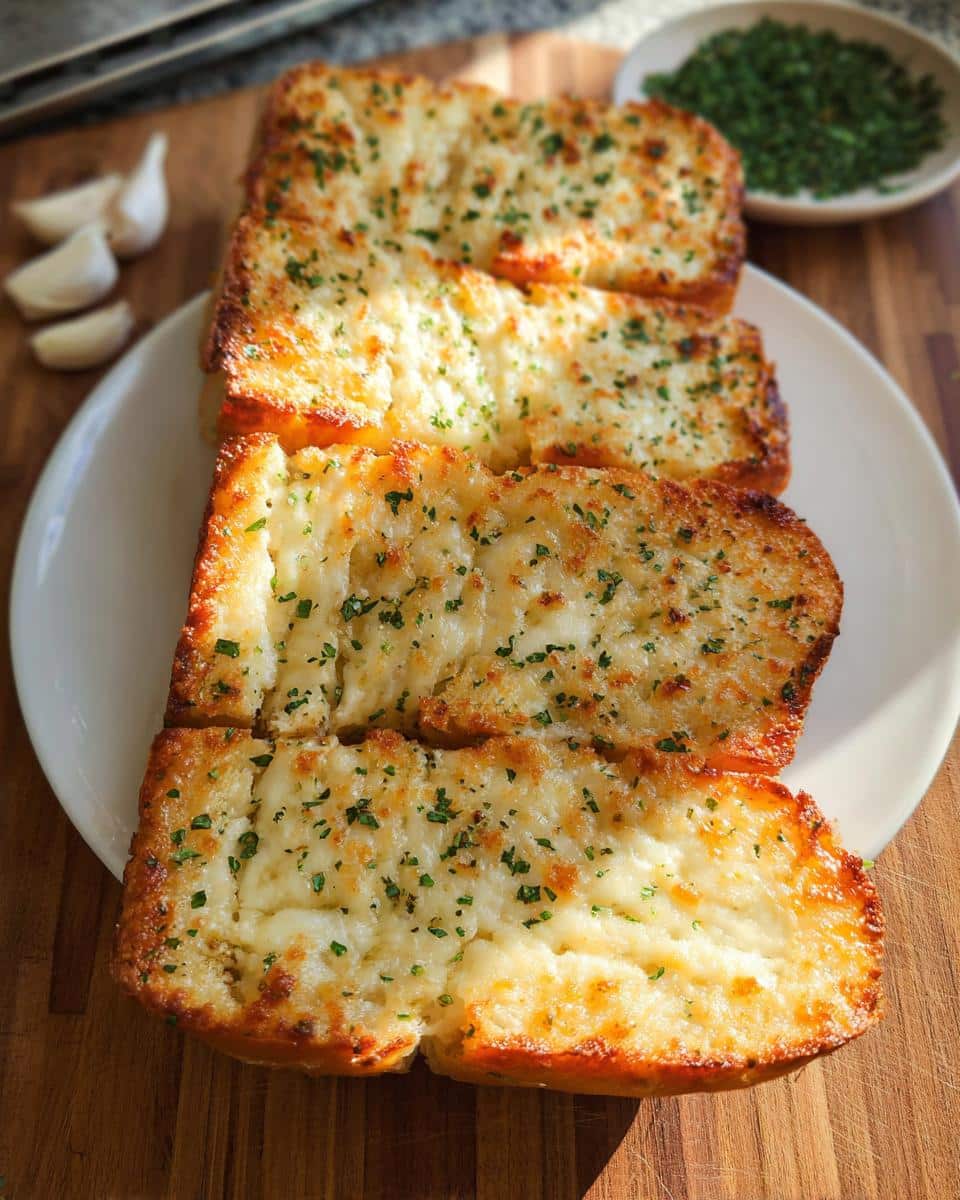
There’s just something about that first bite of warm, gooey comfort food, isn’t there? If you ask me, nothing hits the spot quite like classic, homemade cheesy garlic bread. As a Food Writer who spends most of my time digging into the history of comfort classics, I can tell you this recipe isn’t fancy—it’s just *right*. We aren’t messing around with complicated doughs here; this is the dependable, straightforward side dish that pairs perfectly with any pasta night. I spent years researching traditional side dishes across the South to nail down the exact technique that gives you that perfect balance of crisp edges and that soft, buttery center. Trust me, you’re going to keep this one bookmarked. For more about my background researching these foundational dishes, you can always check out my story over at Top Chicken Eats.
Why This Cheesy Garlic Bread Recipe Is a Staple
I keep coming back to this recipe because it delivers the flavor we crave without ever letting us down. It’s proof that sometimes the oldest methods make for the most Tasty Recipes. When I test things for the site, reliability is key, and this one never fails to impress.
Perfect Texture Every Time
The secret to avoiding that soggy bottom or rock-hard crust lies in trusting the foil. We start the baking process wrapped up tight. This steams the inside of the bread just enough so the center stays incredibly soft and absorbent for the butter. Then, we unwrap it right before the cheese goes on so we can get those beautiful, crisp edges you’re looking for.
Pairing Your Cheesy Garlic Bread
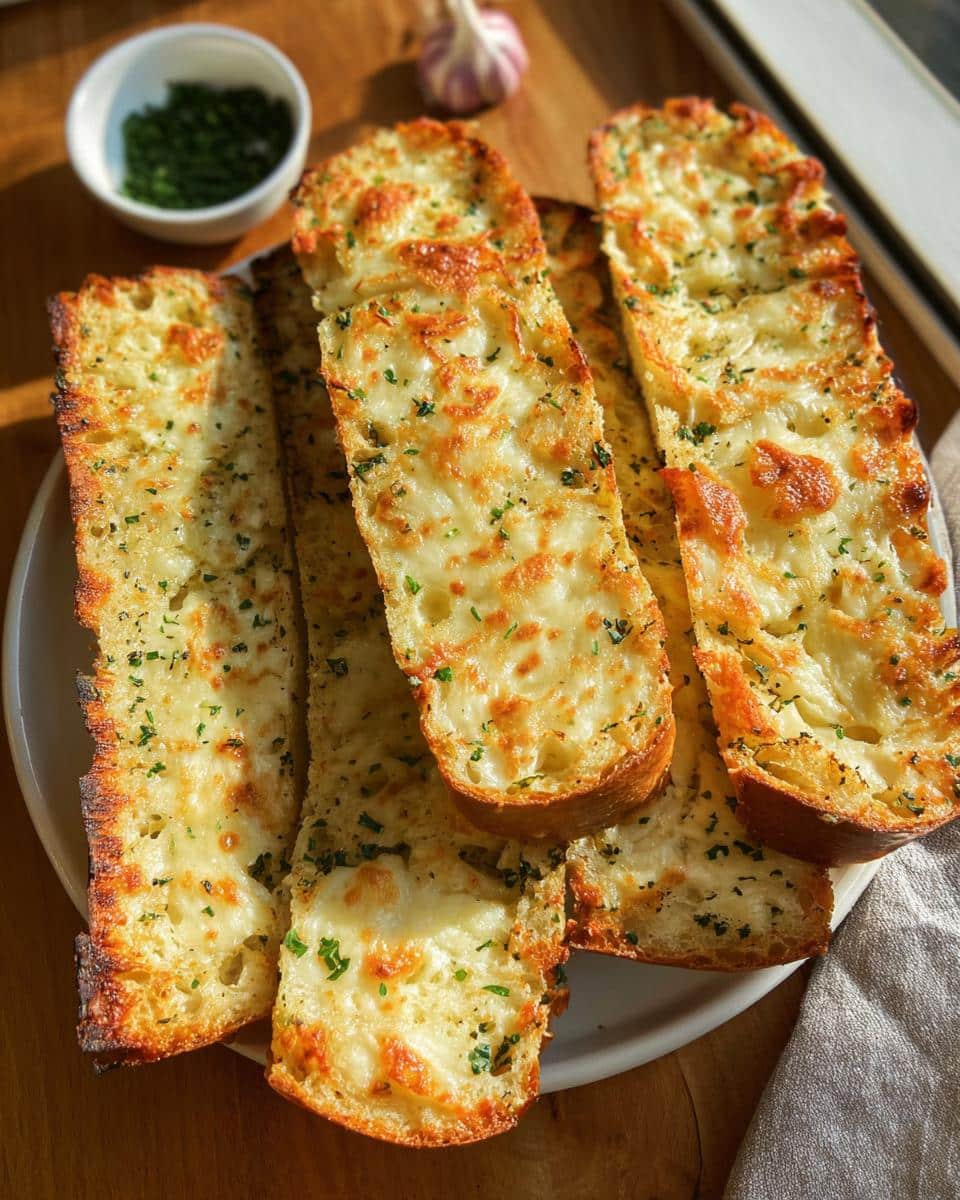
This isn’t just great on its own; it’s the ultimate wingman for dinner. It’s perfect for soaking up the last bit of sauce from a hearty lasagna or dipping into a bowl of creamy tomato basil soup. If you’re looking for other simple additions that round out a plate, these are truly some of the best Easy Meals you can ask for. It just belongs next to everything comforting.
Essential Ingredients for Perfect Cheesy Garlic Bread
When it comes to making something this simple, the quality of what you put in really matters. I gathered up everything you need, and honestly, it’s mostly pantry staples you probably already have sitting around. When bread gets dressed up like this, it turns into something totally stellar—one of those genuinely Tasty Recipes!
For your shopping list—or just checking what’s in the pantry—we are breaking this down into two simple groups. I always recommend setting all your ingredients out first. It makes the mixing process go so much faster, especially when you’re already hungry!
Here is what you’ll grab for this side dish. Don’t forget to swing by the produce section if you need something fresh, like that parsley we use at the very end. You can find some other great suggestions for quick snacks right here at the Top Chicken Eats archives, too.
For the Garlic Butter:
- 1 loaf French bread or Italian bread (about 14 oz)
- 1/4 cup salted butter, softened
- 2 Tbsp olive oil
- 2 tsp minced garlic (or 1 tsp granulated garlic if you’re in a pinch!)
- Salt and freshly ground black pepper, to taste
For the Topping:
- 1 1/4 cups shredded mozzarella cheese
- 1/3 cup finely shredded parmesan cheese
- 1 Tbsp finely chopped fresh parsley
Step-by-Step Instructions for Cheesy Garlic Bread
Alright, let’s get this bread baked! This process is so reliable, even if you’re looking for really Easy Food Recipes to serve up tonight, you won’t break a sweat. The key here is timing and that wonderful little foil tent we build. Always make sure your oven is fully preheated before anything hits the heat. If you want to see my favorite approach to quick weeknight sides that get the job done fast, take a peek at some of these easy recipe ideas.
Preparing the Bread and Foil Wrap
First things first: crank that oven up to 400 degrees F. You need that heat ready to go. Take your French or Italian loaf and slice it right down the middle, lengthwise, so you have two nice, open halves. Now, grab your rimmed cookie sheet. I use two long pieces of foil, overlapping them slightly in the middle. Lay your bread halves cut-side up right on top of that foil.
Creating the Garlic Butter Spread
Time for the magic mixture! In your mixing bowl, make sure that butter is truly soft—we want it scoopable, not liquid. Mash the softened butter, olive oil, minced garlic, salt, and pepper together until everything looks beautifully combined. Now, don’t be shy when spreading this! You want to make sure you coat the entire cut surface, paying extra attention right to the very edges. I always say, if the edges don’t get buttered, they’ll just get dry and sad while baking!
Once the bread is slathered, fold that foil up over the top of the bread. Crimp those edges together tightly, and roll the ends up like you’re wrapping a burrito. We are sealing in all that flavor and steam for the first bake here.
Baking and Adding the Cheese
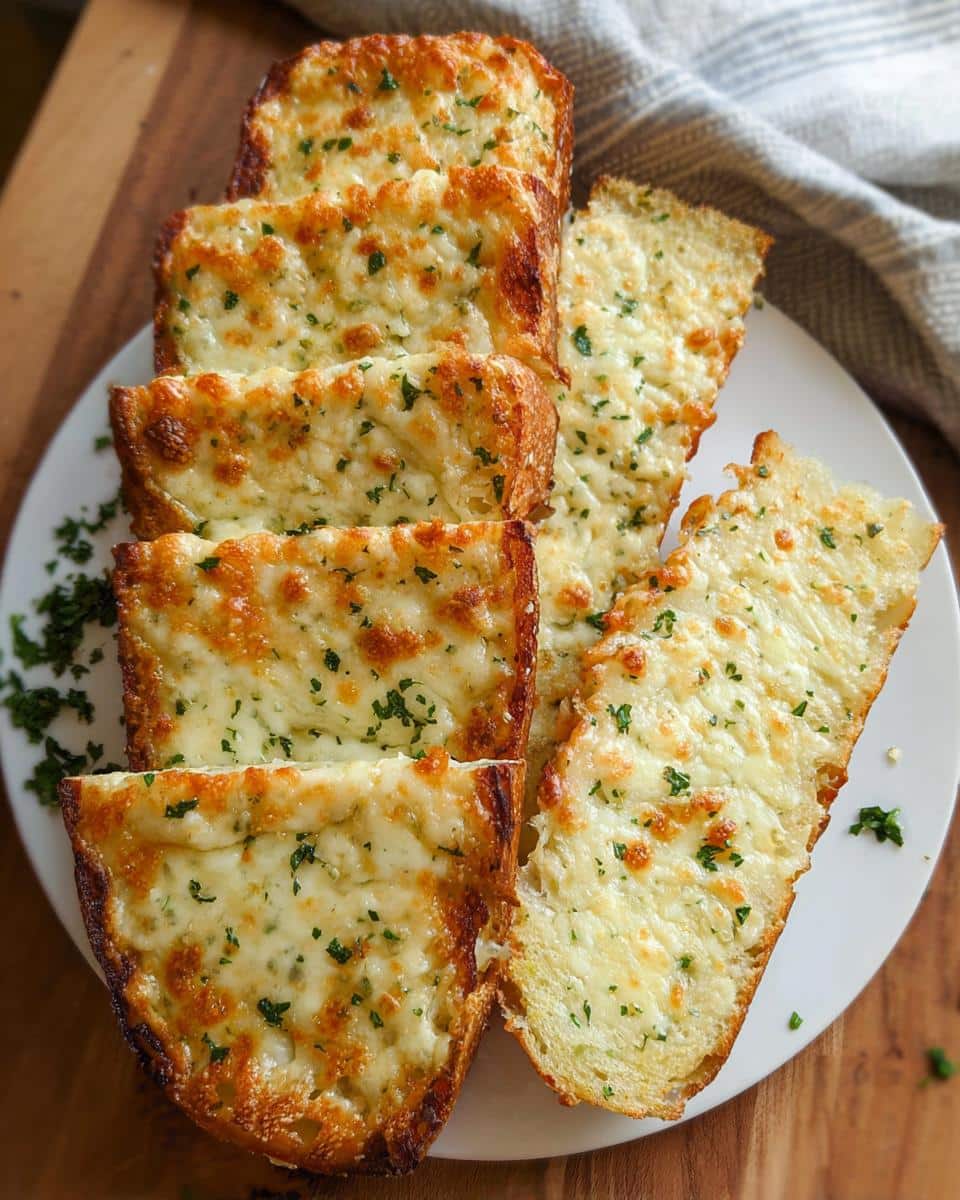
Toss that package onto the middle rack and bake it, wrapped up, for exactly 10 minutes. This steams the interior. When the timer goes off, pull it out, carefully open up that foil, and roll the edges back so the bread is exposed on the cookie sheet. Now, sprinkle your mozzarella and Parmesan evenly over both halves. They should be nice and fragrant already!
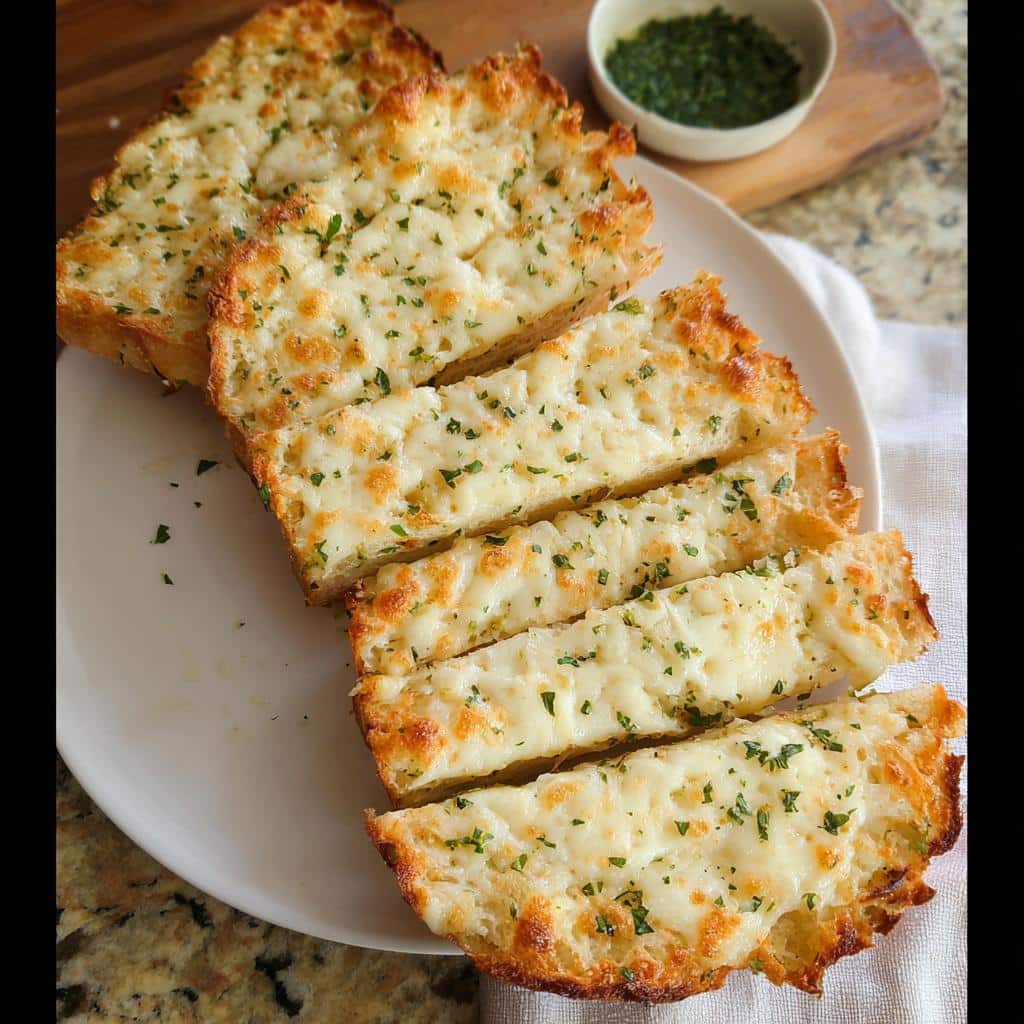
Return the open bread to the oven for another 5 to 6 minutes. If you like that really dark, crunchy cheese top—and who doesn’t?—you can carefully switch over to the broiler for the last minute or two. Just stand there and watch it like a hawk; cheese burns faster than you can blink!
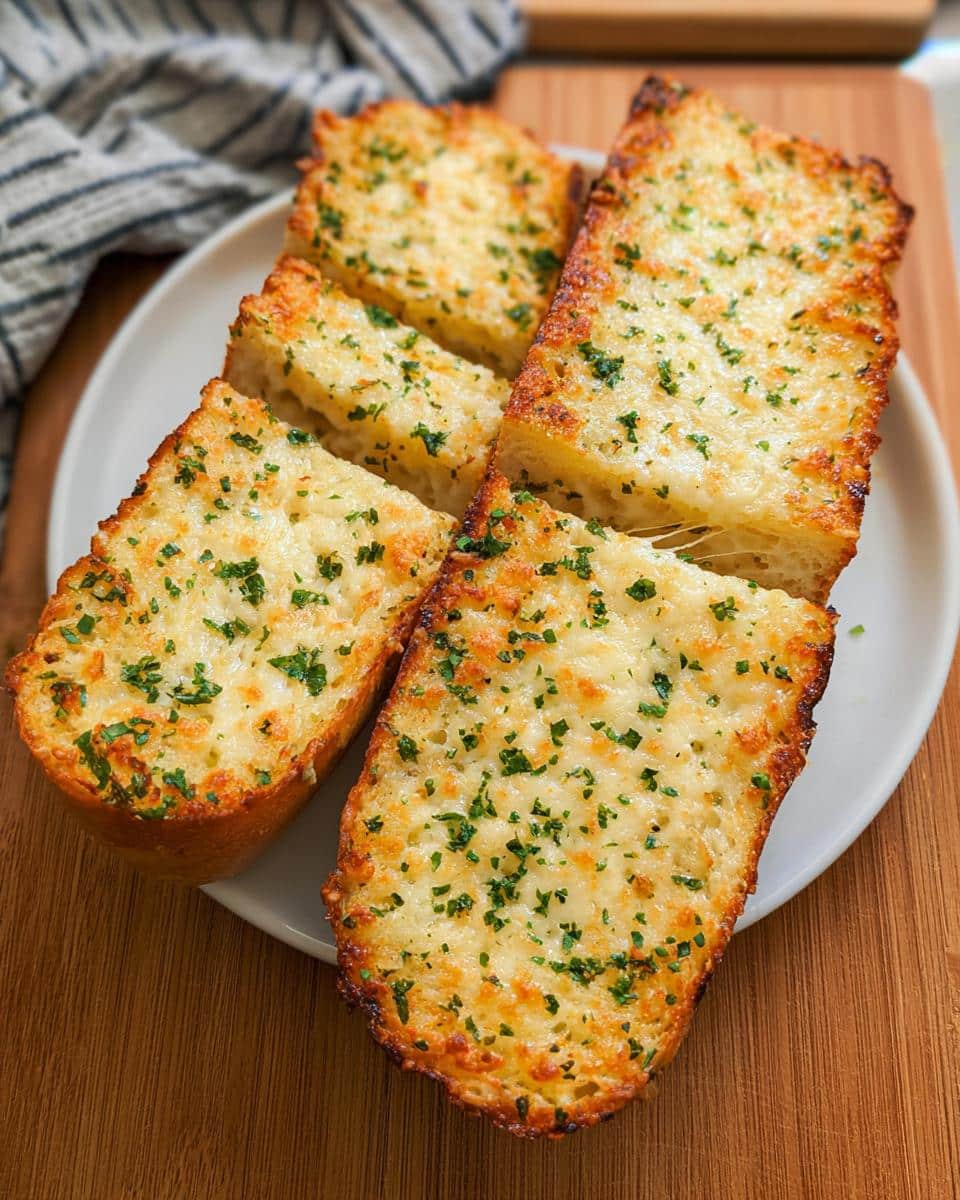
Once that cheese is bubbly and just starting to brown, pull it out. Give it a generous shower of fresh parsley over the top, slice it up right where you cut it before, and serve it immediately. Enjoy that crunch!
Tips for Making the Best Cheesy Garlic Bread
Even though this is one of our most reliable, Good Recipes, there are a few small tweaks you can make depending on what you have or what mood strikes you. Doing a little prep work on the ingredients guarantees that restaurant-quality finish right in your own kitchen. It’s all about taking care with the basics!
Ingredient Notes and Substitutions
I really push for minced fresh garlic because the flavor is so much brighter than powder, but life happens! If you only have garlic powder, use less—maybe a teaspoon instead of the two teaspoons of fresh—since the powder is more concentrated. As for the bread itself, this works great with a sturdy French loaf, but if you want a chewier inside, try using sourdough or even a good, thick slice of Italian bread. Just make sure whatever you pick is nice and fresh!
If you want an herby flavor boost before the cheese goes on, try stirring a tiny pinch of dried oregano into the butter mixture along with the parsley you saved for the top. It adds such a lovely depth, I think you’ll really like it.
Making Cheesy Garlic Bread Ahead of Time
I totally get it; sometimes you need a dinner component ready to go for those hectic nights. Because this recipe is so fast, prepping ahead makes it a real hero for Quick Dinner Ideas. You have a couple of choices here!
If you want to do the most work ahead of time, whip up that garlic butter mixture and keep it covered in the fridge for up to three days. When you’re ready to bake, just let it sit on the counter for about 20 minutes to soften up before you spread it on the bread. Or, if you’ve already baked the bread, let it cool completely, then store it in an airtight container at room temp for a day.
When reheating leftovers, please skip the microwave—it’s the enemy of crispness! Pop leftover baked bread right into a 350-degree oven for about 5 to 7 minutes. It brings back that amazing texture. You can also check out some truly fantastic speedy recipes over here if you need more hands-off cooking ideas!
Frequently Asked Questions About Cheesy Garlic Bread
I always get questions when I post this recipe because everyone wants to make sure their garlic bread turns out perfectly golden. It’s one of those truly accessible dishes, but even simple things can use a little expert clarification! Think of these FAQs as my little bundle of bonus Cooking Ideas to make sure you nail it every time. If you have more questions after trying it, feel free to reach out via my contact page!
Can I use different types of cheese in this Cheesy Garlic Bread?
Absolutely, you can tailor the cheese blend! Mozzarella is the MVP here because it melts like a dream and gives you that classic pull. But if you want more flavor, definitely try mixing in some provolone—it adds a lovely, slightly sharper tang. Some folks even stir in a little sharp white cheddar for extra richness. Just try to keep the mozzarella ratio high so you maintain that perfect gooey texture we’re aiming for in these Easy Food Recipes.
What is the best way to reheat leftover Cheesy Garlic Bread?
Oh, you have leftovers? Lucky you! For the best structural integrity, ditch the microwave completely; it just turns bread sad and spongy. The absolute best way to reheat is in a toaster oven or a conventional oven set to about 350 degrees F for about 5 to 7 minutes. If you have an air fryer, that works beautifully too; it blasts the exterior with heat and brings back that lovely crispness without drying out the inside. It heats up so fast!
Is this considered one of the Easy Recipe Ideas for weeknights?
Yes, 100% yes! I promise you, this is peak weeknight magic. When you look at the total time—only 25 minutes from start to finish—it’s ridiculously fast. It takes longer to dice up the parsley than it does to mix the butter spread. It’s perfect when you have that main dish simmering on the stove and you need a flavorful, hot side dish ready at the exact same time. Definitely a go-to in my book for quick meals!
Estimated Nutritional Data for Cheesy Garlic Bread
Now, I know most of us aren’t whipping up garlic bread in the kitchen while obsessing over calories, but since this recipe is so popular, I wanted to give everyone a ballpark idea of what’s in a single serving—which, for this recipe, is one serving across the whole loaf. Remember, this is based on using standard salted butter, a typical large French loaf, and those amounts of cheese listed above. It’s fuel for enjoying that pasta dinner!
If you’re trying to track things closely, you know that the cheese content can really shift these numbers, so take this as a helpful guide rather than gospel!
- Calories: Estimated around 380 – 420 per slice (assuming 8 slices per loaf)
- Fat: High, due to that heavenly buttery spread and the cheese! Expect around significant amounts of saturated fat.
- Protein: A nice boost from the mozzarella and Parmesan.
- Carbohydrates: Mostly from the bread base.
This is definitely a richer side dish! Because of that, if you’re making this for a crowd, it’s always smart to check with your guests about dietary needs. For an official disclaimer on how these numbers were calculated based on our testing, you can always review the guidelines over at Top Chicken Eats disclaimer page. Basically: it’s delicious, use sparingly if you’re counting macros, and enjoy!
Share Your Homemade Cheesy Garlic Bread Experience
Well, that’s all there is to it! You now have the secret to making consistently perfect, pull-apart cheesy garlic bread. Seriously, this is one of the most rewarding and Easy Cooking Recipes you can conquer. I’d absolutely love to hear how it turned out for you! Did you use sourdough instead of Italian bread? Did you sneak in some oregano? Drop a note in the comments below and give this recipe a star rating so other folks know how much you loved it. Seeing your creations makes my day!
Cheesy Garlic Bread
Ingredients
Equipment
Method
- Preheat your oven to 400 degrees F. Slice the bread in half lengthwise, following the height of the bread. Cut two sheets of foil about 24-inch long and place them side by side, letting one slightly overlap the other on a rimmed cookie sheet. Place the bread, cut side up, on the baking sheet.
- In a mixing bowl, stir together the butter, olive oil, garlic, salt, and pepper. Spoon and spread this mixture evenly over the entire surface of both bread halves, making sure to coat the edges so they do not burn. Wrap the foil over the bread, crimp the edges together, and roll the ends of the foil up.
- Bake the bread for 10 minutes. Remove it from the oven, open the foil, and roll the foil inward. Sprinkle the bread evenly with the cheeses.
- Return the bread to the oven and bake uncovered for 5 to 6 minutes longer. You can broil during the last 1 to 2 minutes of this time while watching closely for a crispier bread and more golden cheese, if you prefer. You do not need to move the rack upward.
- Sprinkle the tops evenly with parsley. Cut the bread into slices and serve it warm.