Oh, you know those nights when all you truly crave is something warm, sweet, and utterly hug-in-a-bowl comforting? That’s when an apple crisp comes calling! Forget everything you thought you knew about desserts that try to be healthy but end up tasting like cardboard. I’m here to tell you that our **Gluten Free Apple Crisp** is different. Trust me on this one!
As a Registered Dietitian, I spend a lot of time finding that sweet spot where fantastic flavor meets real nourishment. This crisp is my go-to for autumn evenings or anytime a craving hits. It uses simple ingredients but delivers that unbeatable contrast: tender, spiced apples nestled under the crunchiest, buttery topping you can imagine. It’s truly the ultimate easy gluten free baking project, requiring just 15 minutes of prep time!
Why This Gluten Free Apple Crisp Recipe Works for Everyone
I designed this recipe because everyone deserves a truly satisfying dessert, especially when dealing with sensitivities. Finding great **Gluten Free Apple Crisp** options shouldn’t be a chore; it should be easy and delicious! We skip the flour hassles but keep all the buttery, sugary goodness you expect in a classic crumble. It’s pure comfort food that everyone at the table—gluten-free or not—will happily devour.
- It only takes 15 minutes to assemble because we keep the steps super straightforward.
- It naturally fits many dietary needs, making potlucks a breeze!
- It smells like heaven while it bakes, which is honestly half the fun.
Ready to try one of my favorite easy gluten free recipes? Let’s look at what makes the texture so darn good.
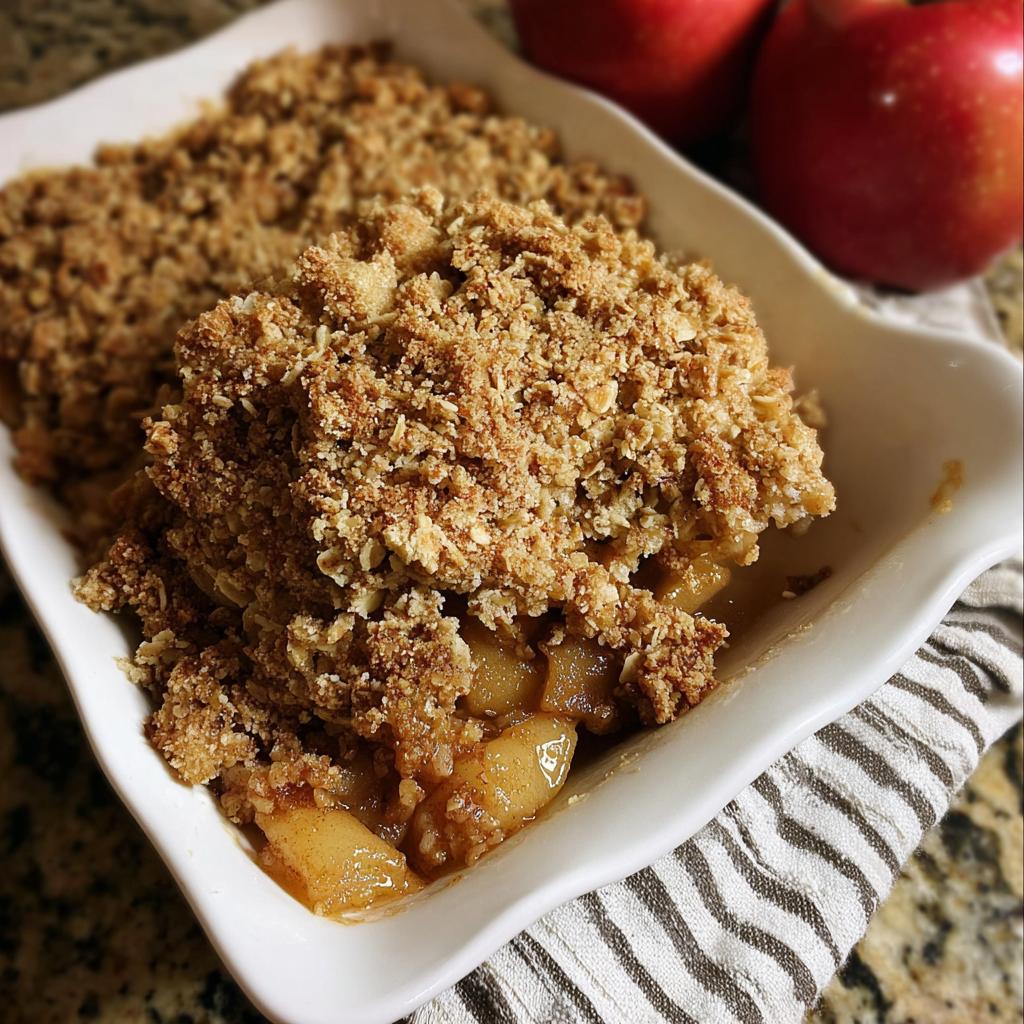
Perfect Textures: Tender Apples Meets Crispy Topping
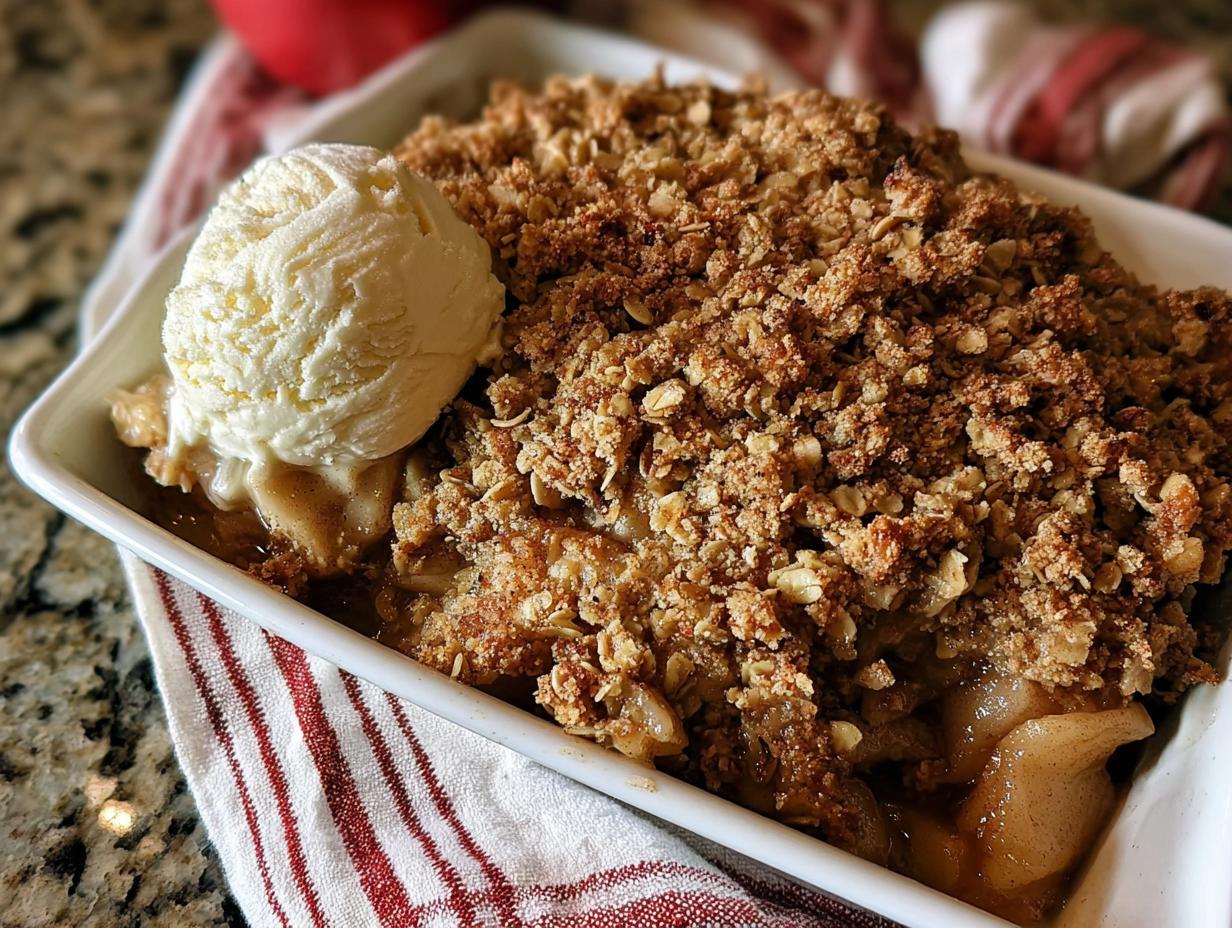
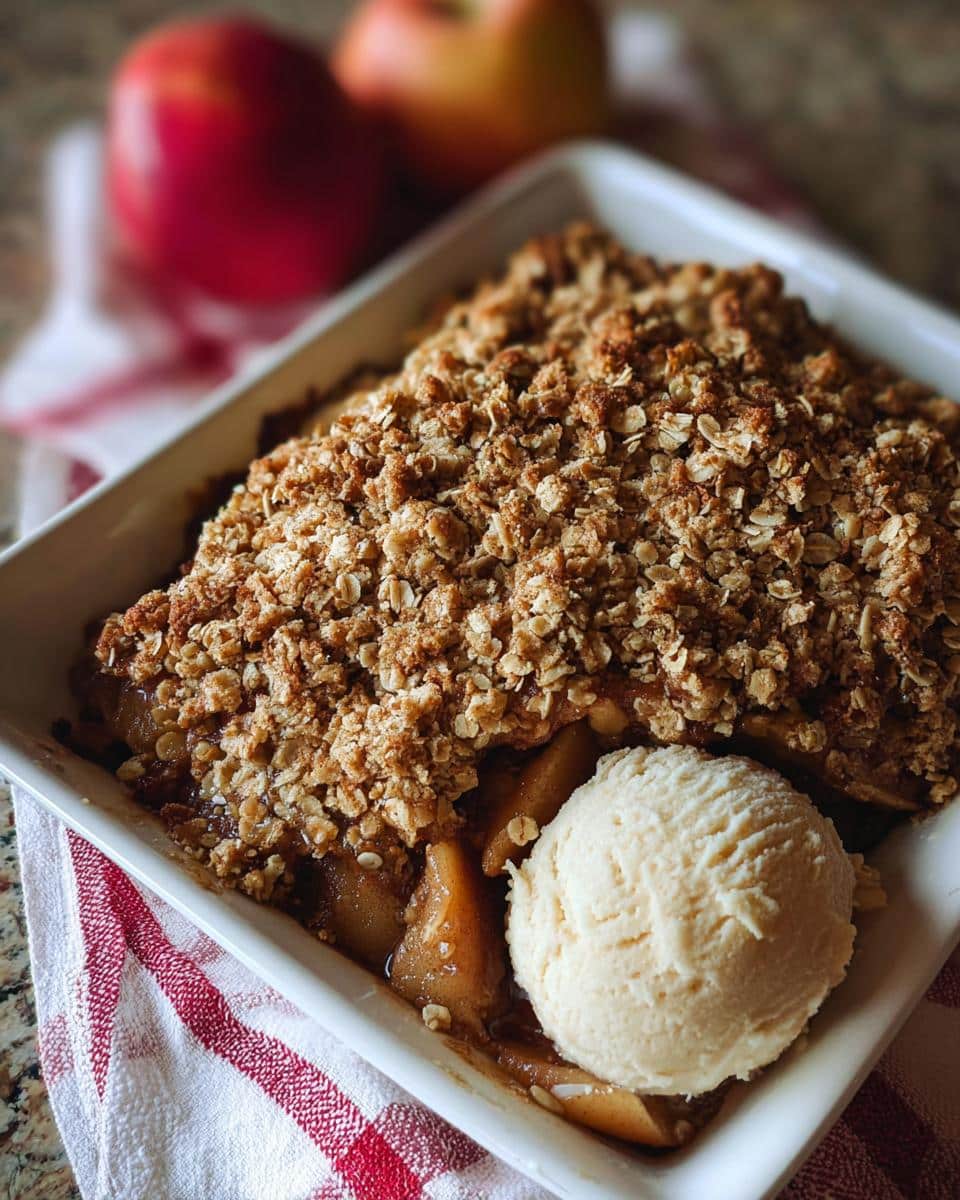
This is where we win! You get that gorgeous melt-in-your-mouth softness from the apples, perfectly seasoned, and then BAM! You hit that incredible layer of golden, slightly chewy-crispy topping. The oats and brown sugar bake together into this wonderful, irregular crunch. It’s that necessary textural contrast that makes comfort food so darn appealing.
Ingredients for the Best Gluten Free Apple Crisp
Okay, let’s get down to brass tacks! Getting the right ingredients is essential, especially when you’re aiming for that perfect, safe bake. The good news is that this crisp comes together fast—we’re looking at about 15 minutes of active prep time, and then 45 glorious minutes while our kitchen fills with the smell of baked apples.
We need to separate our ingredients into two major camps: the sweet, soft apple filling, and that glorious, crunchy topping that makes this a real showstopper. Remember, this recipe is naturally fantastic for anyone exploring Gluten Free Baking Recipes!
For the Apple Filling
This part is simple but needs a good amount of apples to fill out that 9×13 pan. Don’t skimp!
- You’ll need 12 cups of apples, peeled and sliced. I usually grab a mix of Granny Smith and Honeycrisp for the best bite!
- 1/2 teaspoon of cinnamon.
- 2 tablespoons of fresh lemon juice—this brightens everything up!
- 1 tablespoon of water.
For the Gluten Free Apple Crisp Topping
This is where the ‘crisp’ magic happens. We are using certified gluten-free ingredients here so no one has any worries. If you need this to be dairy-free too (which is definitely possible!), just use your favorite non-dairy butter alternative here.
- 1 1/2 cups of firmly packed brown sugar. Make sure it’s packed well so you get that rich molasses flavor!
- 1 cup of gluten-free all-purpose flour. (I’ll chat about my favorites later!)
- 1 cup of gluten-free rolled oats or old-fashioned oats.
- 2 teaspoons of cinnamon.
- 1/2 teaspoon of nutmeg. Yes, cinnamon and nutmeg—they are best friends here!
- 1/8 teaspoon of salt. Don’t skip the salt; it balances all that sugar beautifully.
- 3/4 cup of unsalted butter, cut into small cubes, or a non-dairy alternative. This makes it one of those wonderful Gluten Free Dairy Free Recipes if you swap out the butter!
Step-by-Step Instructions for Your Gluten Free Apple Crisp
This recipe is built for speed, family comfort, and guaranteed success. Honestly, even if you’ve never baked before, you can nail this **Gluten Free Apple Crisp**. It’s so simple, I barely need my stand mixer; sometimes I just use my hands! We are going to take those 15 minutes of prep time and turn them into pure autumn magic. You’ll want to grab your 9×13 baking pan right away, because we move fast!
Preparing the Apples and Oven
First thing’s first: let’s get the oven cranked up to 375 degrees F. Now, take those prepared apples and toss them in the large bowl with the 1/2 teaspoon of cinnamon, lemon juice, and water. Get everything coated evenly. Once that’s done, scoop that beautiful apple mixture right into your 9×13 baking pan. That’s the base layer done!
Creating the Crumble Topping
Time for the best part! Grab your medium bowl and whisk those dry topping ingredients together—that’s the brown sugar, gluten-free flour, oats, cinnamon, nutmeg, and salt. Now, add your cubed butter. This is where you need to decide how much effort you want to put in! I usually grab a pastry cutter, but if you don’t have one, two regular butter knives work like a charm. You want to cut that fat into the dry mix until it looks nice and crumbly, like coarse cornmeal with some pea-sized clumps floating around. Don’t overwork it; those little clumps are what crisp up so beautifully!
Baking and Finishing the Gluten Free Apple Crisp
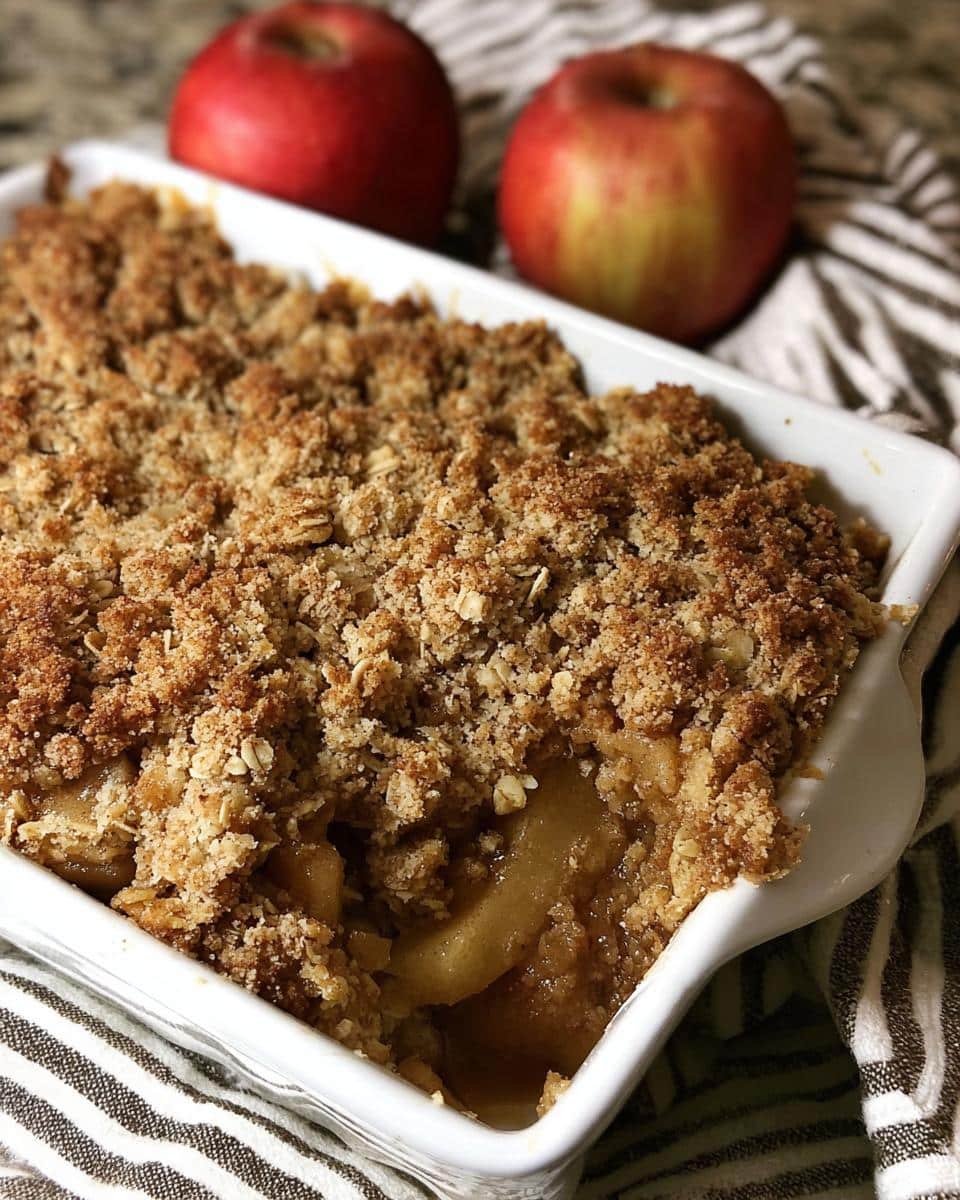
Once your topping is ready, sprinkle it evenly over the apples—don’t try to pat it down, just let it fall where it may! Slide that pan into the preheated oven. We bake this for a solid 45 minutes, or until you see the topping is gorgeously browned and, if you nudge an apple with a fork, it’s completely tender. The very best way to enjoy this simple easy gluten free baking project? Warm, right out of the oven!

Expert Tips for Perfect Gluten Free Baking Results
Baking without gluten takes a tiny bit more attention than regular baking, but trust me, once you know the secrets, it’s just as easy! When I first started testing out this **Gluten Free Apple Crisp**, I had a few disasters where the topping turned soggy halfway through baking—not acceptable for comfort food, right?
My biggest breakthrough came when I stopped grabbing whatever gluten-free flour was on sale and focused only on high-quality ‘1-to-1’ blends. These blends are already balanced with xanthan gum, which is what we need for structure here. Sometimes, even if a recipe doesn’t strictly call for it, using a good blend makes all the difference between dry disappointment and a truly spectacular finish.
Choosing the Right Gluten Free Flour Blend
For the success of this crisp topping, I really stress using a reliable 1-to-1 blend. Brands like Kate’s Real Food Oat Bars (just kidding, I meant the flour brands!)—I mean gfJules or King Arthur are my tested favorites. They bake up reliably without getting gummy. Also, don’t forget your oats! I always use certified gluten-free oats, like those from GF Harvest, just to be safe with cross-contamination for my sensitive readers.
Ingredient Substitutions for Your Gluten Free Apple Crisp
I know that everyone’s pantry looks a little different, and sometimes we just don’t have an ingredient on hand! That’s the beauty of simple baking—it’s so forgiving, especially when it comes to an apple crisp. This recipe is naturally fantastic for so many dietary needs, but here are a couple of swaps you can easily make to tailor it perfectly for your family. You’ll find this recipe is a great starting point for all kinds of easy gluten free recipes!
First off, let’s talk dairy. Since we already mentioned using a non-dairy alternative for the butter in the topping, this crisp slides right into the category of **Non Dairy Desserts**! Just make sure whatever butter stick substitute you use blends and cuts into the dry ingredients the same way real butter does—we don’t want melted butter soaking the flour.
What about the sugar? If you want to dial back the traditional brown sugar in the topping, you absolutely can. I sometimes substitute half of that firmly packed brown sugar with maple sugar or even coconut sugar. It gives the crisp a slightly different, toastier flavor, but it works wonderfully with the apples. Just ensure you pack those alternatives down just as firmly as you would brown sugar for that critical balance in the crumble!
And the apples? Well, you can certainly swap out the apple varieties, but stick to firm, tart ones if you can. Pears are a great direct substitute! If you use pears, you might reduce the lemon juice just a touch, as they aren’t quite as prone to browning. The key to making any of these swaps work is just to keep the main components—fruit filling and crumbly topping—in their proper ratio. It’s all about balance!
Serving Suggestions for This Gluten Free Treats
Oh, this is my favorite part: turning a fantastic dessert into an absolute showstopper! While this **Gluten Free Apple Crisp** is incredible eaten straight out of the pan with a big spoon (I won’t judge!), how you serve it really elevates the experience. Since this is one of those perfect little GF Desserts that feels fancy but is secretly so easy, you have lots of options!
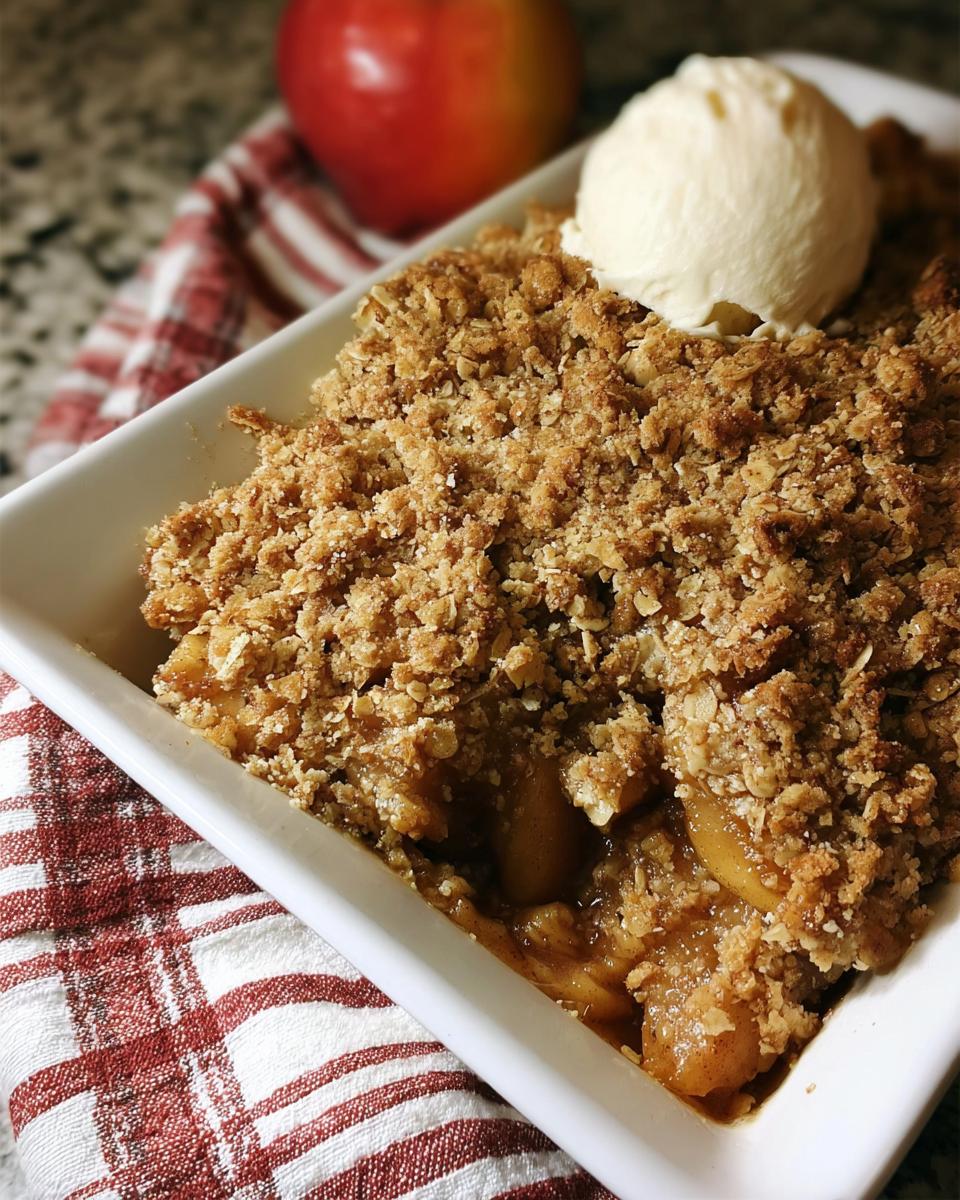
The absolute, non-negotiable way to eat this crisp, in my professional but deeply biased opinion, is warm. When it comes out of the oven, let it sit for about ten minutes so the juices settle down a smidge, but don’t let it cool completely! That warmth is what melts everything else perfectly.
- The Classic Scoop: Nothing beats a scoop of vanilla bean ice cream melting right into those hot apple pockets. If you’re keeping things dairy-free, use a good quality coconut milk or oat milk vanilla ice cream. They melt just as beautifully!
- Whipped Perfection: A dollop of lightly sweetened whipped cream is brilliant. If I’m feeling extra zesty, I whip heavy cream with just a tiny splash of maple syrup and a drop of vanilla—it cuts through the richness of the brown sugar topping beautifully.
- Caramel Drizzle: If you have a few extra minutes, warm up some salted caramel sauce. Pouring that over the already warm crisp and ice cream creates a trifecta of textures and flavors that’s worth every extra second.
This crisp is so versatile, too. It’s clearly a wonderful dessert, but honestly? A small portion reheated the next morning can feel like the world’s best **Gluten Free Breakfast** if you skip the heavy ice cream and add a dollop of unsweetened Greek yogurt for protein. It proves that simple comfort food can fit into any part of your day!
Storage and Reheating the Gluten Free Apple Crisp
One of the best things about a perfect **Gluten Free Apple Crisp** is that it’s actually even better the next day! Seriously, sometimes the flavors of apple and cinnamon just meld together overnight. But you definitely don’t want to ruin that fabulous topping when you reheat it. That’s the trickiest part of any crisp, right?
When you have leftovers—and you probably will, since this makes a crowd-pleasing 8 servings—you need a plan of attack for storage. I always let the crisp cool down completely on the counter before I even think about covering it. If you cover it while it’s warm, you’re basically steaming the topping, and we worked too hard for soggy oats!
Once it’s room temperature, cover the 9×13 pan tightly with foil or transfer portions into smaller, airtight containers. If you keep it at room temperature, it’s fine for about a day. But for the best texture and safety, wrap it up and pop it in the fridge. It keeps beautifully for about four days total. Because this recipe is so easy, it makes the best make-ahead dessert!
Restoring the Crisp Factor
Okay, here’s the absolute non-negotiable rule for reheating this: banish the microwave if you want that crunch back. A microwave heats the apples and turns the topping soft and chewy in about 30 seconds—no good for us! If you want that amazing golden texture back, you *must* use dry heat again.
The best way is popping a portion right back into a 350-degree oven for maybe 10 to 15 minutes, depending on how large your piece is. If you’re only reheating a small serving, you can use a toaster oven, which saves heating up the whole appliance. You want the topping to be hot to the touch and crunchy when you pull it out. Trust me, taking the extra 10 minutes in the oven is worth getting that perfect textural contrast back. It tastes like it was just baked!
Frequently Asked Questions About Gluten Free Apple Crisp
If you’ve got questions floating around, I totally get it! Even though this is one of the easiest Gluten Free Treats around, sometimes the little details for baking without wheat can be tricky. Let’s clear up a few things so you can get baking with confidence. I hear from so many folks who want to make sure their Gluten Free Snaps are just as good as their desserts!
Can I make this Gluten Free Apple Crisp ahead of time?
Yes, absolutely! This is such a great dessert for hosting because you can do a huge chunk of the work earlier. You have two choices. You can fully mix the topping and store it in the fridge for up to three days, keeping it nice and cold—just don’t let the butter fully melt! Or, you can assemble the entire crisp in the 9×13 pan, cover it TIGHTLY, and keep it in the fridge for up to 24 hours. When you are ready to bake, just add about 10 to 15 minutes to the baking time since the dish will be cold. It’s one of the best ways to guarantee a warm bake for unexpected guests!
Can I substitute the apples with other fruits?
Oh, you can certainly experiment here! While this recipe is optimized for apples, the moisture and spice balance works beautifully with other firm fruits. Pears are a fantastic swap; just slice them thinly like you would the apples. Peaches in the summer are divine, but they are softer, so I highly recommend only using one tablespoon of water instead of the full tablespoon, and perhaps reducing the baking time slightly to check tenderness sooner. It won’t strictly be a **Gluten Free Apple Crisp** anymore, but it will still be a fantastic GF Dessert!
How do I stop the topping from burning before the apples are soft?
This is a super common issue with any crisp, especially in hotter ovens! If you notice the brown sugar and oats getting dark too quickly, it means the topping is done baking before the fruit underneath has softened enough. My trick? Just grab a sheet of aluminum foil—you don’t even need to grease it—and gently lay it over the top of the pan. It will shield the topping from direct heat, allowing the apples underneath to steam and tenderize without burning your beautiful crumble. Check on it every 10 minutes after you cover it.
Is this recipe naturally dairy-free friendly?
It’s 99% there, my friend! As I mentioned when we talked about the topping ingredients, the base recipe calls for butter. But since we specifically noted that you can use a non-dairy alternative—like a firm, stick-style vegan butter substitute—it easily converts into a wonderful **Non Dairy Dessert**. Just make sure the alternative you choose measures the same way as the butter. This keeps it accessible for so many more people!
A Note on Nutrition for Gluten Free Sweets
Now, before we wrap up, I always feel like I need to add this little note, especially since I’m a Registered Dietitian! When we talk about comfort food desserts like this amazing **Gluten Free Apple Crisp**, we’re focusing on flavor and satisfaction, right? But I know some of you are tracking things closely, so listen up!
Nutritional information, especially for homemade recipes, is always going to be an estimate, and I want to be totally transparent about that. I haven’t plugged this crisp into my calculator down to the exact milligram, because honestly, that misses the point of joy in food! What I can tell you is that the final tally is going to jump around depending on a few things we talked about.
For example, if you use a standard butter brand versus swapping in a specialty vegan butter stick, those fat and saturated fat numbers will shift. Same goes for the sugar! If you use coconut sugar instead of brown sugar, the micronutrient profile changes slightly. So, please treat any full printout of nutrition you might calculate as a general guideline only. For the most detailed information about using my site and food advice, you can always check out my disclaimer page here: my full nutritional disclosure.
The important thing is that we’ve made smart swaps—we ditched the wheat for something easier to digest, we packed it with fruit, and we made sure every bite of this **Gluten Free Sweet** is ridiculously satisfying!
Gluten Free Apple Crisp
Ingredients
Equipment
Method
- Preheat your oven to 375 degrees F.
- In a large bowl, stir together the sliced apples, 1/2 teaspoon cinnamon, lemon juice, and water. Scoop this mixture into a 9×13 baking pan.
- In a medium bowl, whisk together all topping ingredients except the butter. Use a pastry cutter or two knives to cut in the butter until the mixture looks crumbly. Sprinkle this topping evenly over the apples.
- Bake at 375 degrees F for 45 minutes, or until the apples are tender and the topping is crisp and browned.
- Serve the crisp warm with whipped cream, ice cream, or a non-dairy alternative.