Oh, seriously, who hasn’t been there? You just need that perfect little bite of nostalgic wonderfulness—a gorgeous, classic vanilla cupcake—but the gluten thing gets in the way. Well, stop worrying! Because today, we are tackling that craving head-on with what I promise are the dreamiest Gluten Free Vanilla Cupcakes you will ever make.
As a Registered Dietitian, I get asked all the time how to make baked goods healthier without crushing the joy out of them. This recipe is my answer. They are incredibly light, packed with real vanilla flavor, and honestly, they are so simple that even if you usually struggle with Gluten Free Baking Recipes, you won’t panic.
My whole goal here is to show you that accessible, delicious food doesn’t have to be complicated. Forget dense, crumbly disappointments. We are aiming for pure, fluffy perfection in about 40 minutes total. Trust me, these are going straight into your favorites pile!
Why You Will Love These Gluten Free Vanilla Cupcakes
When I designed this recipe, I wanted elegance without the fuss. Honestly, they are just pure joy in a liner. Here’s why this batch of GF Desserts is about to become your go-to:
- They are unbelievably light and airy—you won’t believe they are gluten-free!
- We keep the steps straightforward, making them perfect for a busy weeknight treat, or for those just starting out with easy dessert recipes.
- We nail the classic vanilla flavor; it tastes exactly like the cupcakes you remember.
- Totally adaptable! They are naturally suited for keeping things dairy-free if you swap out the butter and milk.
- They come out perfectly moist every single time, provided you follow that little note on mixing—promise!
Essential Equipment for Perfect Gluten Free Vanilla Cupcakes
Okay, good news right away! You probably have most of what you need sitting in your cabinets already. Since we are dealing with delicate gluten free cake recipes, having the right tools really helps prevent any sticky situations. We want smooth sailing here!
You’ll need your trusty muffin pan, of course, ready for those 12 gorgeous little cakes. A large bowl is vital for creaming that butter properly, which sets the stage for that fluffy texture we’re aiming for.
Also, grab a standard baking cooling rack—don’t skip this—and an ice cream scoop. Seriously, the scoop is my secret weapon for making sure all 12 gluten free sweets are exactly the same size. And finally, have your piping bag ready for the frosting later!
Ingredients for Light and Fluffy Gluten Free Vanilla Cupcakes
Finding the right ingredients is where the magic really starts, especially when you’re working with gluten free baking recipes. I’ve broken this down so you can see exactly what goes into the cake and what we need for the creamy topping. Remember, quality matters here; don’t think about skimping on the vanilla!
If you’re looking for more quick recipe inspiration, check out my collection of easy gluten free recipes—they all use that same philosophy of big flavor, simple steps.
For the Gluten Free Vanilla Cupcakes Batter
This is the core of our light little treats. Pay close attention to that flour! It makes all the difference when avoiding gluten.
- 6 tablespoons unsalted butter, softened. If you need a gluten free dairy free recipe, use a good butter substitute like Smart Balance.
- 3/4 cup granulated sugar.
- 2 large eggs.
- 1 tablespoon pure vanilla extract. Don’t even think about the imitation stuff here; we need the real flavor!
- 1 1/4 cups gluten-free all-purpose rice flour blend WITH xanthan gum. I really recommend the Pillsbury blend for the best texture in gluten free cake recipes.
- 1 3/4 teaspoons gluten-free baking powder.
- 1/4 teaspoon salt.
- 1 cup milk. Feel free to use unsweetened almond, cashew, or coconut milk if you’re aiming for non dairy desserts.
For the Vanilla Buttercream Frosting
This frosting is pure heaven, and yes, it also works beautifully with dairy-free alternatives, keeping these as the ultimate gluten free treats!
- 3/4 cup unsalted butter, softened (again, Smart Balance works great as a dairy-free swap).
- 1 tablespoon pure vanilla extract.
- 1/4 teaspoon salt.
- 4 cups confectioners’ sugar. Yes, that’s correct—four cups for fluffy, pipeable frosting!
- 3 tablespoons milk (use your favorite non-dairy option here too).
Step-by-Step Instructions to Bake Gluten Free Vanilla Cupcakes
This is where the fun starts! Don’t let the gluten-free label scare you; these instructions are designed to be super clear, especially if you’re baking with energetic little helpers—check out some of my favorite ways to involve the kids here!
Preparing the Oven and Dry Mix for Gluten Free Vanilla Cupcakes
First things first: get that oven warmed up to 350°F. That’s the perfect temp for these gluten free sweets. Then, prep your muffin pan—I always line mine with papers, but a good spray of nonstick works too. Now, grab your large bowl and get that softened butter creamed until it’s happy and smooth. Once it looks good, start adding that sugar slowly and beat it until everything turns pale and fluffy. This creaming step sets up the whole texture, so take your time!
Mixing the Wet Ingredients and Finishing the Batter
Next up are the flavor boosters! Mix in your two eggs one at a time, making sure the first one is fully incorporated before adding the second. Follow that with your tablespoon of vanilla extract. Once that’s smooth, gently add your dry stuff—the gluten-free flour blend, baking powder, and salt. Mix that just until it starts to come together. Now, pour in that cup of milk and mix on medium speed for two full minutes. You want a genuinely smooth batter here; no dry patches allowed!
Baking and Cooling Your Gluten Free Treats
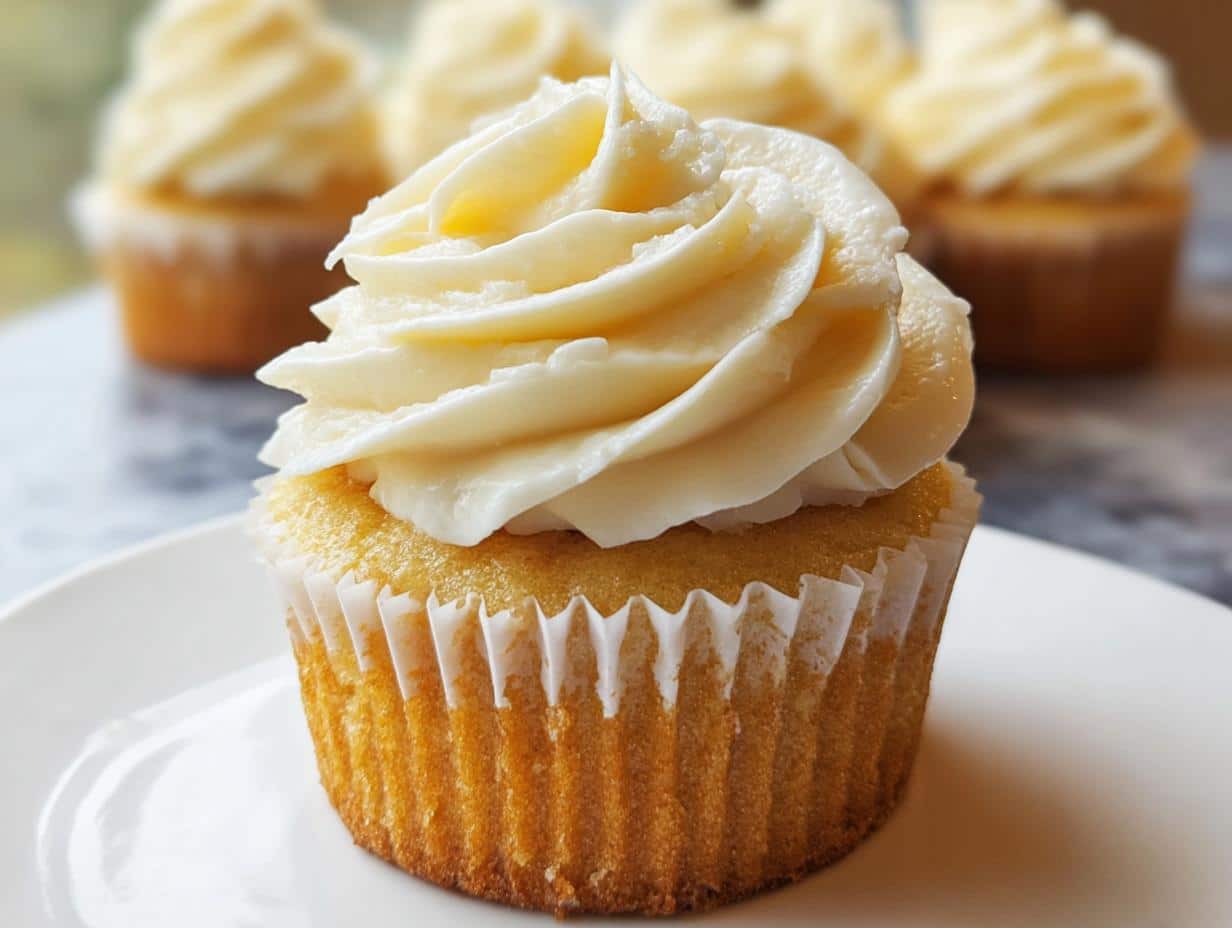
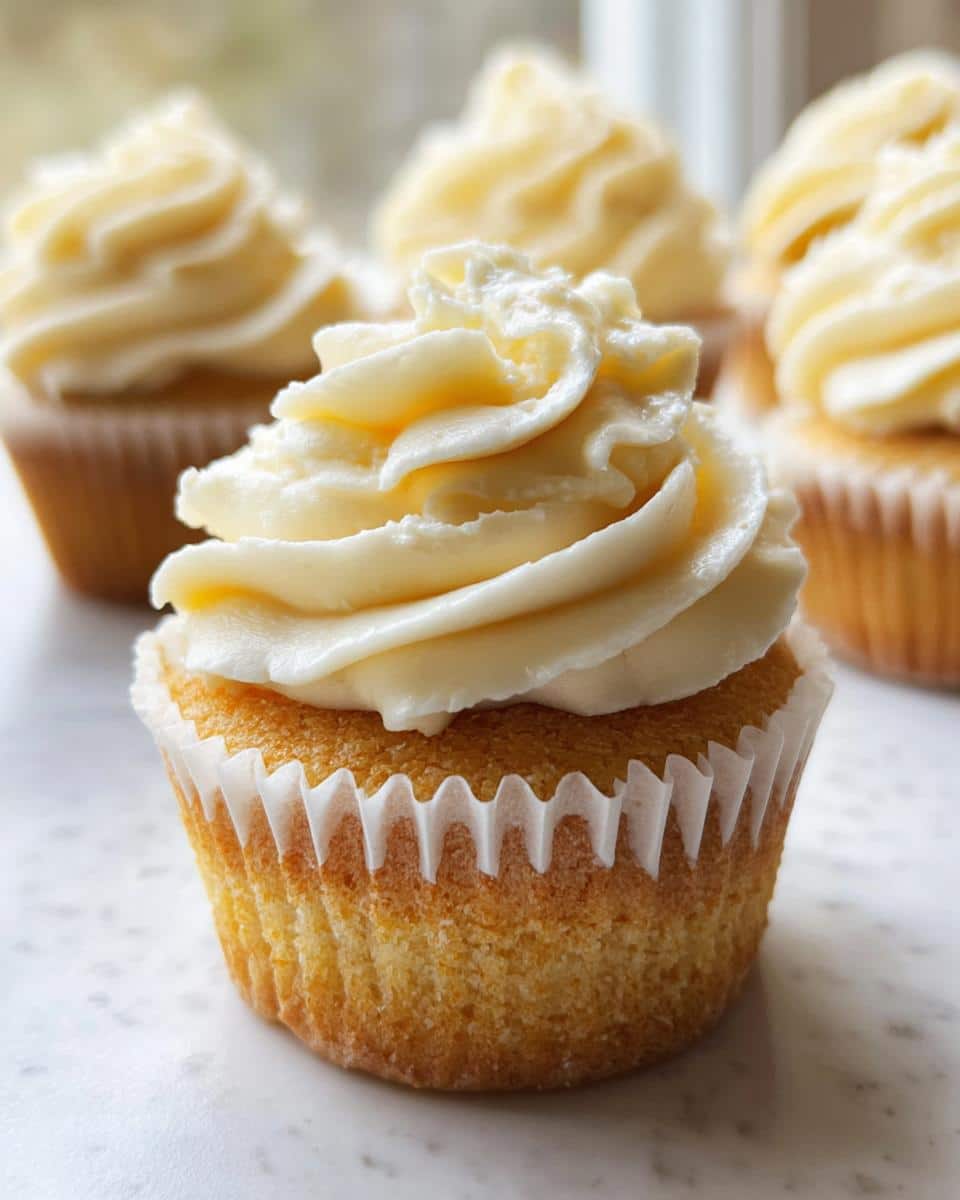
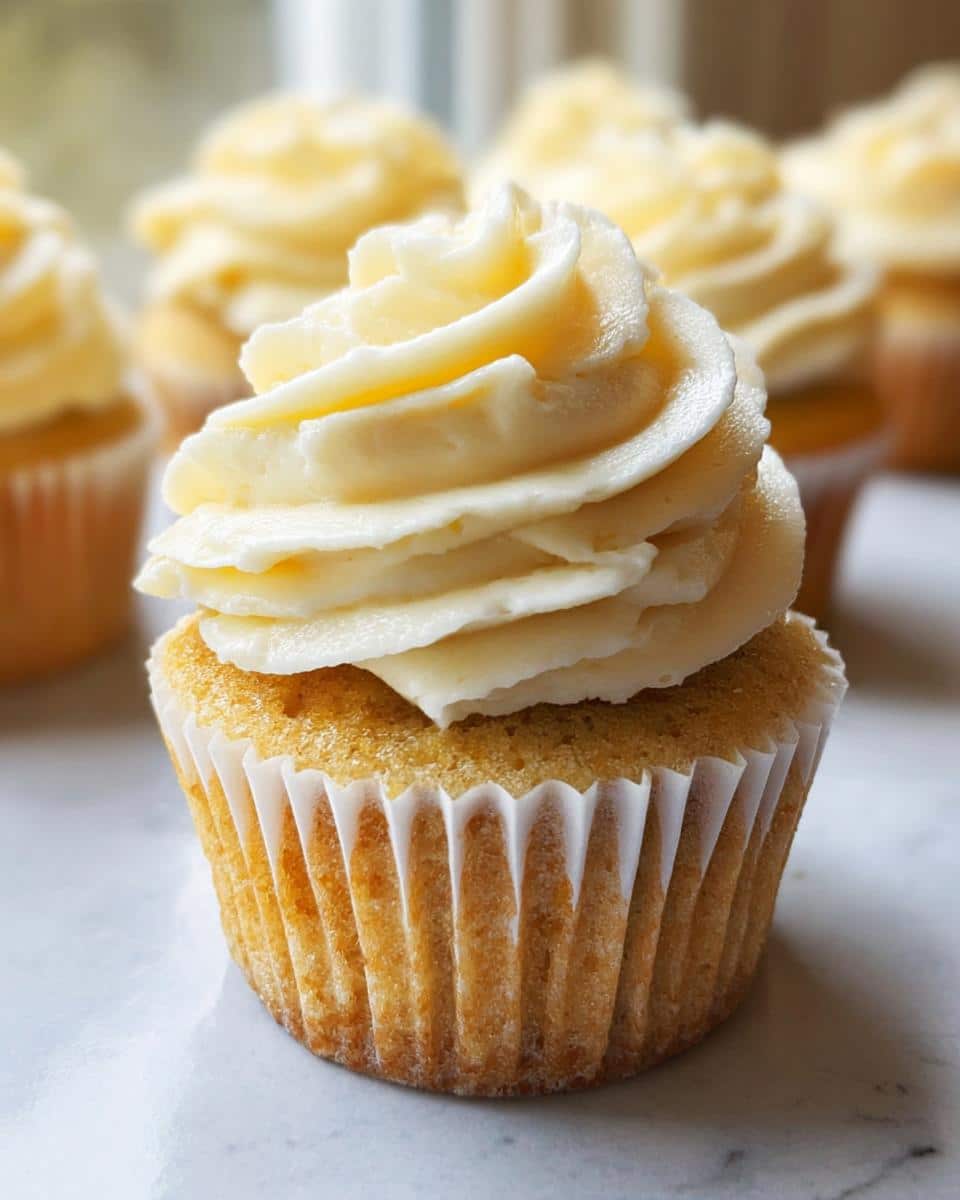
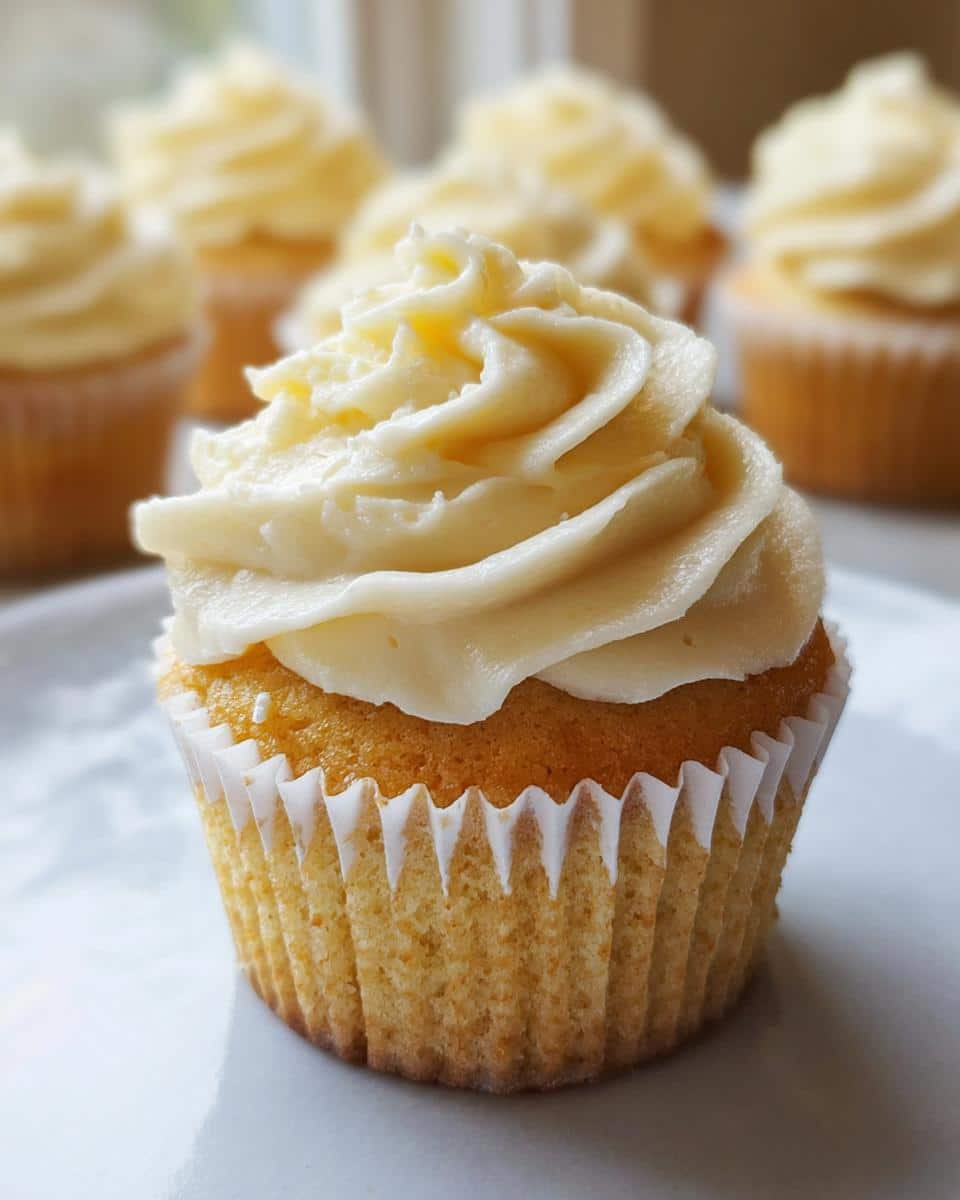
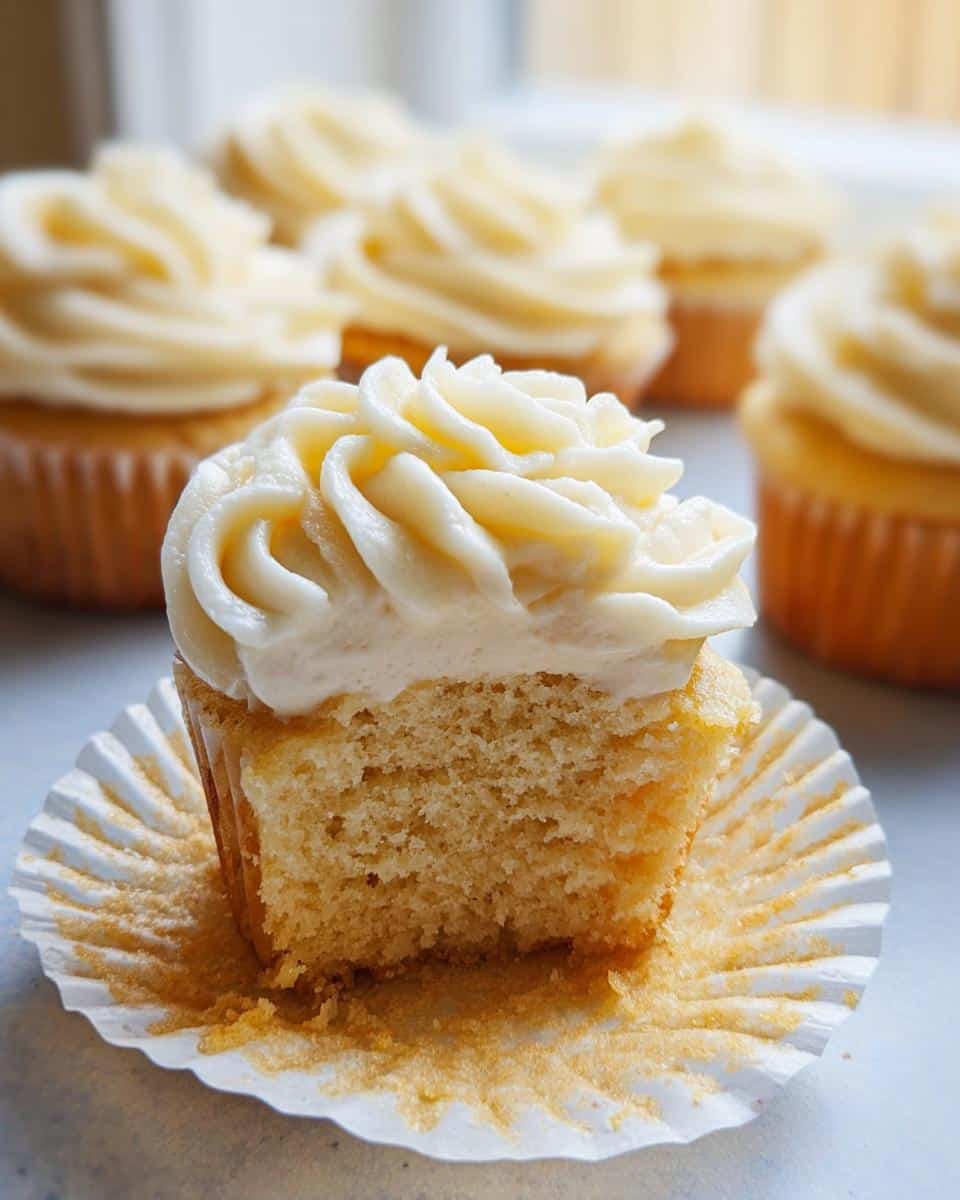
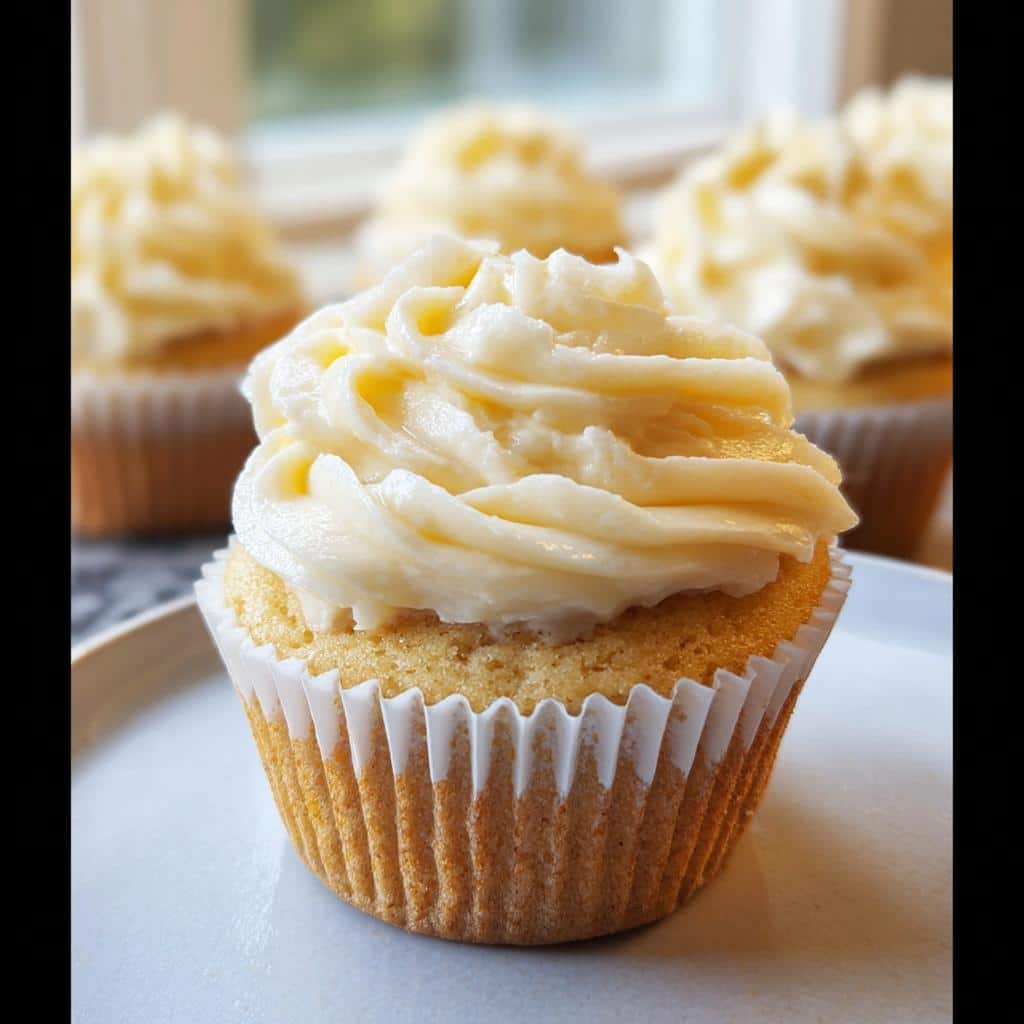
Time to fill those liners! I highly recommend using a greased ice cream scoop for consistent sizing. Fill each cup about two-thirds full. Pop them into the oven for 25 minutes. Remember, every oven is different, so check with a toothpick right around that magic number—you want moist crumbs, not wet batter clinging to it. Once they pass the test, get them out and let them cool in the pan for just a minute or two before moving them, all the way, onto a baking cooling rack. They *must* be stone-cold before frosting, or you’ll have a meltdown!
Whipping the Perfect Vanilla Buttercream
While those little guys are cooling (patience, patience!), we make the topping! Beat that 3/4 cup of softened butter until it’s creamy. Add the vanilla and salt. Now, here comes the sugar—add that confectioners’ sugar, one cup at a time, so it doesn’t explode everywhere! Finally, dribble in the three tablespoons of milk until you get that perfect, gorgeous, easily spreadable stiffness. That’s done! Ready when the cakes are completely cool.
Expert Tips for Mastering Gluten Free Baking Recipes
I’ve learned a few things over the years developing all these gluten free baking recipes, and honestly, mastering gluten-free flour measurement is rule number one. If you just scoop the flour straight from the bag with your measuring cup, you will use too much, and your cupcakes will turn into tiny, sad rocks. Trust me on this one!
The way I do it—and the way that ensures these gluten free vanilla cupcakes stay soft—is the “spoon & level” method. You gently spoon the flour out of the bag into your measuring cup until it’s overflowing a bit, and then use the flat back of a knife to sweep off the excess. It sounds tedious, but it makes a massive difference in the result. This is crucial for good GF desserts!
The Secret to Uniform Cupcakes: Measure with a Scoop
Another little trick that saves me headaches every time is using a greased ice cream scoop when filling the muffin pan. I remember one time, early on, when I just eyeballed the batter into the liners. Oops! Half the batch was overflowing and cracking everywhere, and the other half looked like sad little thimbles. Since switching to the scoop, every single cupcake bakes evenly. If you’re making these for a party or just want them to look professional, get that scoop out, and make sure it’s slightly greased!
Never Rush the Cooling Process
This is the biggest test of willpower, truly. You have to let these cupcakes cool COMPLETELY before you even think about grabbing that piping bag for the buttercream. If they are even slightly warm, the butter in that delicious frosting will melt right off, sliding down the sides in a sugary puddle. I usually transfer them to the cooling rack immediately after a couple of minutes in the pan, as mentioned in the recipe, but then I walk away. Maybe go look at baking photos online, read a chapter of a book, or check out some fun easy snack ideas. Just give them time to lose all their heat!
Follow these three simple things—spoon & level your flour, scoop for consistency, and don’t frost warm cakes—and you’ll master any gluten free treats recipe on the first try, I guarantee it.
Ingredient Notes and Substitutions for Gluten Free Vanilla Cupcakes
One of the best things about this recipe is how adaptable it is! I know finding the right flour blend can feel like solving a mystery when you’re diving into gluten free baking recipes, but I’ve tested this one thoroughly. That specific rice flour blend with xanthan gum? It’s worth grabbing because that’s what gives us that perfect structure; other blends might just collapse. Don’t sweat it if you need to keep ingredients versatile, though!
If you’re aiming for Gluten Free Dairy Free Recipes—and you absolutely can—swapping the butter for a good quality plant-based stick (like Smart Balance) works beautifully in both the cake and the frosting. Same goes for the milk; any unsweetened alternative like almond or cashew works just fine in these gorgeous non dairy desserts. This keeps the flavor right where it needs to be!
If you’d like more ideas on making balanced meals that fit dietary needs, I share tons of tips in my general collection of easy gluten free recipes. Enjoy the flexibility!
Storage and Make-Ahead Tips for Your Gluten Free Sweets
You know how it is—sometimes you bake a dozen gluten free vanilla cupcakes, and you just *know* you won’t eat them all before they get sad sitting out. The good news is that these keep really well, but you have to treat them right, especially since we are prioritizing keeping them moist!
If you left them unfrosted, they are super relaxed about things. Just seal them up tight in an airtight container at room temperature, and they should stay perfect for a couple of days. Honestly, they might even taste better the next day because the flavors settle in.
When you frost them, things change slightly, right? If they have that gorgeous vanilla buttercream on top, I usually keep them covered at room temperature for about a day. After that, if you haven’t eaten them all (which, let’s be real, is tough!), pop them in the fridge. They won’t last quite as long in the cold, so try to eat those frosted guys within three or four days.
My Freeze Strategy for Gluten Free Treats
For me, the real lifesaver is the freezer. This is how I make sure I always have these gluten free sweets on hand for unexpected guests or just a random Tuesday night craving. The best way to freeze them is *before* you frost them. Seriously, frost them right before serving!
Here’s the scoop: Once these gluten free cake recipes have cooled completely, place them in a single layer inside a freezer bag or a sturdy airtight container. If you stack them, make sure you put a little square of parchment paper between each layer so the frosting doesn’t get ruined later! You can actually freeze these for up to three months. Can you imagine having homemade cupcakes ready to go for three whole months?
When you want to eat them, just pull out exactly how many you need. Let them thaw slowly on the counter for a couple of hours, still covered, and they’ll absorb any moisture clinging to them during the thaw. Once they are ready, then you can mix up a quick batch of buttercream and decorate. Easy peasy!
Frequently Asked Questions About Gluten Free Cake Recipes
It’s totally normal to have questions when you switch up ingredients, especially with something as touchy as gluten-free baking! I get asked similar things near-constantly, whether I’m talking about these cupcakes or other fun recipes. Let’s clear up a few things so you feel totally confident whipping up these delicious GF Desserts!
Can I make these Gluten Free Vanilla Cupcakes without xanthan gum?
That is a really important question! Because I specifically called out using a blend that *includes* xanthan gum, I would strongly advise against skipping it entirely. Xanthan gum is doing the heavy lifting that gluten normally does—it’s the thing keeping the structure together and preventing collapse. If your specific bag of gluten-free flour blend doesn’t have it, you’ll need to buy it separately and add about 1/2 teaspoon per cup of flour. Trust me, skipping it means you end up with sweet, vanilla-flavored sandy crumbs in the pan rather than sturdy gluten free vanilla cupcakes.
How can I ensure my Gluten Free Treats stay moist?
Moisture is the biggest battle in gluten free cake recipes, but we’ve got two big weapons here! First, the batter itself. If you over-mix the batter after you add the flour and milk, you develop too much starch, and they get gummy or dense. Mix *just* until incorporated, as we talked about in the instructions. Second, storage is key! Always keep them completely sealed up in an airtight container. If you’re making non dairy desserts, they can sometimes dry out faster than the dairy version, so the airtight seal is non-negotiable if you want them soft the next day. Follow the freezing tips above for the absolute longest freshness!
If you’re looking for other fun ideas that stay perfectly soft, check out my secrets for making great family-friendly meals too!
Serving Suggestions for These Gluten Free Treats
Now that you’ve successfully made and foiled the urge to eat them all straight off the cooling rack, let’s talk about presentation! These gluten free vanilla cupcakes are simple enough to be the perfect canvas for just a touch of extra something, or they are totally happy standing alone.
Honestly, they shine even with just a super light dusting of powdered sugar. That’s what my grandmother always did, and it lets that beautiful vanilla flavor really sing without competition. If you’re feeling a tiny bit fancy, but aren’t up for a whole second batch of buttercream, dust them lightly!
For something fresh, you can never go wrong topping one of these beauties with three fresh raspberries or a sliver of strawberry. The slight tang cuts through the sweetness perfectly, creating a wonderful bite. They look lovely arrayed on a platter like that, don’t they?
My favorite way to enjoy one, usually when the kids are asleep, is alongside a strong, hot cup of coffee. The richness of the coffee really brings out the butteriness in the cake. It’s my go-to way to unwind after testing a new batch of gluten free snacks or just finishing up my work for the day. Sometimes I’ll even drizzle a tiny bit of melted dark chocolate over the top if I’m feeling extra indulgent!
And hey, if you’re looking for ideas for things to serve *with* your cupcakes—like savory bites for a party spread—I’ve got some great easy savory recipe ideas you might enjoy planning alongside these sweet delights!
Gluten Free Vanilla Cupcakes
Ingredients
Equipment
Method
- Preheat your oven to 350°F. Line a muffin pan with liners or spray it with gluten-free nonstick cooking spray.
- In a large bowl, cream the butter until smooth. Add the sugar and beat until smooth.
- Add the eggs and vanilla extract. Mix until everything is fully combined and smooth.
- Add the gluten-free flour, baking powder, and salt. Mix until combined.
- Pour in the milk and mix for 2 minutes on medium speed until the batter is smooth.
- Scoop the cake batter into the lined muffin pan. Use a greased ice cream scoop to measure the batter for consistent results.
- Bake the cupcakes for 25 minutes. Check them with a toothpick to confirm they are done.
- Allow the cupcakes to cool completely before you frost them. Use a baking cooling rack.
- For the buttercream, cream the butter in a large bowl until smooth.
- Add the pure vanilla extract and mix until fully combined.
- Add the confectioners’ sugar 1 cup at a time and mix until fully combined.
- Add the milk and beat until the frosting is smooth and spreadable.