If you’re anything like me, sometimes you wake up craving that cool, green hit of energy but just aren’t in the mood for the sharp jolt of coffee. That’s when I turn to the tea cabinet, and honestly, making a cafe-quality Iced Matcha Latte at home is ridiculously easy. For years, I thought getting that perfect texture without the grassy taste was some kind of secret they only told the Starbucks baristas, but it’s not! This recipe strips away all the complicated nonsense and gives you that refreshing, beautifully layered green tea experience you want, using just a few simple ingredients. Think of it as bringing a little piece of ancient Japanese tea tradition straight into your kitchen, chilled perfectly for a hot afternoon.
Why This Iced Matcha Latte Recipe Works So Well
So, why should you ditch the drive-thru and make this at home? Honestly, it comes down to cleaner energy and fantastic presentation. When I first started making this, I noticed I felt way better than after a standard afternoon espresso slump. It’s just a sweeter, calmer energy that feels more sustainable, even when the day is chaotic.
- It gives you that smooth, steady lift without the crash that coffee sometimes brings.
- It creates one of those stunning, layered drinks that just screams “I have my life together” when you sip it.
- It’s incredibly fast—we are talking five minutes, tops. No long brewing times here!
Smooth Energy Without the Jitters
The magic ingredient here isn’t really the leaf itself, but a little helper called L-theanine. It’s this beautiful compound found naturally in quality matcha. What it does is slow down the caffeine release, so instead of getting that anxious, jittery feeling you sometimes get from coffee, you get this wonderful focus. It’s energetic, sure, but it’s *calm* energy. I love it for long writing sessions; it keeps me sharp but totally centered.
Achieving the Perfect Iced Matcha Latte Aesthetic
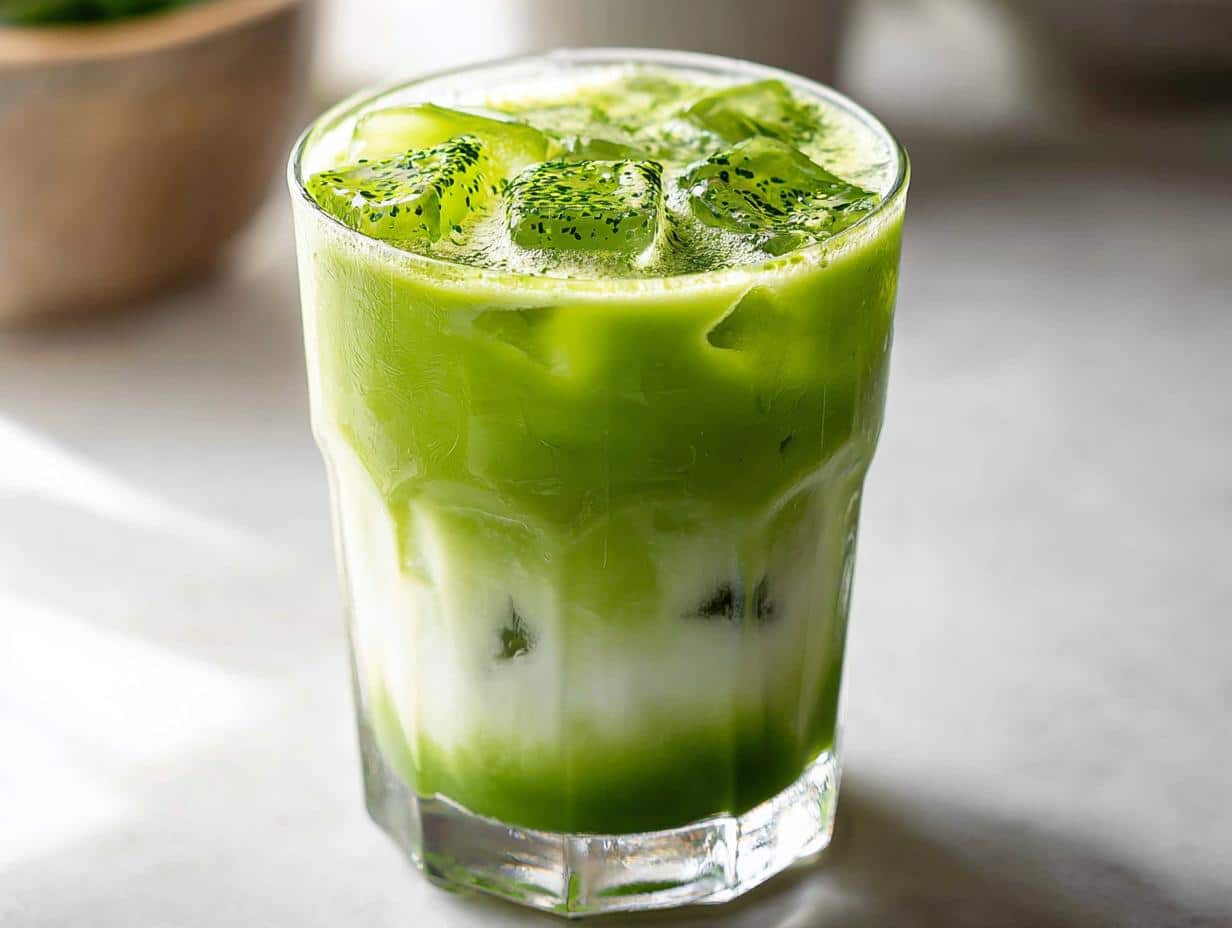
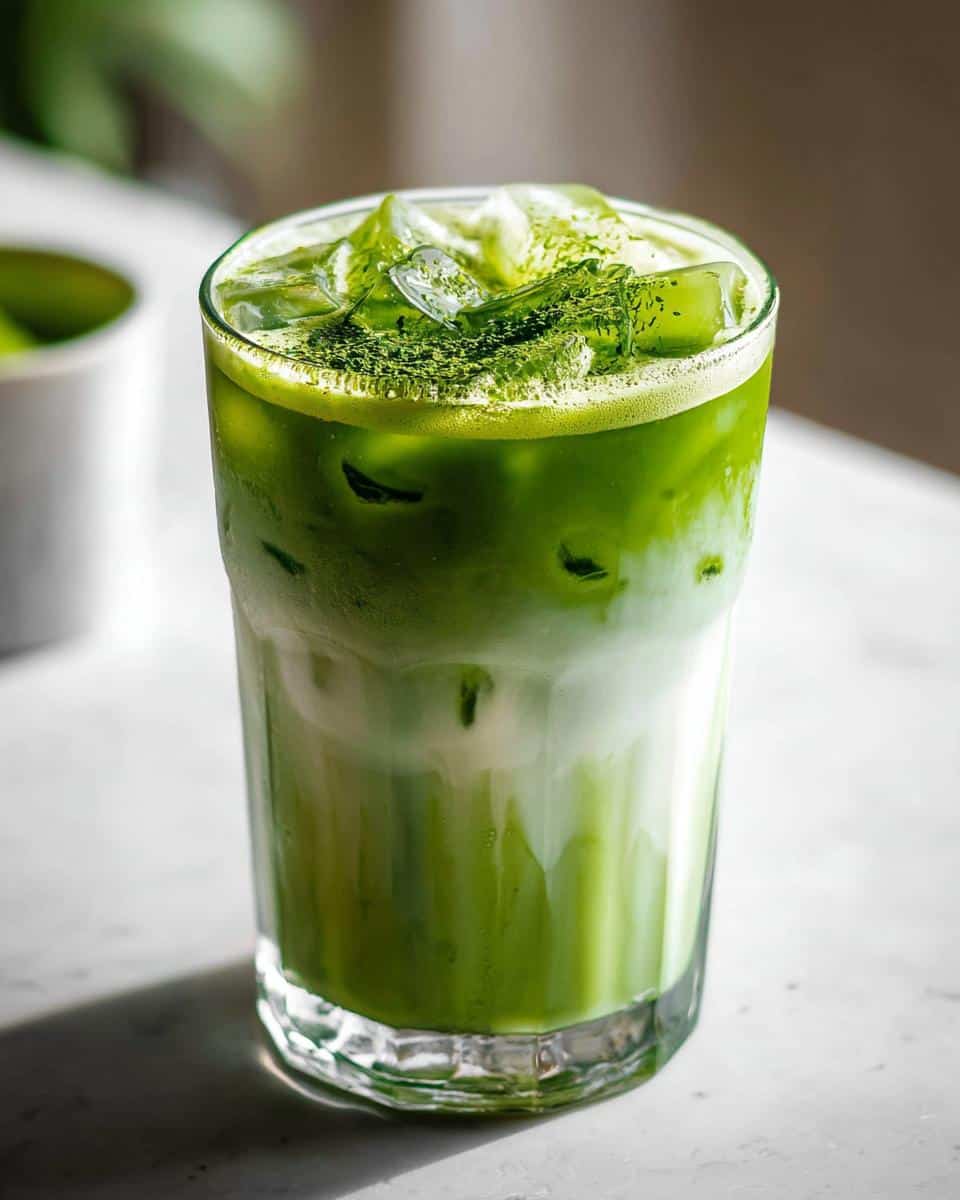
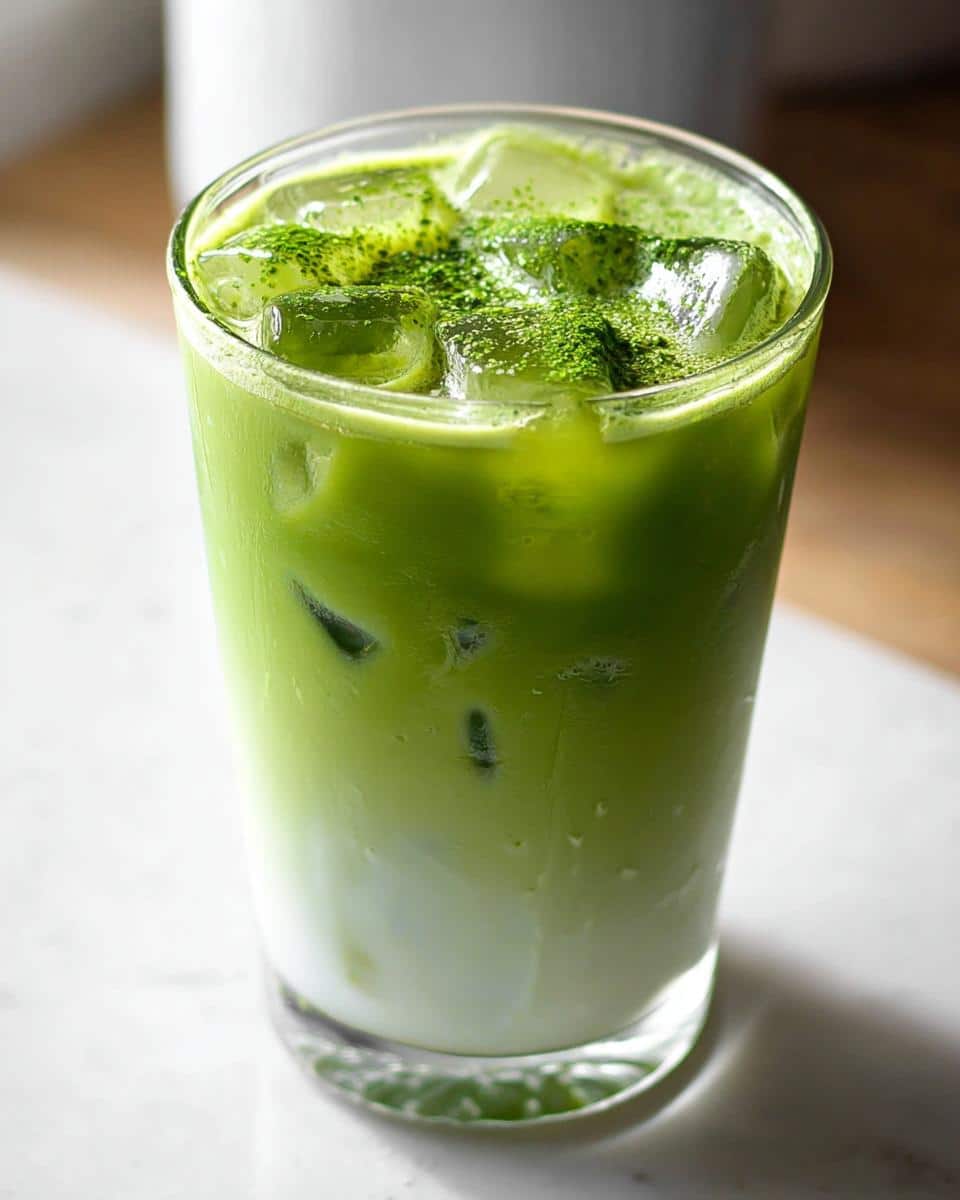
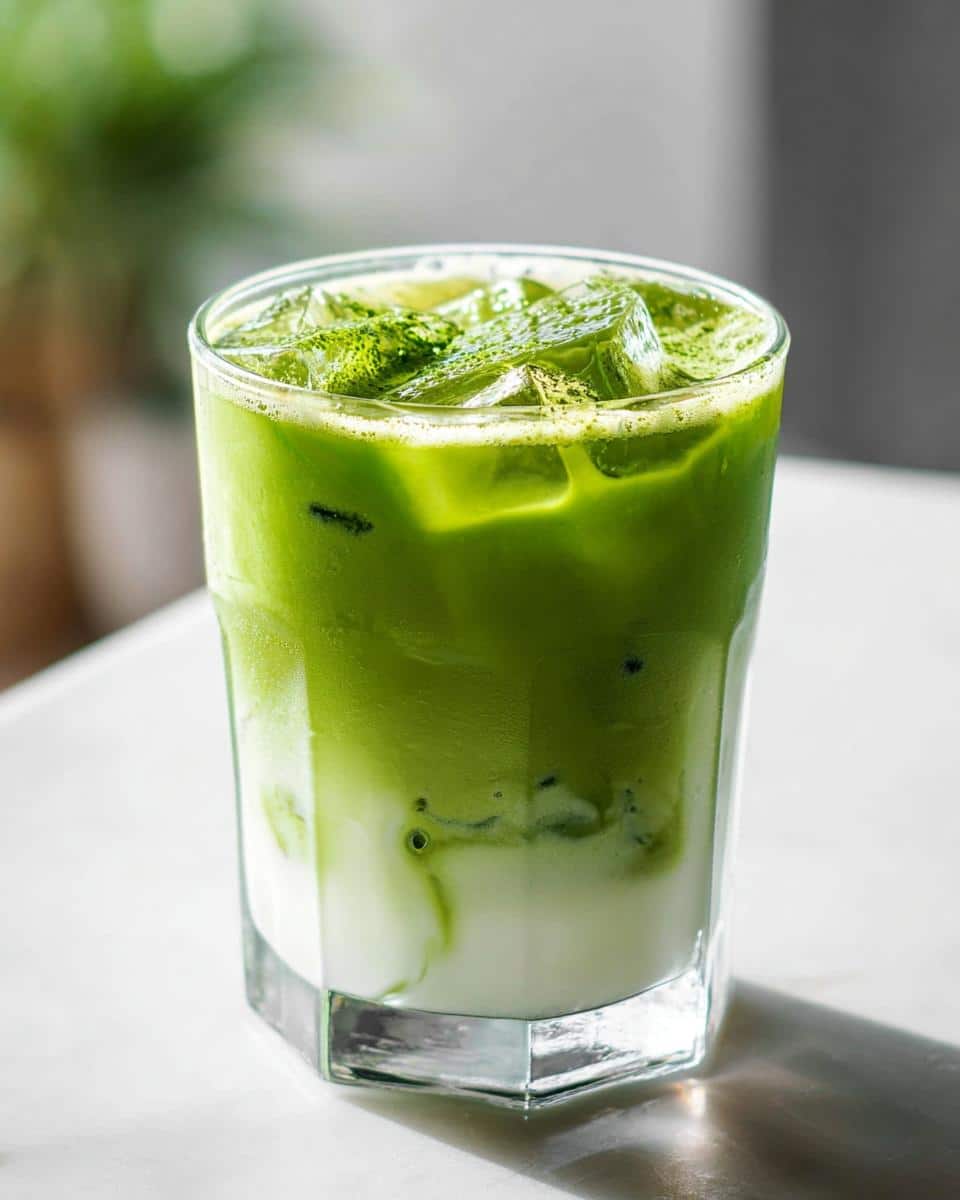
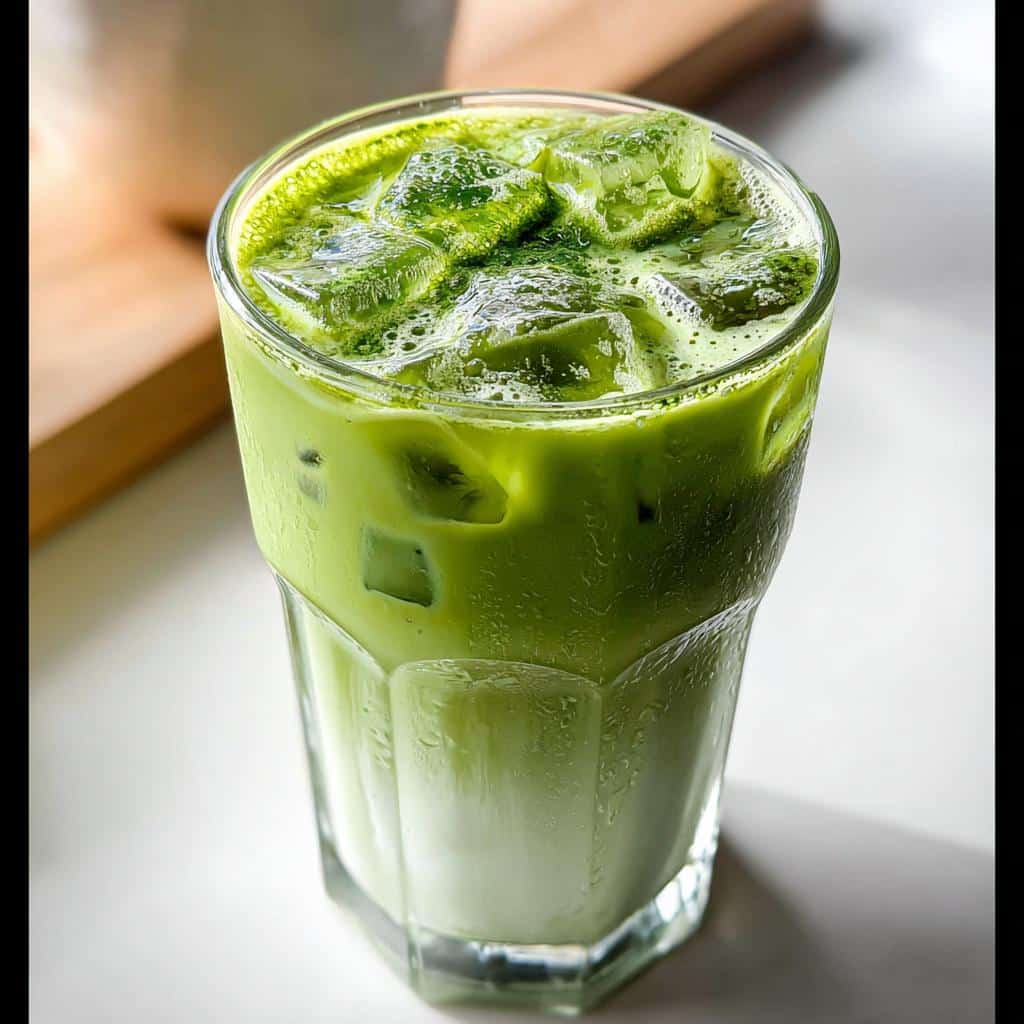
Let’s be real, we drink with our eyes first, right? This Iced Matcha Latte is basically designed to look amazing in a glass. If you layer it correctly—ice, milk, then the bright green matcha on top—you get those stunning bands of white and green. It’s one of those Pretty Drinks that just makes your whole afternoon brighter. Plus, layering it means you get that moment right before stirring where you can admire your handiwork!
Essential Ingredients for Your Iced Matcha Latte
Now that you know why you should be making this, let’s talk about what you actually need to grab from the cupboard. Forget those weird bags of powder from the back of the pantry; quality matters big time here. If you use sad, dusty matcha, you’re going to end up with a bitter mess, and nobody wants that in their afternoon refresher.
We need four main things, plus ice, but the star of the show is definitely the actual green tea powder. Get this part right, and you’re 90% of the way to a perfect drink. I always measure precisely because, with matcha, the ratio of powder to water is everything.
Selecting High-Quality Matcha Powder
This is where you cannot cut corners, trust me. You are looking for ceremonial grade matcha powder. How do you know you have the good stuff? Color is your biggest giveaway! It should be this incredibly vibrant, almost electric, jade green. If it looks dull or brownish, put it back. That dull stuff is often culinary grade, which is great for baking, but it turns harsh and muddy when you whisk it with just water.
When you rub a bit between your fingers, true ceremonial matcha feels almost silky, like baby powder. It has almost zero bitterness straight up because the leaves used are shade-grown and young. This quality powder is what stops your drink from tasting like cut grass and turns it into that smooth experience you get at the nice little tea spots.
Milk Choices for the Best Iced Matcha Latte
The milk choice drastically changes the experience of your Iced Matcha Latte. My personal favorite, and the one I always recommend for that creamy body, is either oat milk—it’s just so naturally sweet and thick—or unsweetened soy milk. They both froth or blend up beautifully, creating a nice layer that sits on top of your concentrated matcha shot.
Almond milk is fine if that’s what you have on hand, but sometimes it can be a little watery, leading to less aesthetic layering. Whatever you choose, make sure it is cold when you pour it over the ice. We are making cold Starbucks drinks style beverages here, after all, not an iced-down hot latte that immediately melts!
Equipment Needed to Prepare the Iced Matcha Latte
Okay, equipment time! Don’t let this part scare you into thinking you need a small tea ceremony setup. You definitely don’t. Most of what you need is probably already in your kitchen drawers. However, there is one specialized tool that makes things much, much easier for this Iced Matcha Latte.
You absolutely need something to whisk that powder into a smooth suspension. If you don’t vigorously mix it, you end up with little green clumps, and those clumps taste bitter and gritty. It’s just not acceptable in my house!
- Small Bowl: This is just for mixing the matcha concentration, so any small ceramic or glass bowl works perfectly fine.
- Matcha Whisk or Milk Frother: This is the MVP. A traditional bamboo whisk (a *chasen*) is lovely, but honestly, those little battery-operated milk frothers work just as well for breaking up those stubborn clumps. If you have a small immersion blender, that’s another powerful option, especially if you tend to make larger batches.
- Glass: Obviously, you need something pretty to drink it out of! I recommend a tall, straight glass so you can really see those layers forming before you take that first glorious sip.
See? Nothing too crazy! As long as you have a tool that can create some real agitation—whether it’s a fast whisk or a blender—you’re set to go. Just make sure whatever you use is completely dry before you add the matcha powder, otherwise, it clumps up instantly!
Step-by-Step Guide to Making Your Iced Matcha Latte
Alright, my favorite part! Getting the steps right here means you avoid the grittiness that ruins an otherwise perfect beverage. The instructions are super simple, but the technique for that first step is everything. Remember, we’re aiming for a smooth, luxurious base, not a rocky swamp in your glass. Trust me, taking an extra minute for the whisking pays off huge dividends in the final flavor profile of your Iced Matcha Latte.
This process moves fast once you get going, so have your glass ready with ice before you even start mixing. We want that separation to happen beautifully!
Creating the Smooth Matcha Base
First things first: the green gold needs dissolving. You need your ceremonial matcha powder in that small bowl. Now, for the water—and this is non-negotiable—it must be hot, but NOT boiling. If the water is too angry, it scalds the delicate matcha and brings out all that bitterness we are trying to avoid. Aim for around 175°F, or just let boiling water sit for about three minutes. Add just a splash of that water, maybe a tablespoon or two initially, and get whisking!
You have to whisk with purpose! Use that bamboo whisk or frother in a quick W or M motion—don’t just stir in circles. You are trying to incorporate air and break down those particles. Keep going until the surface looks foamy and totally lump-free. This concentrated, smooth shot is the secret to a high-quality Iced Matcha Latte.
Assembling Your Cold Starbucks Drinks Style Drink
Once your vibrant green base is ready, grab your serving glass and fill it up with loads of ice. Seriously, pack it in there tight, especially if you are trying to mimic those amazing Cold Starbucks Drinks! Next, slowly pour in your cup of cold milk of choice over the ice. If you want it sweeter, this is the time to drizzle in your maple syrup or chosen sweetener.
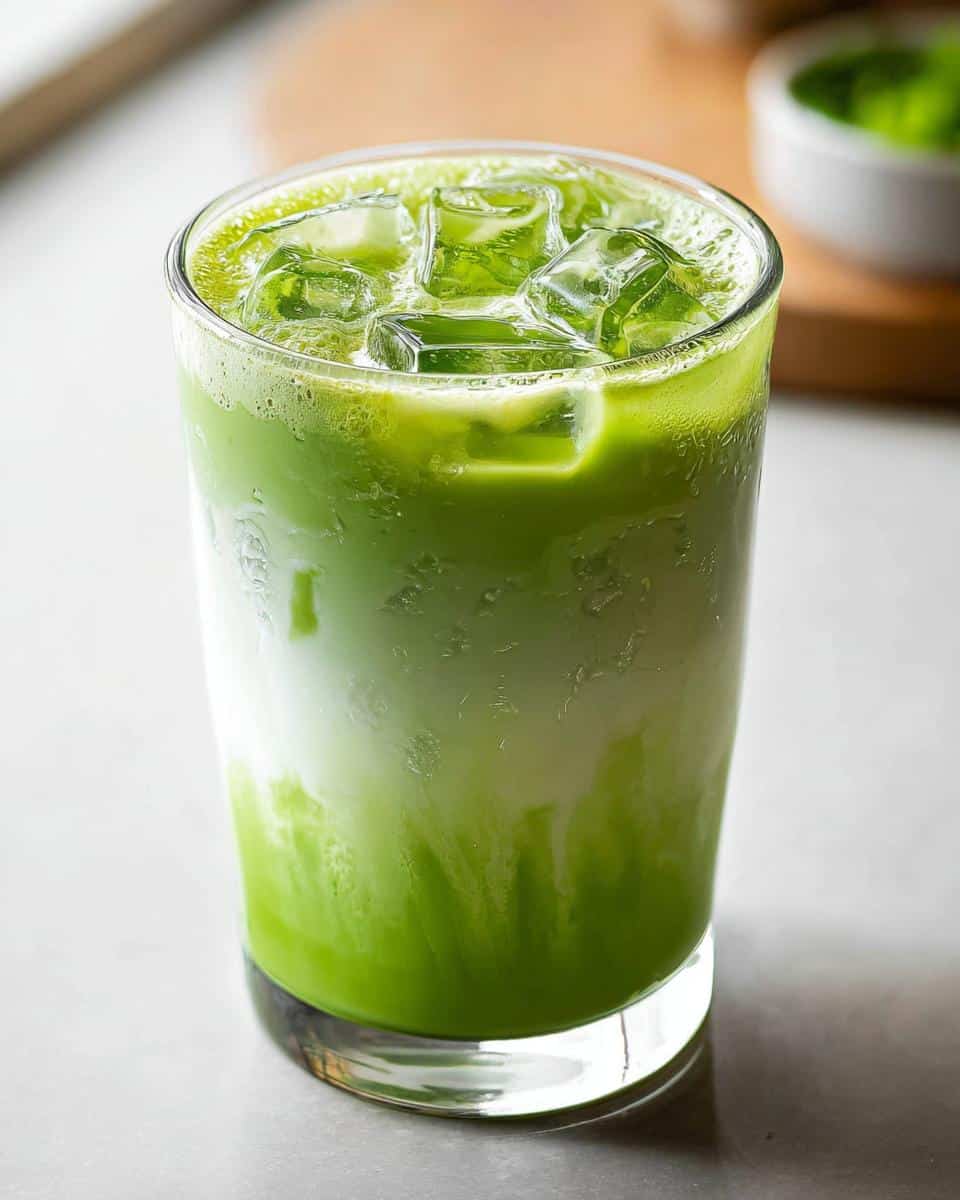
Now for the layering effect that’s so popular. Gently pour your prepared, vibrant matcha base over the top of the milk. If you pour slowly, it sits right on top, creating that gorgeous gradient. Don’t stir it yet! Just admire your work for a second, then grab a straw and mix it all up right before you take that first cool, earthy sip.
Expert Tips for the Perfect Iced Matcha Latte
Even following the steps perfectly, sometimes you run into little hiccups, especially when trying to replicate those beautiful cafe drinks at home. I’ve spent a lot of time tweaking this recipe, and trust me, a few small adjustments can take your Iced Matcha Latte from good to genuinely stunning. My biggest piece of advice? Always taste as you go! Don’t just dump in the full teaspoon of sweetener and hope for the best.
The number one problem people run into is bitterness or a chalky texture remaining at the bottom of the glass. That’s usually an issue with the water temperature or simply not whisking hard enough, but sometimes it’s just the powder reacting with the milk or ice. Here are a couple of my tried-and-true additions for smoothing everything out.
Sweetener Adjustments for Your Iced Matcha Latte
When it comes to sweetening, what you choose matters more than just the amount. Maple syrup is my default because its warm, earthy notes mesh so well with the natural flavor of the tea. It dissolves pretty easily into the cold milk too, which is a big plus.
However, simple syrup—which is just equal parts sugar and water heated until dissolved—is fantastic because it’s totally thin and liquidy. If you use granulated sugar in a cold drink, it never dissolves properly, and you end up with crunchy sugar crystals settling at the bottom. That’s just not how we enjoy our Iced Matcha Latte!
My approach is always to sweeten the *matcha base* before I add the milk. Whisk in your teaspoon of maple syrup or simple syrup right there with the hot water and matcha. That way, it’s fully integrated into the green concentrate. Then, take a tiny taste of that mixture. If it’s perfect for you right there, you likely don’t need any more sweetener once you add the cold milk. If it’s still a bit strong, add another half teaspoon to the base mixture. This way, you control the sweetness perfectly before the drink is diluted by the ice and milk!
If you want to get really fancy, try a dash of vanilla extract in that original whisking bowl with the matcha. It adds depth and makes the whole experience feel richer, almost like you ordered one of those fancy Secret Starbucks Recipes!
Health Benefits of Switching to an Iced Matcha Latte
When I started swapping my afternoon espresso runs for this green goodness, I wasn’t just doing it for the caffeine alternative; I genuinely felt better overall. I often look into the history of these drinks, and part of what made matcha so cherished in its origins, way back when, was its reputation as a health tonic. You’re not just getting a pretty drink; you’re absorbing some real power from those shade-grown leaves.
It’s amazing how such a simple switch can impact your day. You’re still getting that ritualistic caffeine kick, but you’re cleaning up your intake simultaneously. If you’re looking to reduce your coffee consumption, this is such a satisfying way to ease into it without feeling deprived the rest of the day.
First off, let’s talk about those incredible antioxidants. Matcha is absolutely packed with them—we’re talking higher concentrations than what you find in regular steeped green tea! These compounds are what help fight off all the bad stuff internally. It’s like giving your body a little green shield every afternoon, which is why so many people look for Healthy Starbucks Drinks alternatives when they order out.
Then there’s that sustained energy I mentioned before—the L-theanine thing. That chemical works with the caffeine to keep you alert and focused for hours, but it smooths out the whole experience. You don’t get that spike and crash. For me, that means I can power through my research and writing without feeling like I need a nap by 3 PM. It’s mental clarity in a cold glass, which is hard to beat when you’re on deadline!
Variations: Customizing Your Iced Matcha Latte
You’ve mastered the base, and now you deserve to experiment! The beauty of making your own Iced Matcha Latte is that you can turn it into whatever flavor mood strikes you that day. It’s so much more fun than being limited to whatever pre-set syrups the café has on hand. You can tailor this to be your own signature drink—a true DIY Starbucks Drinks masterpiece!
I love using the concentrated matcha base we made as a starting point for all sorts of fun things. Think of it as your blank canvas, ready for a little personalization. Seriously, a tiny whisper of an extra flavor can completely transform the earthy notes into something totally decadent.
Here are a few ways I like to dress mine up when I’m feeling adventurous:
- Vanilla Bean Hug: A splash of high-quality vanilla extract mixed right into the matcha base before you add the water is heavenly. It rounds out any sharp edges the matcha might have and makes the whole drink taste softer and sweeter, even if you don’t increase the maple syrup.
- A Hint of Spice: Don’t be shy with the spices! A tiny pinch of ground cardamom or even fresh nutmeg whisked in with the powder works amazingly well with the green tea flavor. It gives the drink a warming depth, even when it’s ice cold.
- Citrus Brightness: This is unexpected, but try grating just a tiny bit of fresh orange zest right over the top of your finished, layered drink. The oils released are incredible and cut through the creaminess perfectly. It makes the whole thing taste lighter and perfect for summer mornings.
If you want to make it closer to something you might see on a secret menu, try blending it! If you put the matcha base, milk, ice, and sweetener all into a blender for about 15 seconds, you’ll get a wonderfully frothy, almost Frappuccino-like experience. It’s thicker, colder, and super satisfying when you want something heavier!
Frequently Asked Questions About Homemade Starbucks Drinks
When people try to recreate their favorite cafe orders at home, they usually have a few hang-ups. It’s totally normal! Making drinks like this at home is simple, but getting that consistency just right can take a little practice. I get asked the same things over and over about making sure these Homemade Starbucks Drinks taste just as good, if not better, than the versions you buy ready-made. Here are the common stumbling blocks I help my readers through!
How do I keep my matcha from getting bitter?
Oh, the bitterness! This is almost always related to temperature, hands down. Remember what I said about the water? If it’s too hot, you burn the delicate leaf structure, and it releases those tannins that taste harsh and grassy. You absolutely must use water that is hot but not scorching—think just off the boil. Also, always aim to use ceremonial grade matcha, as the lower quality stuff is naturally more bitter, even when treated carefully. If you still find it bitter, add a tiny bit more sweetener to your concentrate next time; sometimes a touch more sweetness rounds out the earthy flavor unexpectedly well.
Is this truly a Healthy Starbucks Drink option?
I think so! When you make it yourself, you have total control over what goes in, which is the biggest win. When I look at what they put in some of their flavored blended drinks, it’s loaded with sugar syrups. For this version, we are using just one teaspoon of maple syrup, or skipping sweetener altogether if you use naturally sweet oat milk. We are using real tea leaves, not flavored powders laced with fillers. So yes, compared to many of the highly sweetened options on the cafe menu, this is definitely a much cleaner, Healthy Starbucks Drink alternative you can feel great about drinking daily.
What if I want to make this drink a ‘Secret Starbucks Recipies’ style layer?
The layer aesthetic is key to making it feel like an indulgence, right? It all comes down to temperature and density. You need three distinct layers: the green matcha concentrate, the cold milk, and the ice. Make sure your matcha paste is fully dissolved and slightly cooled before you start assembly. Then, build it backward: ice goes in first, then the milk. Pour your prepared matcha concentrate over the very top of the milk, slowly and deliberately. If you pour it right onto the ice, it tends to crash down through the milk. Pouring over the milk allows it to settle gently into that beautiful upper layer. You can check out some of my favorite flavor twists in the variations section for more ideas on making it a custom Secret Starbucks Recipe!
Can I make the matcha base ahead of time?
Yes, and I often do! That smooth matcha paste you create by whisking the powder and hot water is perfect to make a batch of ahead of time. Store that green concentrate in an airtight container in your fridge for up to two days. This makes those grab-and-go mornings so much easier. When you are ready to drink it, just assemble normally—ice, cold milk, pour the pre-made concentrate over top. The only thing you cannot do ahead of time is assemble the whole drink with the ice and milk, because that will water down quickly!
For more great tips on ingredient sourcing and recipe philosophy, feel free to check out my privacy policy here.
Storage and Keeping Your Iced Matcha Latte Fresh
One of the best parts about making your own cafe-style Homemade Starbucks Drinks is not feeling pressured to drink it all right away. However, when it comes to matcha, you definitely have to treat the base differently than the fully assembled drink. If you’ve ever tried to store a latte that’s already loaded with ice and milk, you know the result: sad, watered-down green sludge.
So, the trick here is simple: don’t assemble the whole thing until you are ready to enjoy it. You want that vivid green concentrate to be ready to go, but keep the milk and ice separate. If you’re in a hurry during the week, prepping the matcha base ahead of time is a total game-changer for those rushed mornings.
Storing the Matcha Concentrate Separately
This concentrated paste you make by whisking the matcha powder and hot water? That is your secret weapon for quick drinks later! Once you’ve whisked it until it’s completely smooth—no sediment allowed!—pour it into a small, airtight jar or container. I prefer using a small mason jar because it seals nicely. You can keep this concentrate in the refrigerator for a good 48 hours, easily.
When you pull it out later, it might look a little thick or maybe some of the powder settled to the bottom, which is totally normal. Just give that jar a really hard shake for about 15 seconds, or pour it into a cup with an inch of fresh cold water and whisk it quickly again. It comes right back to life! This saves so much time when you just want your afternoon pick-me-up without the prep work.
What Not To Do: Storing the Assembled Drink
Look, I know you want to make one of these tall, pretty drinks and tuck it away in the fridge for later, maybe thinking you’ll just grab it tomorrow. Please don’t do this! Once you add the cold milk and—especially—the ice, you are setting yourself up for disappointment. The ice melts extremely fast in a cold beverage like this, diluting the flavor dramatically long before you get the chance to drink it.
If you accidentally make too much of the fully built drink, try to drink it within 30 minutes. If you absolutely must save it longer, get rid of all the melted ice immediately! Pour the remaining green milk mixture into a new, sealed container and refrigerate it. When you go to pour it out tomorrow, know that it won’t taste as vibrant as fresh, but you can revive it a little bit. Try pouring it over fresh ice and maybe adding a tiny dash of vanilla extract to mask any flatness the next day.
Nutritional Estimates for This Recipe
Now, I’m not a nutritionist, so please take this with a big grain of salt—or, in this case, a tiny pinch of matcha powder! When you’re making Homemade Starbucks Drinks, the nutritional profile changes dramatically based on what milk you choose and how much maple syrup you decide to drizzle in. I always encourage people to measure their sweetener carefully because that’s where the sugar counts can really jump up.
The numbers I’m throwing out here are based on using one teaspoon of maple syrup and standard unsweetened oat milk, which I find gives the best flavor and texture balance. If you switch to whole dairy milk or maybe use agave instead of maple syrup, these numbers are definitely going to shift.
Here’s a general idea of what you might be looking at for one serving, assuming a standard amount of matcha paste and ice:
- Estimated Calories: Around 140-160 calories. This is pretty gentle for a satisfying drink, especially compared to a coffee-based frappuccino!
- Total Fat: Very low, usually less than 3 grams when using most non-dairy milks.
- Protein: Oat and soy milk will bump this up slightly, usually landing between 4 to 6 grams.
- Carbohydrates: This is where your sweetener lands. If you use the full teaspoon of maple syrup, you’re looking at about 25 grams of carbs, most of which are sugars.
The great news is that the majority of those calories are coming from the milk, giving you a nice base of calcium and necessary fats, while the matcha itself is adding virtually no calories but packing in those antioxidants. If you’re looking to keep this ultra-light, skip the sweetener entirely. Honestly, once you start using high-quality oat milk, it’s often sweet enough on its own, and those numbers drop way down!
Share Your Iced Matcha Latte Creations
Well, folks, that is everything you need to know to stop being intimidated by that bright green powder and start enjoying truly stellar *Homemade Starbucks Drinks*! I’ve shared my history with the recipe, the need for ceremonial grade powder, and the delicate dance of whisking that creates a lump-free base. But recipes are living things, aren’t they? They are meant to be used, twisted, and shared!
I absolutely cannot wait to hear what you think! Did oat milk nail it for you, or did you find that soy milk gave you a better foam layer? Were you brave enough to add a pinch of cardamom, or did you keep it classic with just maple syrup? Seriously, let me know in the comments below. Leaving a rating—even if it’s just five stars because you like the aesthetic alone—helps other folks decide to give this incredible cold drink a try.
If you snap a picture of your beautifully layered creation, please tag me on social media! I love seeing how my readers adapt these recipes to their own kitchens. You can connect with me about my latest historical deep dives or just show off your latte skills via my contact page right here.
A little bit about me: James Porter is Food Writer and Culinary Historian at Top Chicken Eats. Originating from Texas, I absolutely love exploring the traditions culinarily and the cultural influences behind the recipes we all love, connecting history, taste, and storytelling every step of the way. Happy sipping, and I’ll catch you in the next kitchen adventure!
Iced Matcha Latte
Ingredients
Equipment
Method
- In a small bowl, whisk together the matcha powder and hot water using a matcha whisk or milk frother until no lumps remain. If you do not have these tools, blend the matcha and hot water in a blender.
- Pour the prepared matcha mixture over a glass filled with ice.
- Top the glass with cold milk of your choice. Add sweetener if you want, mix the ingredients, and drink.