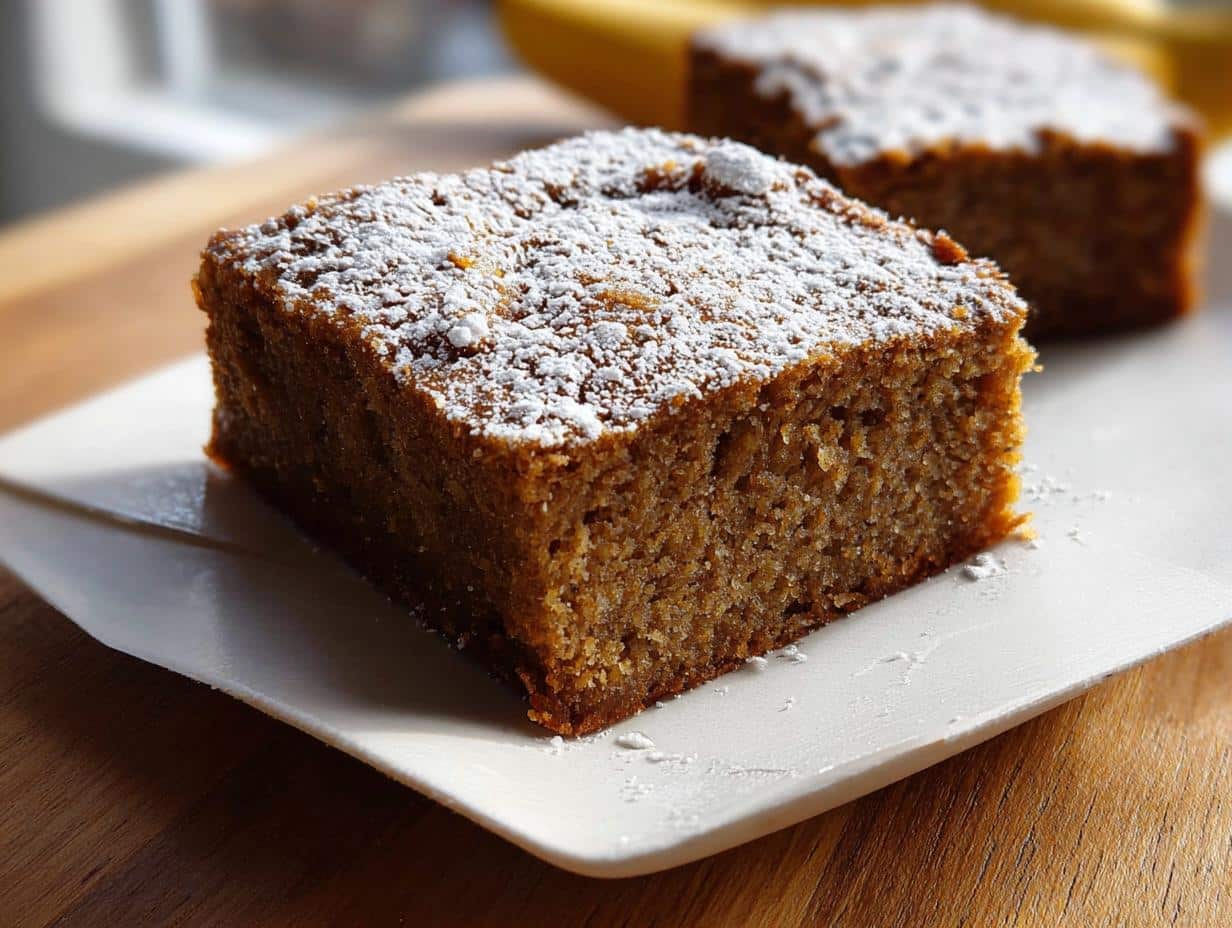
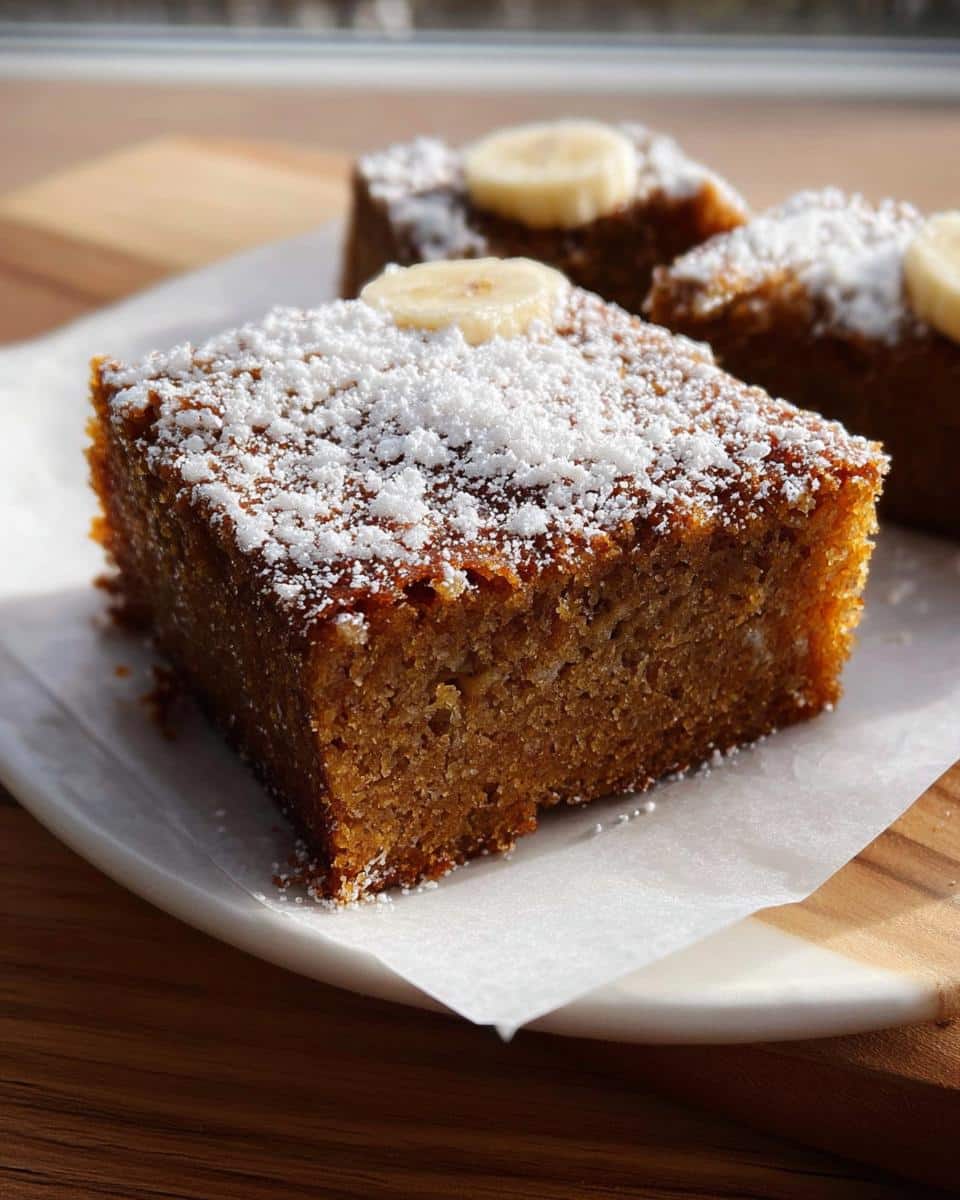
You know those days? When you need a perfect little treat ready in a flash, something you can tuck into a lunchbox without worrying about it crumbling into a mess? I totally get it. Between recipe testing and just trying to keep up with life here in Seattle, I need snacks that are delicious but super practical. That’s why I absolutely love taking the classic, comforting flavor of banana bread and transforming it into this perfect Banana Bread Snack Cake.
Honestly, baking individual portions is a game-changer for busy families. You get that amazingly moist banana bread flavor, but cut into perfectly square, portable pieces. It’s less messy, portions are controlled (though let’s be real, I always grab two!), and cleanup is a breeze. This recipe is wonderfully quick, and I promise, it delivers incredible flavor every single time. Check out how simple this process is!
For more quick, grab-and-go ideas that still taste homemade, you absolutely have to see my collection of easy snacks and small bites on the site.
Why This Banana Bread Snack Cake is Your New Favorite Treat
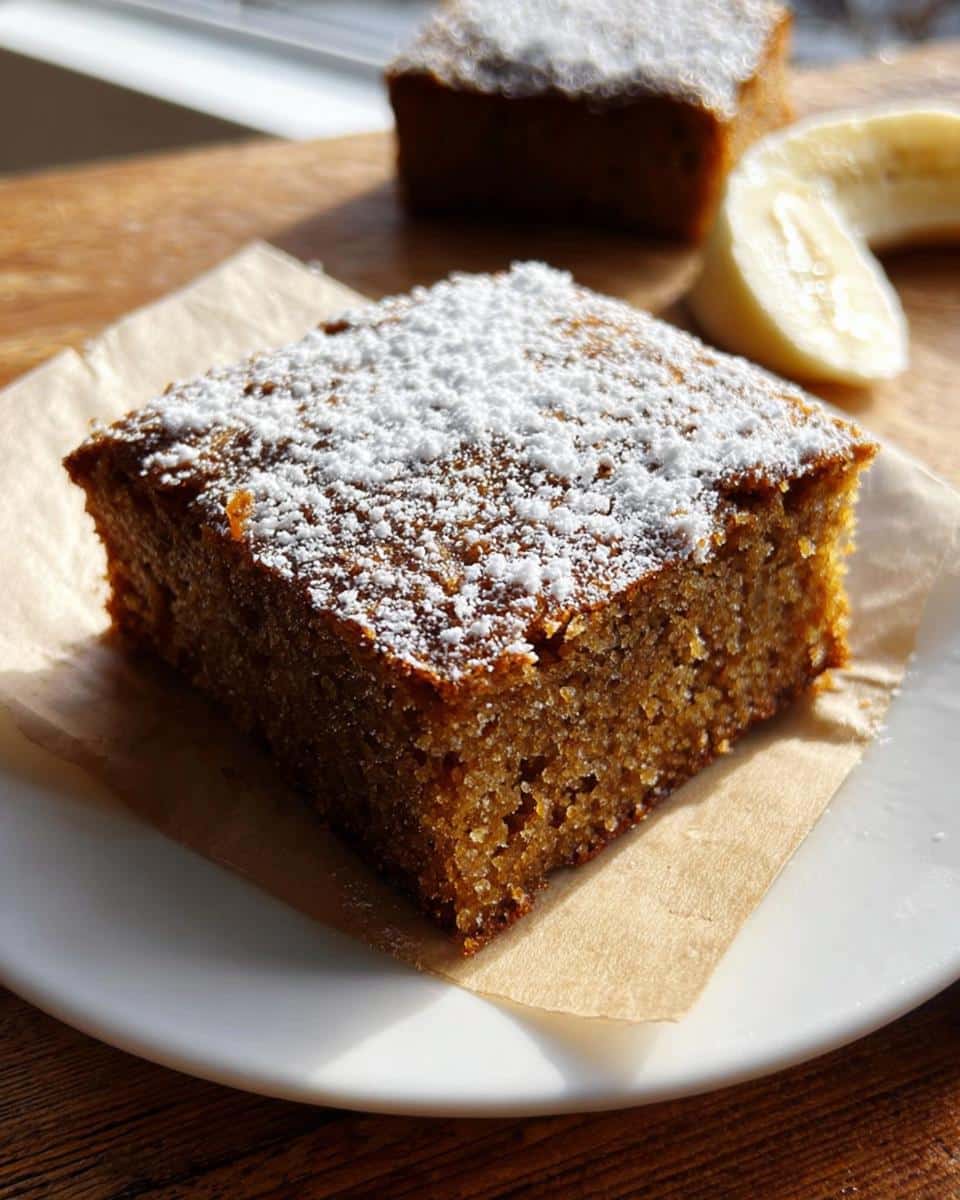
When I develop a recipe, I always think about how it fits into real life, not just how pretty it looks on the cooling rack. This Banana Bread Snack Cake is designed for speed and practicality. You don’t have to worry about slicing a massive loaf perfectly; you just bake, cool, and cut into neat squares. It’s surprisingly sturdy, which is fantastic when you’re packaging treats for school or work.
Trust me, the benefits of taking the classic recipe and shrinking it down are huge:
- It bakes up much faster than a standard loaf—I mean, who doesn’t love quicker gratification?
- Portion control becomes almost automatic, even though I’m usually tempted to have more than one piece!
- It holds its moisture beautifully, even when stored on the counter for a couple of days.
If you’re looking for more recipes that fit right into those busy days, check out my favorites for easy recipes for kids!
Perfect Portions for Lunchboxes and On-the-Go
This is where the snack cake really shines, especially if you have kids (big or small) heading out the door. Because it’s baked in a simple square pan, it cuts neatly. There’s very little crumb fallout, which means less stress for me when packing lunches. They hold together perfectly, making them a genuinely portable banana bread treat that doesn’t require utensils or careful handling.
Gathering Ingredients for Your Banana Bread Snack Cake
Alright, let’s talk groceries! The beauty of this Banana Bread Snack Cake is that it uses pantry staples—nothing fancy is required here. The most important thing you need? Bananas that are staring back at you, practically begging to be baked. We are looking for those almost black, spotty ones that are past their prime for eating plain. Those fully ripe bananas are the secret weapon when it comes to achieving that wonderfully moist texture.
Seriously, don’t even think about using yellow bananas here. If they aren’t heavily speckled, they won’t give you the natural sweetness and mushiness we need for this quick recipe. It’s all about using what you have on hand!
Dry Ingredients for the Banana Bread Snack Cake
First, get your dry components together. We keep this simple so we don’t overwork the batter later. You’ll need:
- 1-2/3 cups all-purpose flour
- 1 teaspoon baking soda
Wet Ingredients for the Super Moist Banana Bread Recipe
Now for the components that truly make this a Super Moist Banana Bread Recipe! Whisk these together thoroughly before you even look at your dry bowl. Remember, we only want about 1/3 cup of mashed banana, which is usually just one small, very ripe fellow:
- 1 cup packed brown sugar
- 1/2 cup water
- 1/3 cup mashed ripe banana (about 1 small)
- 1/3 cup canola oil
- 1/2 teaspoon vanilla extract
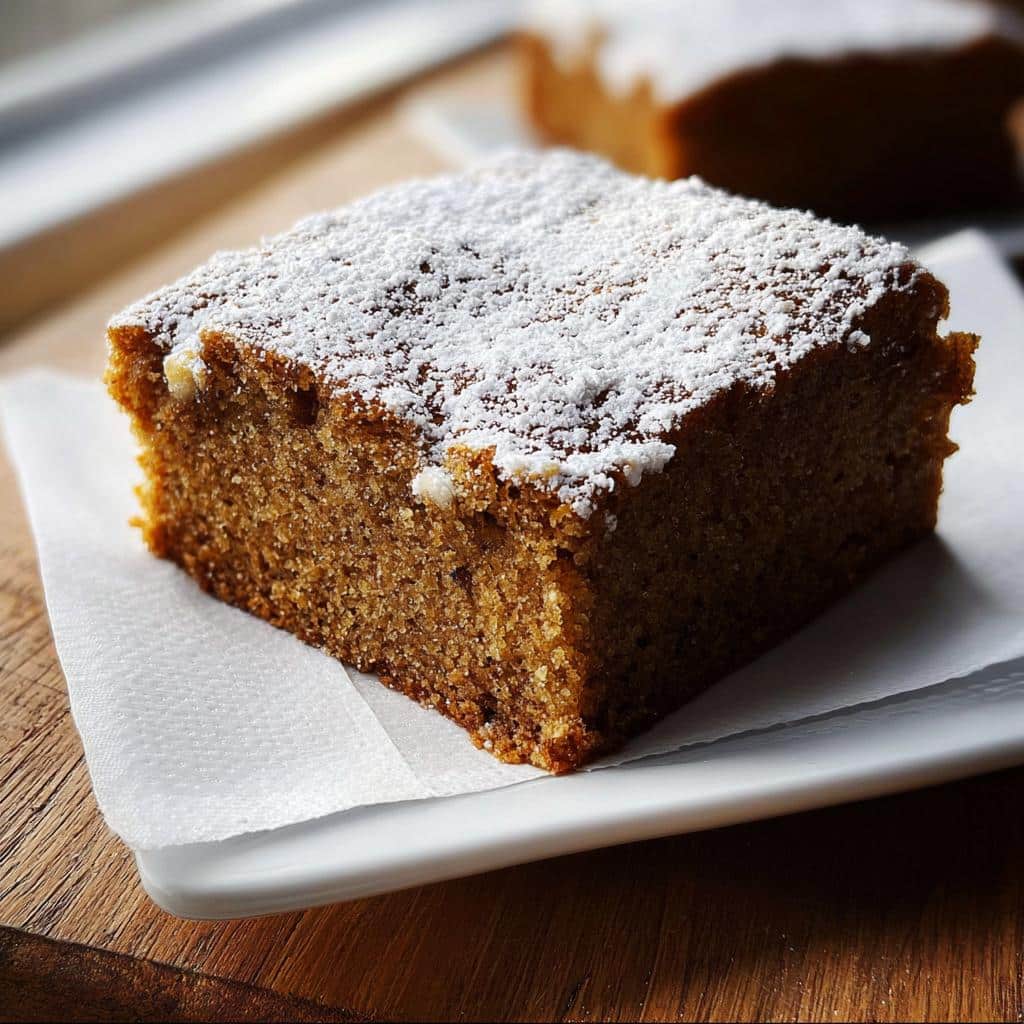
Finishing Touches for the Banana Bread Snack Cake
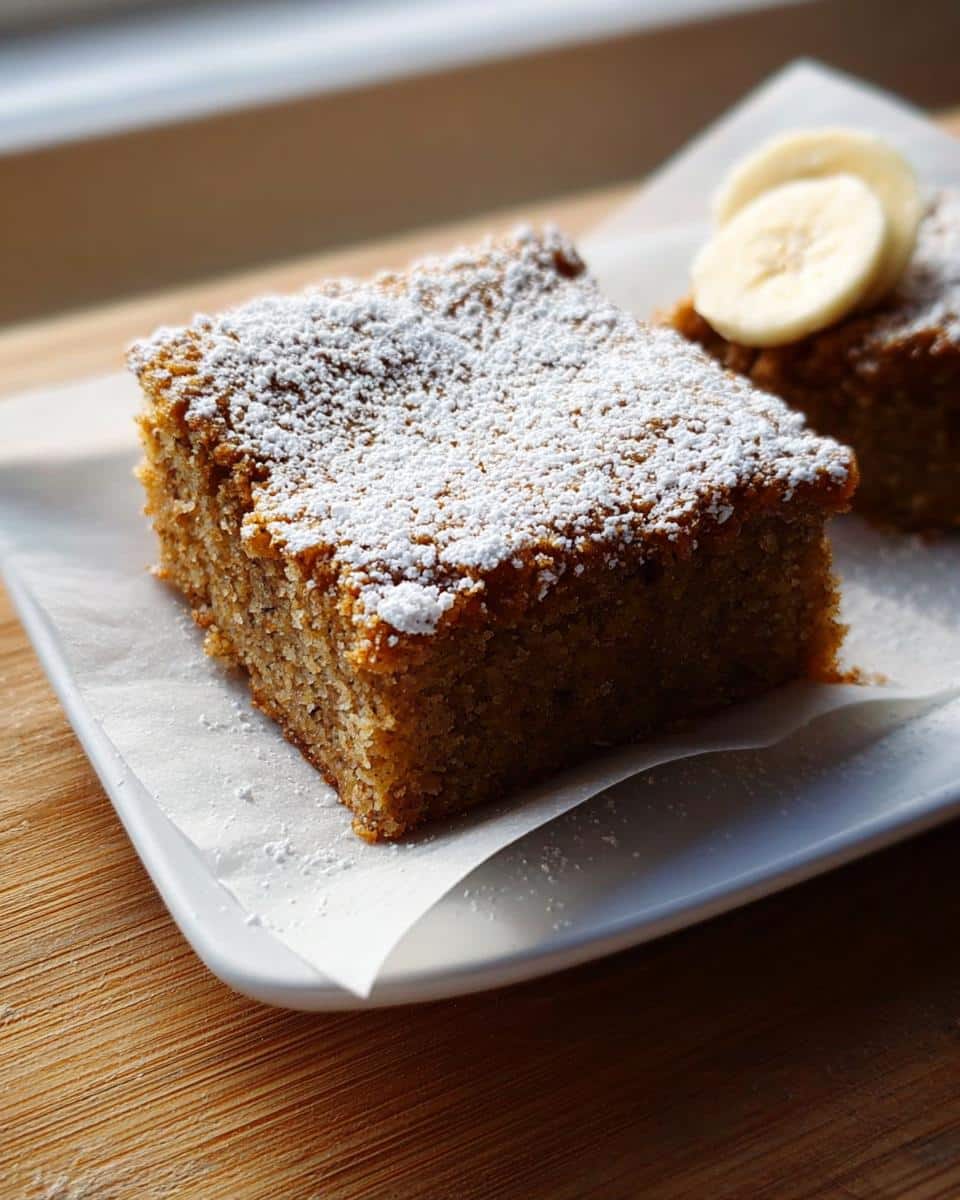
This part is purely for presentation once everything is cooled. It adds such a lovely, professional look to an otherwise super easy bake.
- Confectioners’ sugar for dusting
Essential Equipment for Making the Banana Bread Snack Cake
Before we dive into the actual mixing, let’s make sure your kitchen is set up for success. Because this Banana Bread Snack Cake is designed to be so quick, having everything ready beforehand really helps. Unlike some complicated layer cakes, you don’t need a huge arsenal of tools for this one, which is great.
You’ll notice we aren’t even messing with creamed butter here—this recipe is beautifully simple! I’ve kept the equipment list down to the absolute basics so you can whip this up anytime the craving hits.
Here are the few things you’ll want pulled out of the cupboard:
- A good large mixing bowl for combining everything.
- A simple whisk. Since we skip the electric mixer, your arm will do the work!
- An 8-inch square baking pan. This is what gives us those perfect, neat snack-sized portions.
- A wire rack for cooling. This is vital—you certainly don’t want a soggy bottom on your snack cake!
Step-by-Step Instructions for Your Quick Banana Bread Snack Cake
Getting this Quick Banana Bread into the oven is so satisfying because it moves so fast! We’re not waiting around for softened butter or complicated creaming methods here; we are moving straight to that delicious, moist crumb. Setting up your oven first is always my first move. Go ahead and preheat it to 350 degrees F right away so it’s ready when your batter is mixed up.
Once the oven is warming up, you’re just organizing your bowls. Combine your flour and baking soda in one bowl. Then, in your big mixing bowl, whisk up all those beautiful wet ingredients: the brown sugar, the water, that mushy banana, the oil, and the vanilla. Whisk it until it looks generally smooth—don’t stress about making it perfectly homogenous.
Now comes the crucial part where we ensure we get the best result for our Banana Bread Snack Cake. Be gentle here!
Mixing Wet and Dry Components for the Banana Bread Snack Cake
You’re going to pour the wet mixture right into the bowl holding your dry ingredients. I grab a rubber spatula and gently stir everything together. And I mean gently! You’ll see flour streaks, and that’s okay. Stop stirring the second you see that all the dry clumps have just disappeared. Trust me on this one: overmixing develops the gluten, and that makes your snack cake tough instead of wonderfully tender. We want tender and moist, not chewy!
Once it’s just combined—barely combined, honestly—pour that batter straight into your pre-greased 8-inch square baking pan. Spread it out evenly with your spatula.
Baking and Cooling the Portable Banana Bread Treats
Time to bake! Pop that pan into your preheated 350 degrees F oven. It’ll need about 30 to 35 minutes in there. Since this is a thinner cake, it screams through the baking process much faster than a big loaf.
When the timer goes off, don’t just guess! Insert a toothpick right into the center. If it comes out clean, or maybe with just a few moist crumbs clinging to it, you are golden. If you see wet batter, let it bake for another three to five minutes and test again. Once done, pull it out and put the entire pan on a wire rack. You have to let it cool completely on that rack before you dust it with sugar and cut it into those perfect little portions. Patience tastes better in the end!
For another quick, easy bake that the kids love, check out these kid-friendly Cheerio granola bars—they’re another winner for portable snacking!
Tips for the Best Ever Banana Bread Recipe Moist Results
If you’re aiming for the absolute Best Ever Banana Bread Recipe Moist outcome, I have a few non-negotiable rules to share concerning this Banana Bread Snack Cake. It all comes down to the bananas and what you do—or don’t do—once the batter is mixed.
First off, those bananas need to look past their prime. I mean it! If they aren’t deeply spotted and soft, you are missing out on intense sweetness and necessary moisture. Don’t substitute with fresh yuckiness; wait for those perfect, nearly black ones. That’s step one for moisture, hands down.
The second critical tip, which I mentioned when we were mixing, is preventing overmixing. This is the fastest way to ruin any quick bread! As soon as you see that last streak of flour disappear when combining wet and dry ingredients, *stop stirring*. Seriously, put the spatula down immediately. A slightly lumpy batter ensures a tender crumb, not a dense, tough brick. Follow those two steps, and you’ll have the most wonderfully moist snack cake every single time.
When you’re after delicious easy desserts, remember to check out my collection of easy dessert recipes for more inspiration!
Ingredient Notes and Customization for Your Snack Cake
I know that sometimes we need to tweak a recipe based on what we have on hand, and that’s totally fine! The note I left in the recipe card mentions add-ins, and you really have a lot of leeway here. The base of this snack cake is sturdy and forgiving, which I love in a recipe meant for quick snacks. It frees you up to get creative, especially if you aren’t making these for someone with super specific allergies.
If you want to add extra texture or flavor, feel free to fold in about a half cup of things like chopped walnuts, pecans, or maybe some mini chocolate chips. Chocolate and banana are just best friends, aren’t they? Make sure whatever you add—nuts or chips—is tossed lightly in a teaspoon of flour first. This small trick stops them from sinking straight to the bottom of the pan during baking. Nobody wants a bare-bottomed snack cake!
Now, let’s talk about the oil. The recipe calls for canola oil, which is neutral and keeps things incredibly moist, but you can swap that out if you need to. Coconut oil works beautifully if you don’t mind a slight tropical hint, though you might want to melt it first and measure it carefully. You could even try unsweetened applesauce as a partial substitute for the oil, although I’d only swap about half of it out, because oil really helps keep the structure perfectly tender in these small portions. But honestly, for the best results, stick close to the oil amount listed! And if you ever need clarification on ingredient standards or ingredient safety, you can always check out my disclaimer page for reference.
Storage and Reheating Instructions for Banana Bread Snack Cake
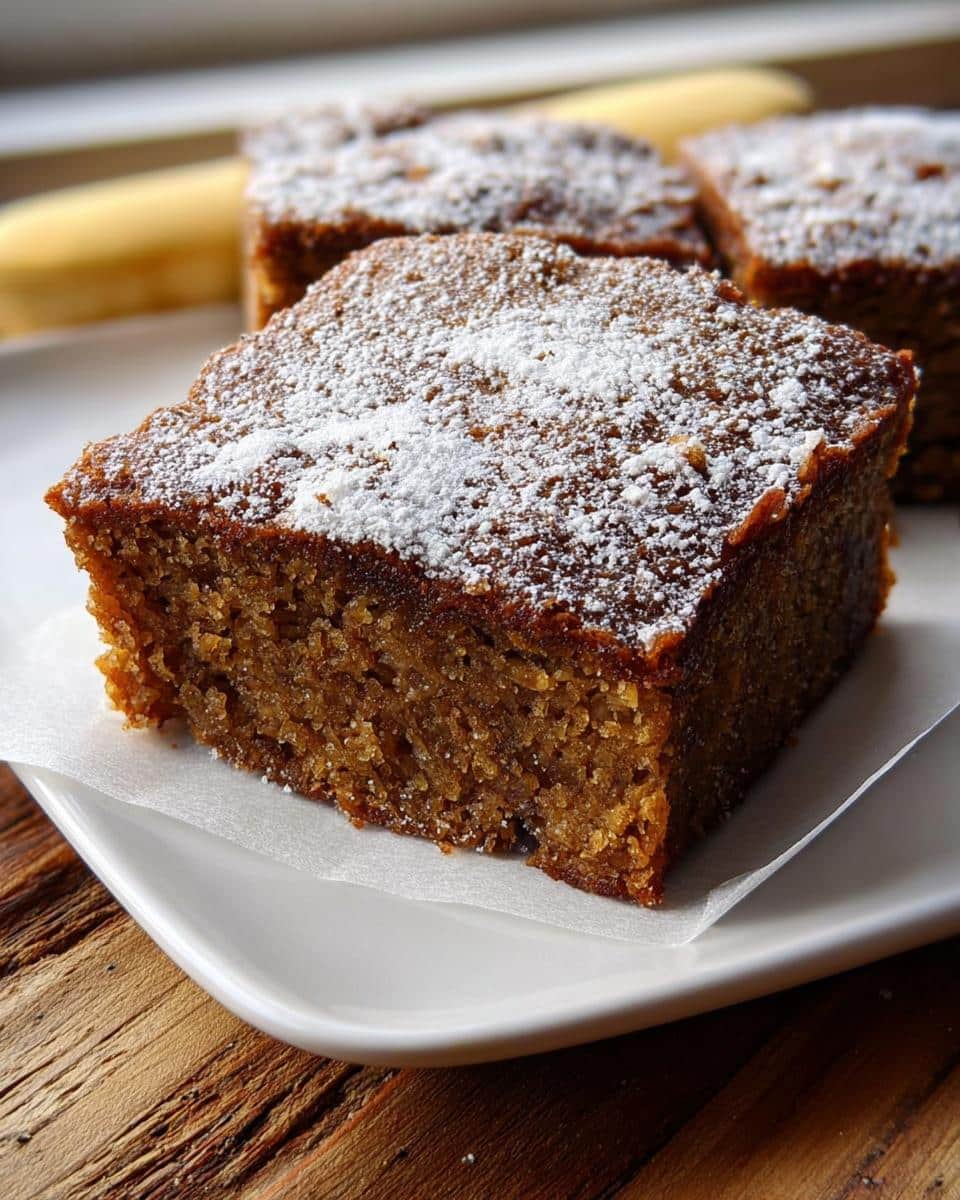
Because this Banana Bread Snack Cake is designed to be the ultimate portable treat, storing it correctly is key to keeping that fantastic, *super moist* texture we worked so hard to achieve! Good news: banana bread lasts quite well at room temperature, especially since our recipe uses oil instead of butter, which helps lock in freshness.
I always recommend cutting the cake into its nine individual squares first, as that makes grabbing one for a snack so much easier later on. Once cooled completely—and I mean totally cool, otherwise moisture builds up and you get sticky insides—it’s time to wrap them up.
For short-term storage, like for lunches that week, I wrap each square tightly in plastic wrap. This keeps the moisture contained inside each piece. Then, I pop those wrapped squares into an airtight container. They should stay perfectly fresh and delicious on your kitchen counter for about three to four days.
If you made a double batch (which, let’s be honest, you should!), freezing is your friend. Wrap the individual pieces tightly in plastic wrap first, then slip them inside a freezer-safe bag. These hold up beautifully in the freezer for up to two or three months. When you need a quick snack, just pull one out. You can let it thaw on the counter for about 30 minutes, or if you’re really in a rush, microwave it for about 10 to 15 seconds. That little zap brings the banana flavor right back to life!
Frequently Asked Questions About This Banana Bread Snack Cake
I know you’re probably as excited to bake this Banana Bread Snack Cake as I am to eat it, but sometimes questions pop up when you’re mid-bake! That’s totally normal. These little snack-sized treasures are intentionally easy, but I want to make sure everyone feels 100% confident achieving that moist result. Here are some things folks always ask me about this recipe.
Can I make this an Easy Banana Bread Recipe 3 Ingredients Healthy version?
That is a great question aimed at optimizing for speed and nutrition! While this recipe is certainly incredibly easy—we’re only mixing two bowls—it relies on the oil and sugar we use to get that classic flavor and texture. Trying to turn it into a *three-ingredient healthy* version would mean cutting out the flour or the fat, and you’d end up with something closer to baked mashed banana rather than a proper cake! Stick to this recipe for the moisture, and then add healthy extras like walnuts for fiber!
What is the Easiest Banana Bread Recipe method similar to this?
Well, you’re already looking at it! I would argue that this specific method for the Banana Bread Snack Cake *is* easily one of the Easiest Banana Bread Recipe methods out there. Why? Because we skipped the entire step of creaming softened butter. We use oil and mix wet into dry, which cuts down on cleanup and prep time significantly. It’s designed to be fast and foolproof!
For more insights into my baking philosophy and why simplicity matters, feel free to check out my About page. Happy baking!
Share Your Homemade Banana Bread Recipe Creations
I truly hope you enjoyed making this simple, tasty treat! I absolutely love seeing your bakes, especially when you get creative with the mix-ins. Did you add chocolate chips or maybe some chopped pecans?
Don’t be shy! Take a picture and share it with me. You can always rate the recipe right down below, or if you have any questions that pop up later on, feel free to send me a note through my contact page. Happy sharing!
Banana Bread Snack Cake
Ingredients
Equipment
Method
- Preheat your oven to 350 degrees F.
- Combine the flour and baking soda in one bowl.
- In a separate bowl, whisk together the brown sugar, water, mashed banana, oil, and vanilla extract.
- Stir the wet ingredients into the dry ingredients just until everything is moistened. Do not overmix.
- Transfer the batter to a greased 8-inch square baking pan.
- Bake for 30 to 35 minutes, or until a toothpick inserted into the center comes out clean.
- Cool the cake on a wire rack.
- Dust the top of the cooled cake with confectioners’ sugar before cutting it into 9 pieces.