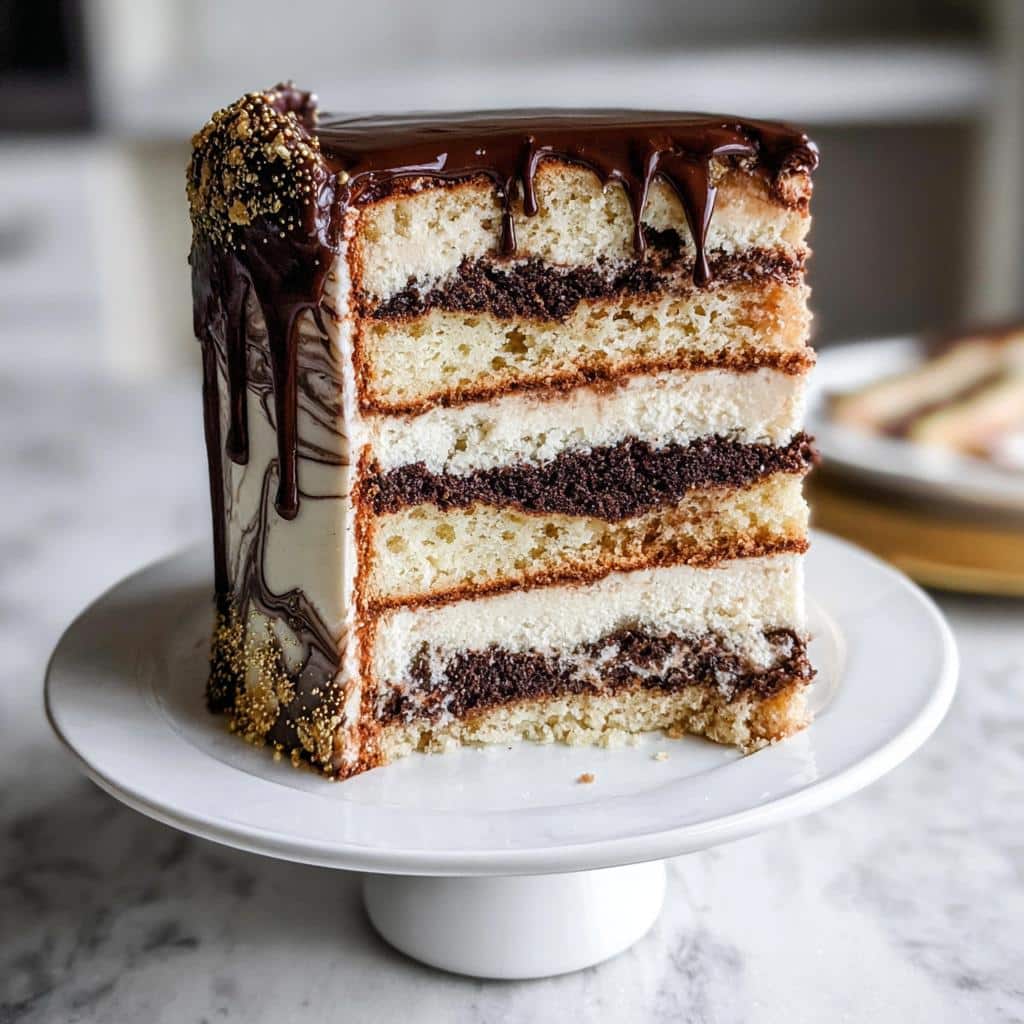
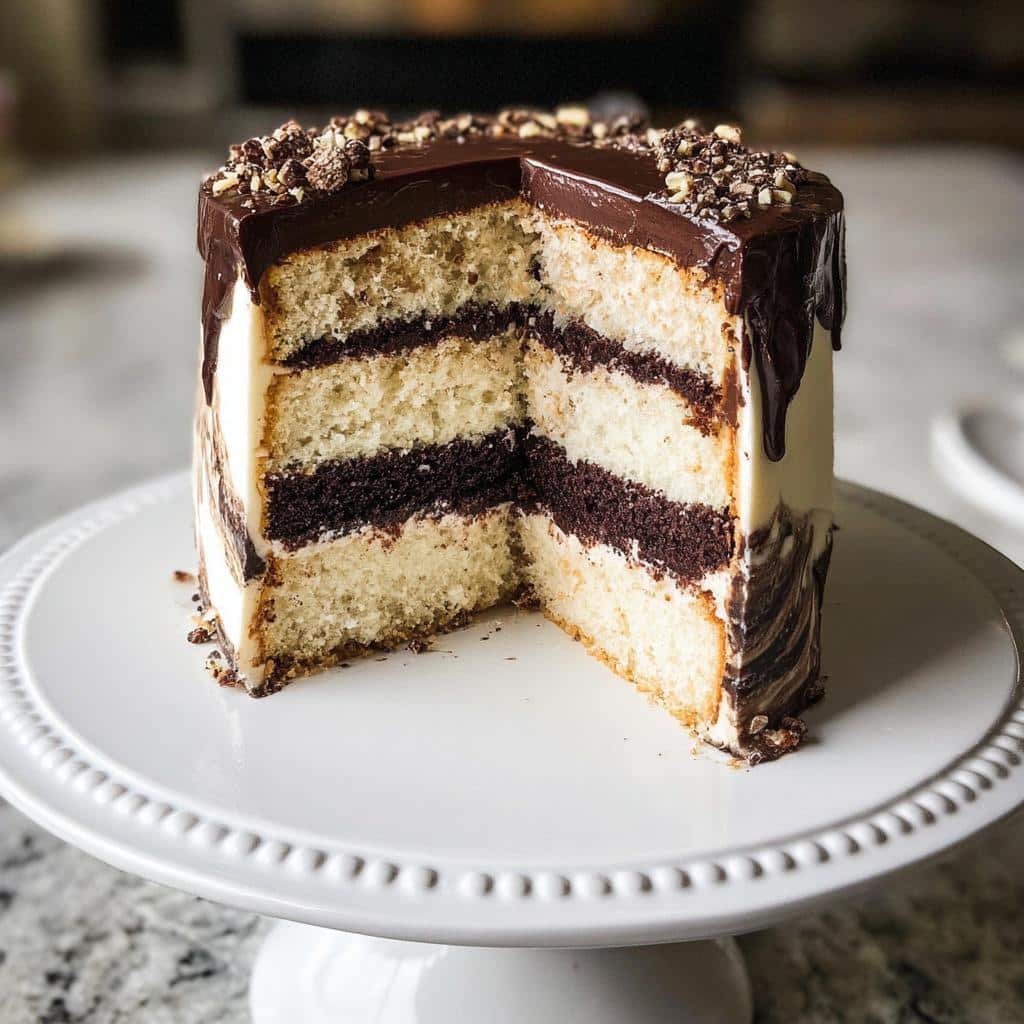
There’s something deeply satisfying about creating a dessert where the beauty is baked right in, not just added on top. When you slice into a cake and see those beautiful, distinct ribbons of color, it just feels like an accomplishment, doesn’t it? That’s exactly what we’re chasing today with this stunning marble buttercream cake recipe. People often think elaborate designs require specialized tools or years of pastry school, but I promise you, the magic here lies in simplicity.
As a culinary historian, I love seeing how classic cake structures evolve. This recipe honors the robust, flavorful layer cakes of generations past but uses a contemporary, almost painterly touch with the frosting swirl. It’s a perfect intersection of old-school technique and modern presentation. You’re not just baking a cake; you’re crafting a unique piece of edible art. It’s elegant, it’s deeply satisfying in flavor, and trust me, it’s far easier than it looks. Head over to my About Page if you want to know more about how I approach blending tradition into modern baking!
Why This Marble Buttercream Cake Recipe Stands Out
Honestly, this marble buttercream cake is a real showstopper without demanding you become a professional decorator overnight. That’s the secret sauce right there! We are taking a genuinely delicious, moist cake base and giving it visual flair using just two colors of batter and a gentle swirl. This recipe proves that you don’t need complicated piping tips or dozens of colors to make something memorable.
It hits that perfect sweet spot between being visually impressive enough for a milestone birthday and simple enough for a confident Sunday bake. You can check out some of my other visually fun bakes over in the Trending Recipes section, but this one really has staying power.
- It’s inherently unique; no two slices will ever look exactly alike.
- The blend of vanilla cake with rich chocolate swirled through is a timeless flavor combination.
- The finishing technique is far easier than mastering a single, perfect color coat.
Creating Elegant Layer Cakes with Basic Cake Designs
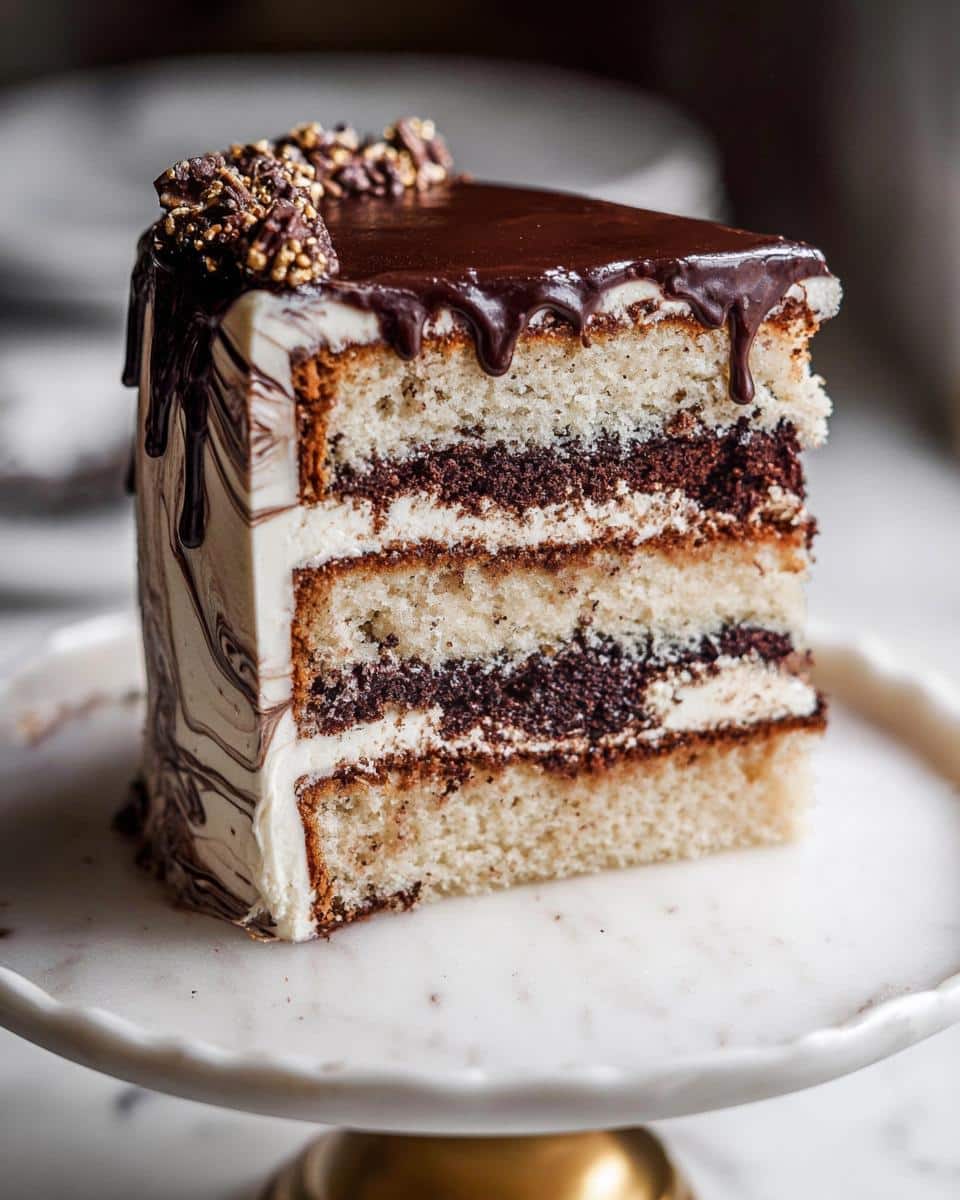
Think about it: we start with what is essentially a fantastic, sturdy layer cake. That’s a Basic Cake Design foundation. But by introducing that cocoa batter and swirling it gently against the vanilla, we elevate it immediately into something that looks sophisticated. It’s an instant upgrade for any celebration when you need Pretty Birthday Cakes that feel bespoke but use very simple techniques.
Gathering Your Tools for the Marble Buttercream Cake
Now, before we dive into the actual baking—and trust me, we have some fun swirling ahead—we need to make sure our station is ready. Baking is all about preparedness, especially when you’re dealing with multiple batters and coatings. Having the right equipment means less panic when things are moving fast!
You don’t need a professional kitchen setup for this, but you will want a few reliable pieces. I always recommend having these things ready to go before I even start measuring out the flour. It saves so much time once the mixer starts whirring!
Here is what you’ll need pulled out on the counter:
- A good Stand mixer with a whisk attachment—this is crucial for getting that perfect buttercream structure.
- Three 6-inch cake pans. That three-layer look adds height and makes the marble effect really striking when you slice into it.
- Medium mixing bowls for separating your batters.
- A small saucepan for gently heating the cream for the ganache.
- A simple toothpick or knife—this is your magic wand for creating the swirls!
- An offset spatula; this helps immensely when you’re spreading the buttercream evenly.
- And finally, a bench scraper. It’s the secret weapon for getting those nice, smooth sides on your finished cake.
Ingredients for Your Stunning Marble Buttercream Cake
Alright, let’s get down to what makes this cake sing! Since we’re doing a layered design with a ganache finish, organization is everything. You need precision, especially when it comes to temperature, so make sure you pull your butter and eggs out ahead of time. If you’re looking for some quick wins in the dessert department—maybe before tackling a big project like this—pop over and check out my Easy Dessert Recipes collection.
Having everything measured out correctly is the backbone of this gorgeous marble buttercream cake. Here’s the list split up by component so you can keep track of everything as you prep your station.
For the Marble Cake Batter
Remember, this batter gets split in half later, so measuring the flour carefully at the start is key!
- 2 cups all-purpose flour, spooned and leveled, plus 1/4 cup reserved separately
- 1 Tbsp baking powder
- 1/2 tsp salt
- 1/4 cup unsalted butter, room temperature
- 1 cup granulated sugar
- 1/2 cup light brown sugar, lightly packed
- 1/2 cup canola oil
- 3 large eggs, room temperature
- 3/4 cup sour cream, room temperature
- 1 tsp vanilla extract
- 3/4 cup milk, room temperature
- 1/3 cup unsweetened cocoa powder, spooned and leveled
For the Vanilla Bean Buttercream
When we whip this up, the room temperature butter is non-negotiable! It’s what gives us that light, cloud-like texture we need to coat the layers perfectly.
- 1 cup unsalted butter, room temperature
- Pinch of salt
- 4 cups C&H Confectioners Sugar, spooned and leveled
- 2 Tbsp heavy whipping cream (Use 2-4 Tbsp as needed for consistency)
- 2 tsp vanilla bean paste
For the Chocolate Ganache Drip
This is our elegant topping. A good quality dark chocolate makes all the difference here!
- 1 cup dark chocolate chips (about 6 oz)
- 1/2 cup heavy cream
Step-by-Step Instructions for the Marble Buttercream Cake
Okay, this is where the fun really starts! We’re talking about 35 minutes of baking time, but plan for about 15 minutes of chilling/cooling time between steps to keep everything stable—that’s half the battle when leveling and layering. Don’t rush, and you’ll have one of the most impressive cakes on the block. Remember, the goal is a beautiful marble buttercream cake, and technique is your best friend here. If you’re trying to keep things simple for the little ones while still having fun, check out my easy recipes ideas!
Preparing the Cake Layers
First things first: get that oven humming! Preheat to 350F (177C) convection, or if you’re using conventional heat, set it slightly lower to 325F (162C). Get your three 6-inch cake pans buttered, floured, and lined with parchment circles—doing this now means no scrambling later.
In a medium bowl, whisk together 2 cups of your flour, the baking powder, and salt. Set that dry mix aside. Now, grab your stand mixer. Beat the room temperature butter, granulated sugar, and brown sugar until they look fluffy—that’s usually a good minute or two on medium-high. Add your eggs one by one, beating well after each addition, then mix in the oil, sour cream, and vanilla until just combined. Scrape those sides down!
Now for the flour incorporation. With the mixer on low, alternate adding the dry ingredients and the milk, starting and ending with the dry flavor mix. Only mix until you don’t see streaks of flour anymore. Overmixing here is how we lose that tender crumb!
Achieving the Perfect Marble Effect
This is the artistic part! Divide your batter equally into two separate bowls. To the *first* half, gently fold in the reserved 1/4 cup of flour (yes, extra flour here helps keep the vanilla batter stable). To the *second* half, gently fold in the cocoa powder. You now have your light and dark batters!
Dollop spoonfuls of both batters randomly into your prepared pans, alternating back and forth. Then, take a toothpick or a thin knife and gently drag it through the batters a few times—like you’re drawing casual S-shapes. Don’t over-swirl! We want distinct colors, not muddy brown batter. Bake these beauties for about 35 minutes. They’re done when they spring back lightly when you touch the center, or a toothpick comes out clean. Let them cool completely on a rack!
Whipping the Vanilla Buttercream
While those layers cool, let’s make the frosting! In your clean mixer bowl—using the whisk attachment—beat that room temperature butter on medium-high for about two minutes until it’s pale and creamy; this incorporates vital air. Add the salt and then slowly incorporate all four cups of powdered sugar on low speed so you don’t create a white cloud in your kitchen!
Once it’s incorporated, crank the speed up high and let it whip for a full five minutes. This dissolves the sugar graininess. Finally, add your vanilla bean paste and the heavy cream. Beat for two more minutes. If it seems a little loose after all that whipping, just pop the bowl into the fridge for 10 to 15 minutes to firm up before you start frosting.
Making and Cooling the Ganache
For the drip, keep it simple. Heat your 1/2 cup of heavy cream in a small saucepan until it just starts to simmer around the edges—medium-low heat is key here. Pour that hot cream right over your dark chocolate chips in a bowl and cover it up! Let it sit for two full minutes without touching it.
After two minutes, gently stir from the center outward until it’s completely melted and silken smooth. This needs to cool down before we use it so it drizzles nicely instead of running straight off the cake! Pop it in the fridge for about 5 to 10 minutes, stirring occasionally.
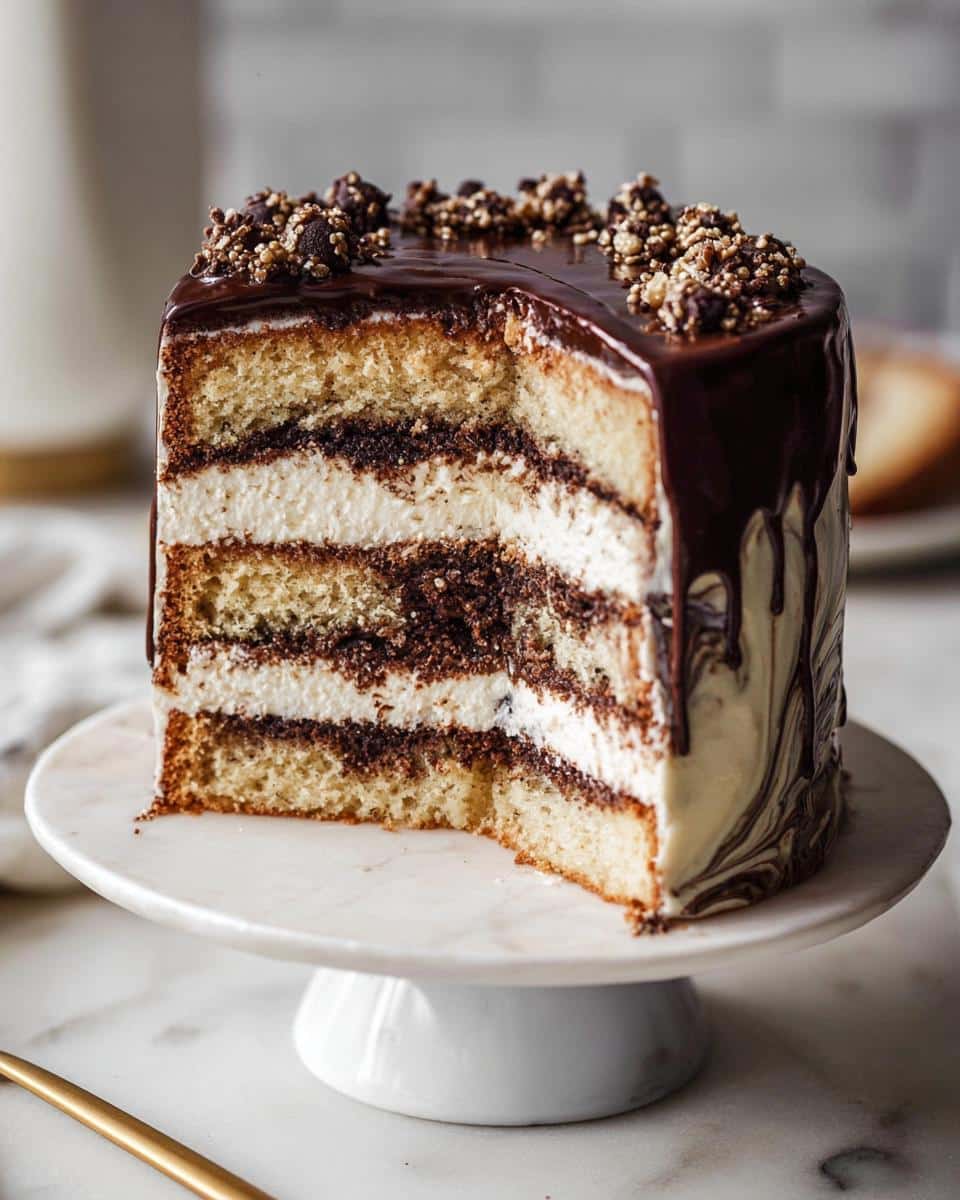
Assembling and Decorating Your Marble Buttercream Cake
We need those layers flat! If they domed during baking, use a serrated knife to trim the tops off. Take your first layer, spread about a quarter of the buttercream over it, and then spoon a nice layer of the *slightly cooled* ganache right on top of that frosting layer. Repeat this for the second layer.
Stack the final layer. Now, press the whole thing gently together and chill it until it’s firm—this prevents slippage later. Once it’s firm, take about 3/4 of your remaining buttercream and generously coat the top and sides. Use your bench scraper to smooth the sides for that crisp look—it’s one of the best Easy Cake Decorating Ideas! Finally, microwave the leftover ganache for just 10 seconds to get it pourable again, and drizzle it artfully over the top, filling it to the frosting borders. If you want a truly Minimalist Bday Cake, just keep the drip intentional and skip extra toppers!
Tips for Success with Decorative Cake Frosting
You know, when I look back at the cakes that didn’t quite turn out right over the years, it almost always comes down to a few tiny, easily corrected details. Working with buttercream—especially when we’re trying to achieve those clean lines for our Pretty Birthday Cakes—requires you to respect the nature of the fat and sugar we’re using. I think of these final adjustments as honoring the craftsmanship necessary for any truly *elegant layer cake*.
If you follow the steps, you’ll have a wonderful result, but here are the few things I always triple-check right before the final assembly. I share a lot of quick fixes for small bakes over on my Easy Snacks and Small Bites section, but these tips are specifically for keeping your larger constructions stable!
Ingredient Temperature Control
This isn’t just a suggestion; this is where the structure of your entire cake relies! If your butter for the buttercream is too warm, it melts into an oily, soupy mess almost instantly once you start whipping the sugar, and you’ll never get that volume. If your eggs or milk for the cake are too cold, they shock the creamed butter mixture, causing it to curdle. Don’t panic if it curdles slightly, but for the smoothest experience, take everything out an hour ahead. That room temperature consistency ensures everything blends seamlessly.
Mastering the Swirl for Pretty Birthday Cakes
When you’re swirling the vanilla and cocoa batters together, you have to practice the art of restraint. I know it’s tempting to keep pulling that knife through the batter until you see beautiful, thin lines, but I warn you: over-swirling is the fastest way to lose your marble effect entirely! You just need 3 or 4 gentle passes back and forth in the pan. Think of it as tracing the letter ‘S’ across the surface a couple of times. Those thicker “globs” of color are what give you those lovely, distinct ribbons when the cake bakes. Less motion achieves a far more dramatic, Cute Cake Design!
Variations for Creative Birthday Cakes
The beauty of this straightforward cake base is how willing it is to adopt new personalities! While the vanilla and chocolate swirl is timeless, sometimes you want to lean into the newer Trending Cake Designs for a specific celebration. You don’t have to throw out the whole structure; just tweak the flavor notes slightly. I often suggest small changes that feel fresh but don’t require re-calculating ratios.
We can easily adapt this to create some truly Creative Birthday Cakes without getting bogged down in complex techniques. Have a look at a few ideas below—these are all things I’ve tested out for gatherings when I wanted something familiar but new:
- Lemon Zest Infusion: For the vanilla batter portion, skip using just vanilla extract. Instead, use the zest of two bright, fresh lemons mixed right in with the sugar and butter at the beginning. The slight tartness blends beautifully with the dark chocolate layers. It results in a gorgeous cake that sings!
- Mocha Ripple: If you want a deeper flavor profile, dissolve 1 teaspoon of instant espresso powder into the milk before adding it to the cake batter. This won’t make the cake taste like coffee, but it really deepens the chocolate notes in the cocoa portion, giving you a rich mocha ripple effect.
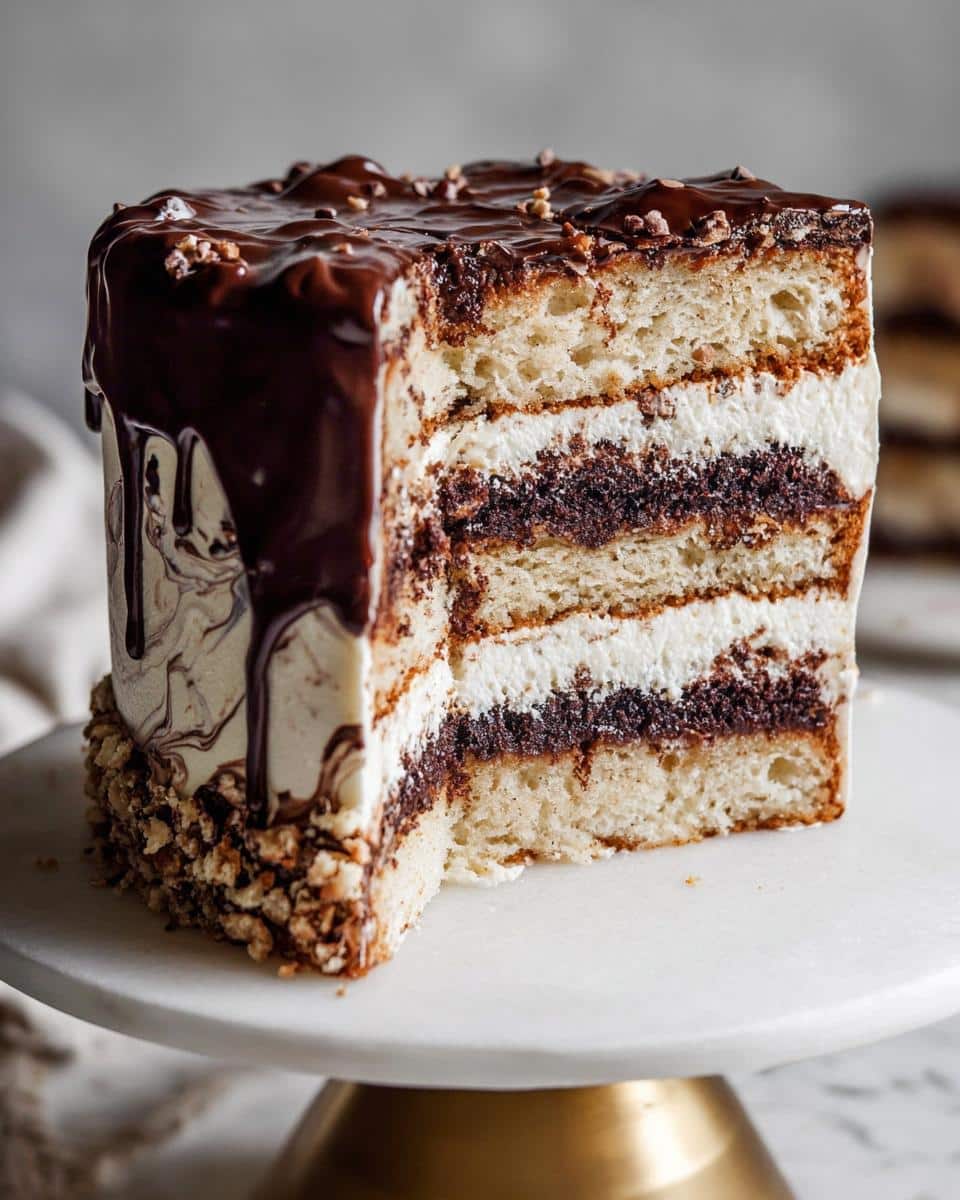
- Subtle Texture Addition: Keep the batters separate, but fold about 1/2 cup of chopped toffee bits or finely chopped pecans into the vanilla batter portion only. This gives those who love a little texture a great surprise when they cut into their slice.
These small flavor shifts keep the decorating process the same—you still use the beautiful buttercream and ganache drizzle—but the internal flavor profile feels completely new. If you’re looking for more ways to play with basic flavors, check out my notes on easy banana bread variations; the logic of tweaking a classic base applies there, too!
Storing and Reheating Your Marble Buttercream Cake
Now the decorating is done, and you have a gorgeous cake! The nice thing about using a sturdy vanilla bean buttercream, rather than delicate whipped cream, is that this marble buttercream cake holds up beautifully. It’s designed to be a centerpiece, so you want to make sure it stays looking perfect right up until serving time.
For storing, just treat it like any beautiful layer cake. Cover it loosely—I use a cake dome or even just tent it gently with foil so the buttercream doesn’t get that dry, papery skin—and keep it at room temperature, provided your kitchen isn’t scorching hot. It should be perfectly fine sitting out for a good 24 hours. The butter and sugar content in the frosting acts as a great natural preservative, keeping those flavors vibrant.
If you need to store it longer, perhaps for next weekend, the refrigerator is your friend. Seal it tighter if it’s going into the fridge so it doesn’t absorb any smells from your leftovers. Don’t worry about the texture changing; that slight firmness is just the fats setting up.
Bringing It Back to Perfect Serving Temp
This is the most important step for flavor and texture! Never serve a cold cake, no matter how pretty it is. Cold dulls flavor, and the buttercream will be hard enough to crack a tooth. When you’re ready to serve, take the entire cake out of the fridge about two to three hours before you plan to slice it.
That two-hour window allows the butter in the frosting to soften just enough to become luscious again. You want it yielding when you press it lightly, not stiff. The cake crumb itself will also breathe, allowing those vanilla and chocolate notes to really come alive. It’s worth the wait, I promise!

Frequently Asked Questions About the Marble Buttercream Cake
I always get so many great questions once people start looking at the decorating part of this recipe! It seems like a very *Trendy Cake Design*, and sometimes folks worry that the finishing touches are too complicated. I’ve pulled together some of the most common things I hear from folks trying this for the first time. We want this to feel achievable, whether you’re going for something over-the-top or one of those Cute Simple Cakes!
Can I make this a Minimalist Bday Cake instead of a highly decorated one?
Absolutely, you can! In fact, sometimes those simpler designs showcase the marbling best. If you’re aiming for a Minimalist Bday Cake, here’s my advice: skip the rough border finish I described in the assembly steps. Instead, after you’ve applied your crumb coat and final smoothing of the buttercream, focus on making those sides as perfect and flat as possible using your bench scraper.
Then, just use a very small amount of the ganache—maybe only half of what we made—and apply a small, intentional drip right along the edge of the top surface. You can let it just kiss the sides a little, or stop it short. A clean white or pale vanilla buttercream canvas with just a hint of dark chocolate contrast is incredibly elegant and takes almost no time at all.
What is the best way to achieve a clean ganache drip?
This is an authority moment for me! The secret to a perfect drip that flows nicely without pooling everywhere or setting up too stiffly all comes down to temperature balance. You need the cake to be cold and the ganache to be perfectly lukewarm.
Make sure your assembled, crumb-coated cake has spent at least 30 minutes chilling in the refrigerator until the buttercream is very firm. Then, when you reheat the leftover ganache (just 10 seconds in the microwave, max!), you want it just warm enough that it flows easily off a spoon, but not hot whatsoever. If it’s hot, it will melt the buttercream shield and slide right off the cake. If it’s too cool, it will glob right where you place it. A chilled cake plus lukewarm ganache equals textbook drips every time. If you have any trouble getting started, feel free to reach out via my Contact Us page!
Can I use a different color instead of cocoa powder for the marble?
That’s a wonderful idea for creating other Cute Cake Designs! You absolutely can. Just remember that white frosting tends to absorb color differently than chocolate does. If you want a different hue—say, soft blue or lavender—you’ll need to take about 2 cups of your plain vanilla batter and gently fold in concentrated gel food coloring until you reach the desired shade.
The key is to use gel colors, not liquid extracts, because liquid can throw off the structure of the batter. Keep the proportions the same: half plain vanilla batter, half colored batter. It makes for some truly stunning Simple Birthday Cake Designs that aren’t traditional brown and white!
My buttercream ended up too soft; can I save it?
Oh, yes! This happens, especially if your kitchen is warm when you’re whipping. That’s why I listed that mandatory 10-15 minute chill time in the instructions! Buttercream is temperamental. If you’ve whipped it until it looks soupy, just scrape it into a bowl and pop it in the fridge for 15 minutes. You might need to give it another quick beat on medium speed once it chills down, but that chilling process firms up the fat just enough to stabilize it so you can get those smooth sides.
A Final Thought on Crafting Your Marble Buttercream Cake
Honestly, now that you have the steps for the cake, the frosting, and that gorgeous ganache drizzle, the most satisfying part begins: sharing it! Baking is a communal act, and seeing how your unique marble swirl turned out is half the fun. I really want to know what you thought—did less swirling work better for you? Did you opt for a bright color variation?
Please take a moment to rate this recipe right below this text if you give it a try. Your feedback means the world to me as I continue to share these treasured culinary histories. And if you post a photo of your stunning creation online, please tag me! I always love connecting with fellow bakers who appreciate blending tradition with artistry.
If you have any lingering questions about ingredients or historical context, remember you can always check out my site’s Disclaimer page for site policy notes, but truly, the best way to connect is just to dive back into the kitchen. Happy baking, everyone!
Marble Buttercream Cake
Ingredients
Equipment
Method
- Preheat the oven to 350F (177C) convection or 325F (162C) conventional. Grease and line three 6-inch cake pans.
- In a medium bowl, whisk together 2 cups of the flour, baking powder, and salt. Set the dry ingredients aside.
- Use a stand mixer to beat the butter, granulated sugar, and brown sugar together on medium-high speed for 1 to 2 minutes. Add the canola oil and beat for another minute at full speed.
- Add the eggs one at a time, beating well for about 30 seconds after each addition. Scrape down the sides of the bowl as needed. Add the sour cream and vanilla extract and mix just until combined.
- With the mixer on low speed, add half of the dry flour mixture to the batter, followed by the milk, and then the remaining half of the flour mixture. Beat on medium speed just until the flour is incorporated. Scrape the bowl edges to ensure all flour is mixed in.
- Separate the batter in half into two separate bowls. Add the reserved 1/4 cup of flour to one half and the cocoa powder to the other half. Mix each bowl gently to combine.
- Place globs of both batters into the prepared cake pans, distributing the batter evenly among all three. Use a toothpick or knife to swirl the batters back and forth a few times to create the marble effect.
- Bake for about 35 minutes, or until the cake springs back when lightly poked or a toothpick inserted comes out clean. Remove the cakes from the pans and allow them to cool completely before frosting.
- For the buttercream, place the room temperature butter in a stand mixer bowl. Using a whisk attachment, beat the butter on medium-high speed for 1 to 2 minutes until it becomes pale yellow.
- Add the salt and powdered sugar to the butter and mix on low speed until just combined. Turn the mixer to medium-high speed and beat for at least five minutes until the sugar dissolves and the buttercream is smooth.
- Pour in the heavy whipping cream and vanilla bean paste. Beat for another 2 minutes on high speed. If the buttercream is too soft, chill it for 10 to 15 minutes before using.
- For the ganache, place the chocolate chips in a medium bowl.
- In a small saucepan over medium-low heat, bring the heavy cream to a gentle simmer, watching for bubbles around the edge.
- Pour the hot cream over the chocolate chips and cover the bowl for 2 minutes. Stir gently with a spatula or fork until the mixture is completely melted and smooth. Refrigerate the ganache for 5 to 10 minutes to cool it enough for spreading.
- If the cake layers are domed, trim the tops to make them flat.
- Use 1/4 of the buttercream to frost the first layer, then spread 1/4 of the chocolate ganache on top of that frosting. Repeat this process for the second layer.
- Place the third layer on top. Smooth out any buttercream that squeezes out between the layers and refrigerate the cake until it is firm.
- Remove the cake from the refrigerator. Place the remaining buttercream on top of the cake and use an offset spatula to spread it down the sides. Use a bench scraper to smooth the edges, leaving a rugged border at the top edge.
- Reheat the remaining chocolate ganache for 10 to 15 seconds in the microwave, mix until smooth, and pour it over the top of the cake, filling it to the frosting borders. Add decorations like macarons or gold foil if desired.