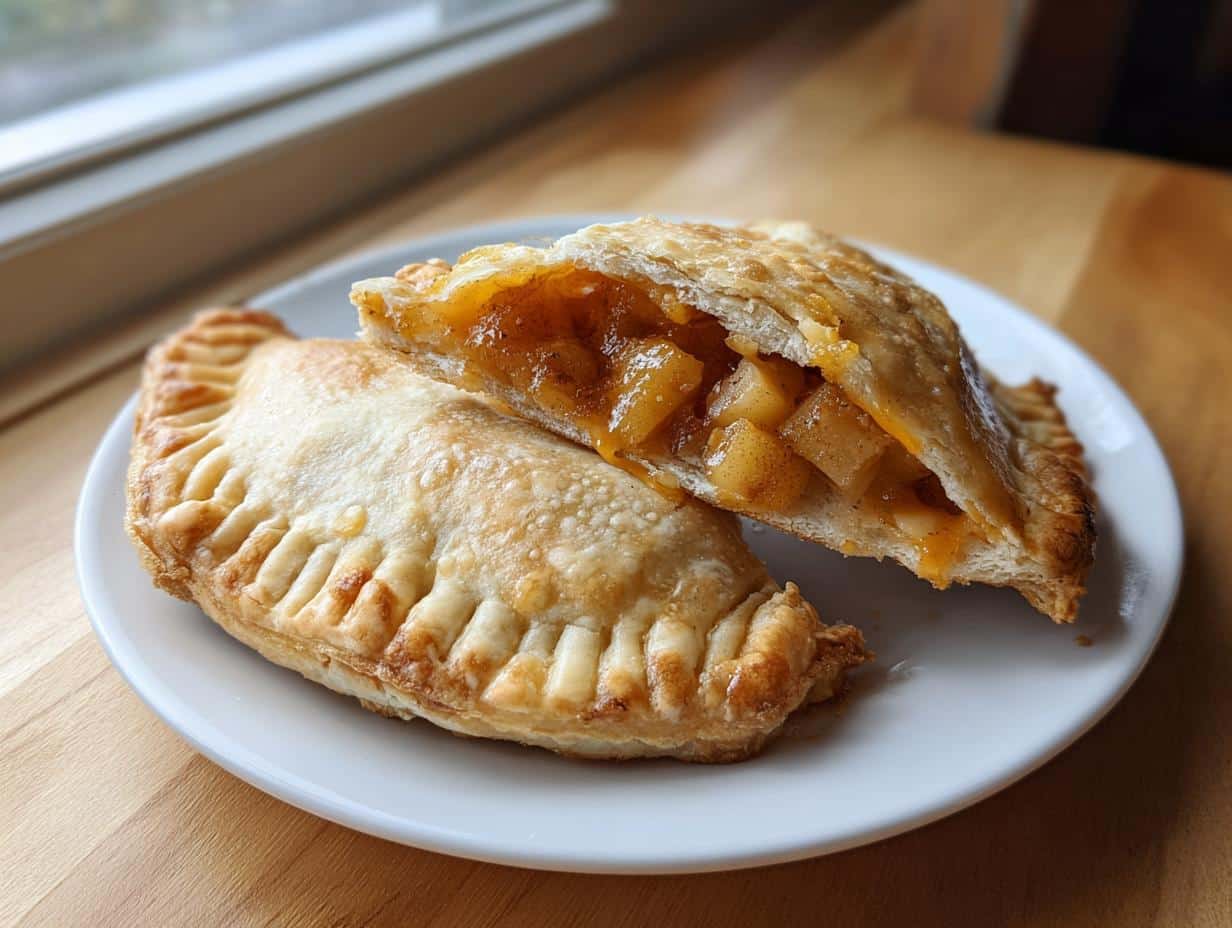
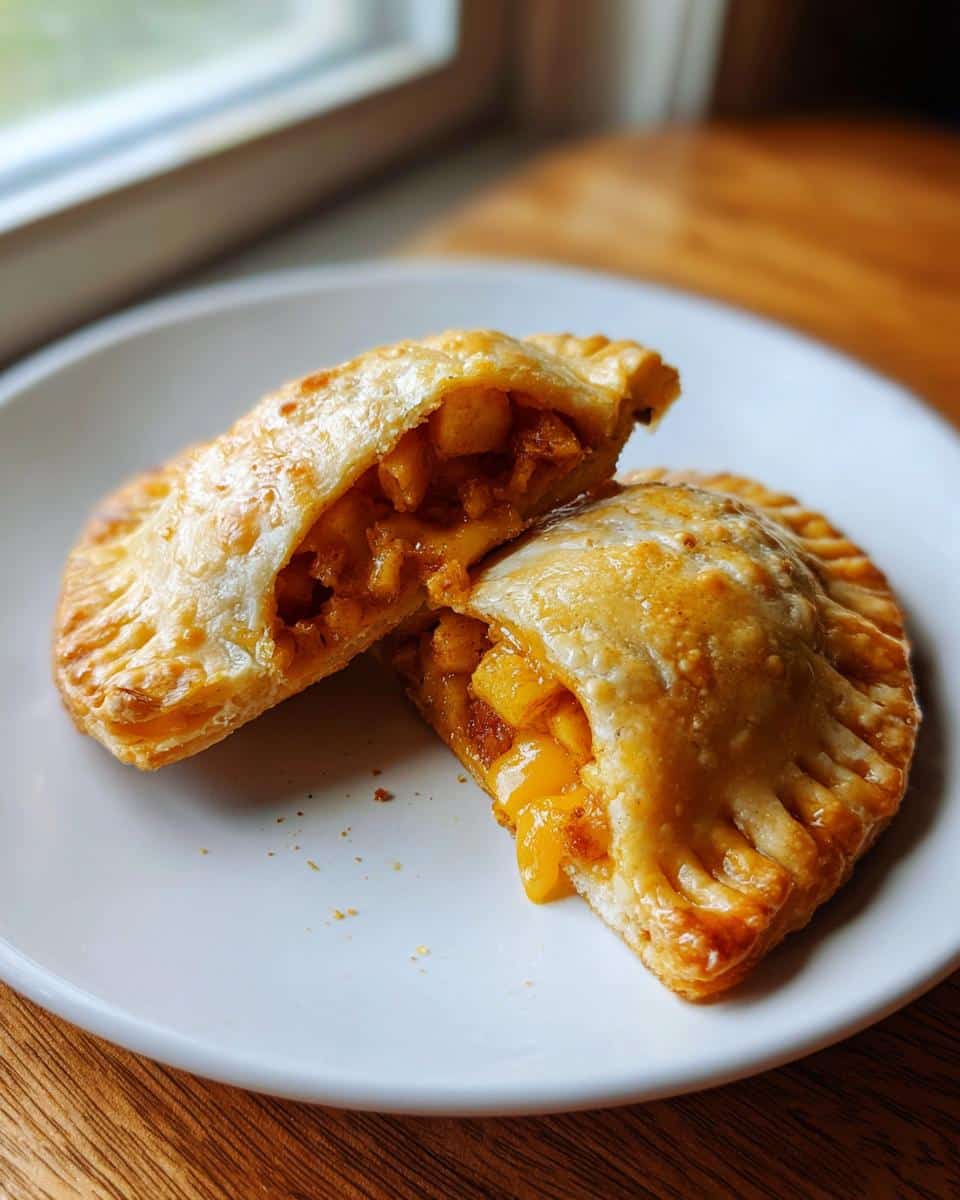
There’s something magical that happens when sweetness and savory flavors meet, right? It just takes comfort food to a whole new level. That’s exactly why I absolutely adore these Mini Apple-Cheddar Hand Pies. They are sweet, a little sharp from the cheese, and perfectly portioned so you don’t overdo it. If you love balancing flavors, you’ll want to check out my collection of trending recipes too!
I remember growing up every fall in New England, coming home from the apple orchards with massive, overflowing baskets. We always needed creative ways to use them all up! Then one day, I saw someone eating sliced apples with aged cheddar cheese, and wow, the flavor combination just clicked.
It took a few tries to turn that simple pairing into a baked treat, but these hand pies are the result. They are perfectly balanced, travel well for parties, and bring that cozy autumn feeling right into your kitchen. I promise you’re going to love these as much as we do!
Why You Will Love These Mini Apple-Cheddar Hand Pies
Honestly, these hand pies hit every single spot for me, and I bet they will for you too. They are truly the best kind of cozy snack.
- Perfect Sweet-Savory Balance: That sharp cheddar cuts through the sweetness of the maple and apple beautifully. It’s unexpected but totally addictive.
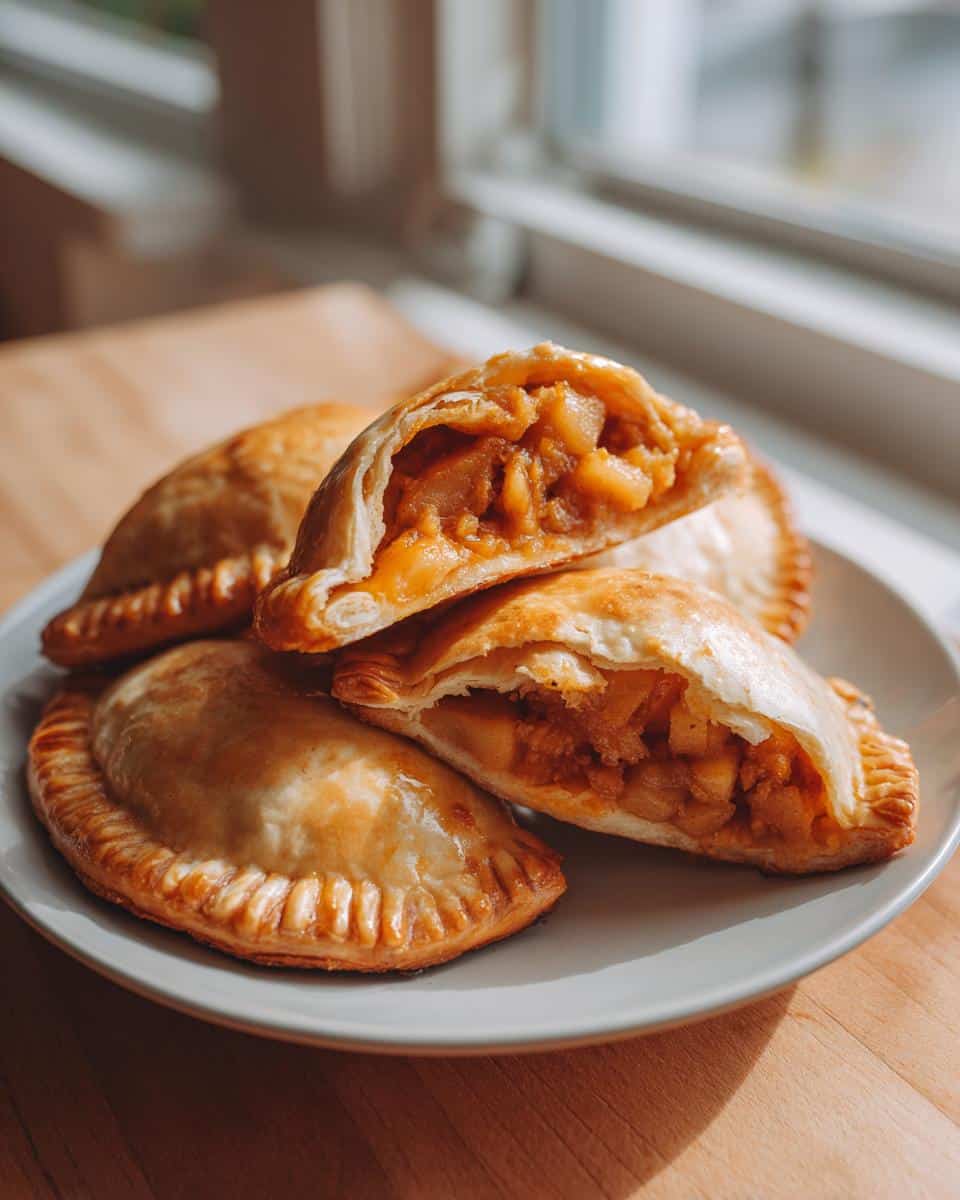
- Portion Control Genius: Being mini means they’re easy to manage for parties—no messy slicing required! Grab one and go.
- Wholesome Comfort: I used real apples and kept the sugar reasonable, so these feel indulgent without being too heavy. Great for Easy Lunch Ideas.
- Fantastic for Parties: They are the ultimate easy-to-handle Fall Finger Foods For Party because they travel so well.
They just make everything feel right in the fall, trust me!
Gathering Ingredients for Your Mini Apple-Cheddar Hand Pies
Okay, before we even think about rolling, we need to talk ingredients. Because these hand pies have that wonderful sweet and savory combo, the quality of what you put in really matters! I always group mine out so I don’t forget anything important when I start mixing.
For the pastry, you absolutely must start with your butter cut into small cubes and kept super cold. Remember, cold butter is the absolute secret weapon for flaky crusts! We need about a cup of that, mixed with your flour and finally brought together with some ice water. Seriously, don’t skimp on keeping that water frosty!
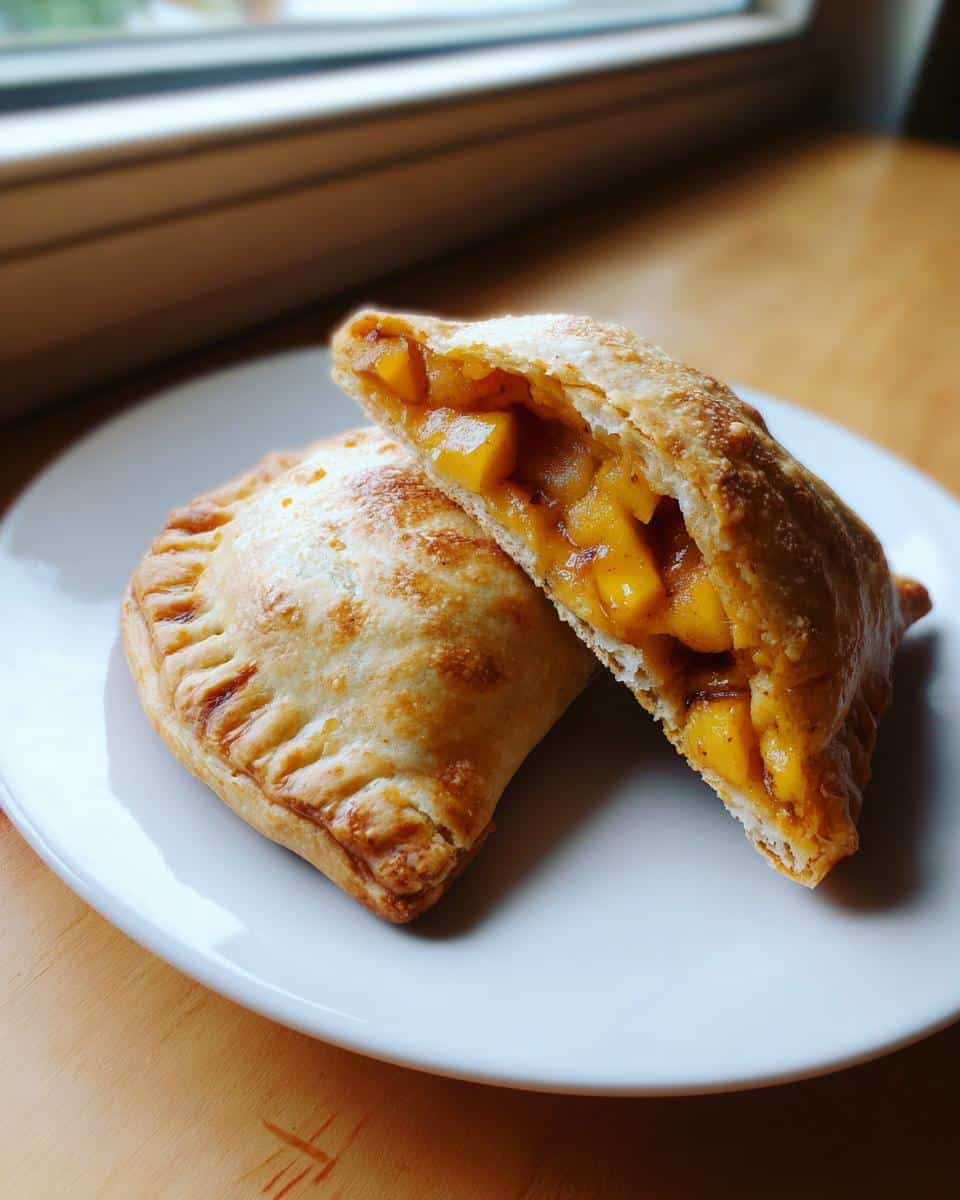
When it comes to the filling, this is where the flavor pops. I insist that you use firm apples—something like Honeycrisp or a tart Granny Smith works perfectly. They need to be finely diced, not chunky, so they cook down nicely inside that small pocket. We sweeten it up simply with maple syrup and cinnamon, and then here’s the fun part: that sharp cheddar cheese! Make sure you grate it yourself; the pre-shredded kind just doesn’t melt right.
Finally, for assembly, have one large egg ready, beaten well for your egg wash. That’s what gives us that beautiful, shiny, golden brown finish on top. If you want to check out a different fun kid-friendly recipe I love, take a peek at my kid-friendly Cheerio granola bars!
Get everything together, and we’re ready for the pastry magic!
Essential Equipment for Perfect Mini Apple-Cheddar Hand Pies
You don’t need a dozen fancy gadgets for these hand pies, but having the right essentials makes the job so much tidier. Think simple, reliable tools!
First off, you absolutely need a sturdy rolling pin. We’re aiming for a specific, thin thickness for the pastry, and a good pin makes rolling out that cold dough much less frustrating. I prefer a weighted wooden one myself.
Next up, and this is important for getting that signature look, is your 2.5-inch round cookie cutter. Uniformity is key here, especially when you’re layering two pieces of dough together. If you use different sizes, some will overbake while others are still raw. Stick to this size, and they’ll all bake perfectly evenly for your sweet marshmallow popcorn mix experiments!
Make sure you have a couple of large baking sheets lined with parchment paper ready to go before you even start cutting the dough. Parchment paper helps prevent sticking, which is a lifesaver when you’re dealing with buttery pastry and filling.
That’s really it! Rolling pin, cutter, and pans. Simple equipment for delicious results.
Step-by-Step Instructions for Making Mini Apple-Cheddar Hand Pies
This is where the fun really starts! Even though we have measurements, remember that baking is also about intuition. When you get these into the oven, the smell that fills your kitchen—that mix of warm cinnamon, buttery pastry, and savory cheese—is just the best feeling.
We’ll break this down into three clear parts so nothing gets confusing. Don’t rush the chilling part for the dough; it pays off big time!
Preparing the Flaky Pastry Dough
First things first: let’s get that gorgeous crust ready. In your biggest bowl, you’re whisking the flour and salt together. Now comes the cold butter—cut into little cubes, remember? You need to cut that butter into the flour until you have what looks like coarse crumbs, and you still want to see bits of butter about the size of little peas. That’s your goal!
When you add the ice water, you have to do it super slowly, just a tablespoon at a time. Mix it in with your hands or a fork until the dough barely holds together. And I mean *barely*! Stop immediately if it clumps up. If you overmix it here, you’ll lose that flakiness. Divide the dough into two disks, wrap them tight, and pop them in the fridge for at least 30 minutes. That time is non-negotiable!
Assembling the Apple and Cheddar Filling
While the dough is chilling and getting firm, put your filling together. Grab a clean bowl and toss your finely diced apples, just two of them, with the lemon juice—that keeps them from getting too brown. Then add that maple syrup and that warm ground cinnamon. Give it a gentle mix so everything is coated but the apples don’t smash.
Now, this is important: just before you fill the pies, gently stir in your grated sharp cheddar cheese. You want a little bit of cheese on every portion, so mix it evenly through the apple mix. Don’t let this sit too long, or the apples will start making the cheese watery.
Shaping, Sealing, and Baking Your Mini Apple-Cheddar Hand Pies
Time to roll! Preheat that oven to 400°F (200°C) and get those baking sheets ready. Roll out one chilled dough disk until it’s thin—aim for about 1/8 of an inch. Use your 2.5-inch cutter to punch out as many circles as you can. Put a teaspoon of the apple-cheddar mix on one half of the circle.
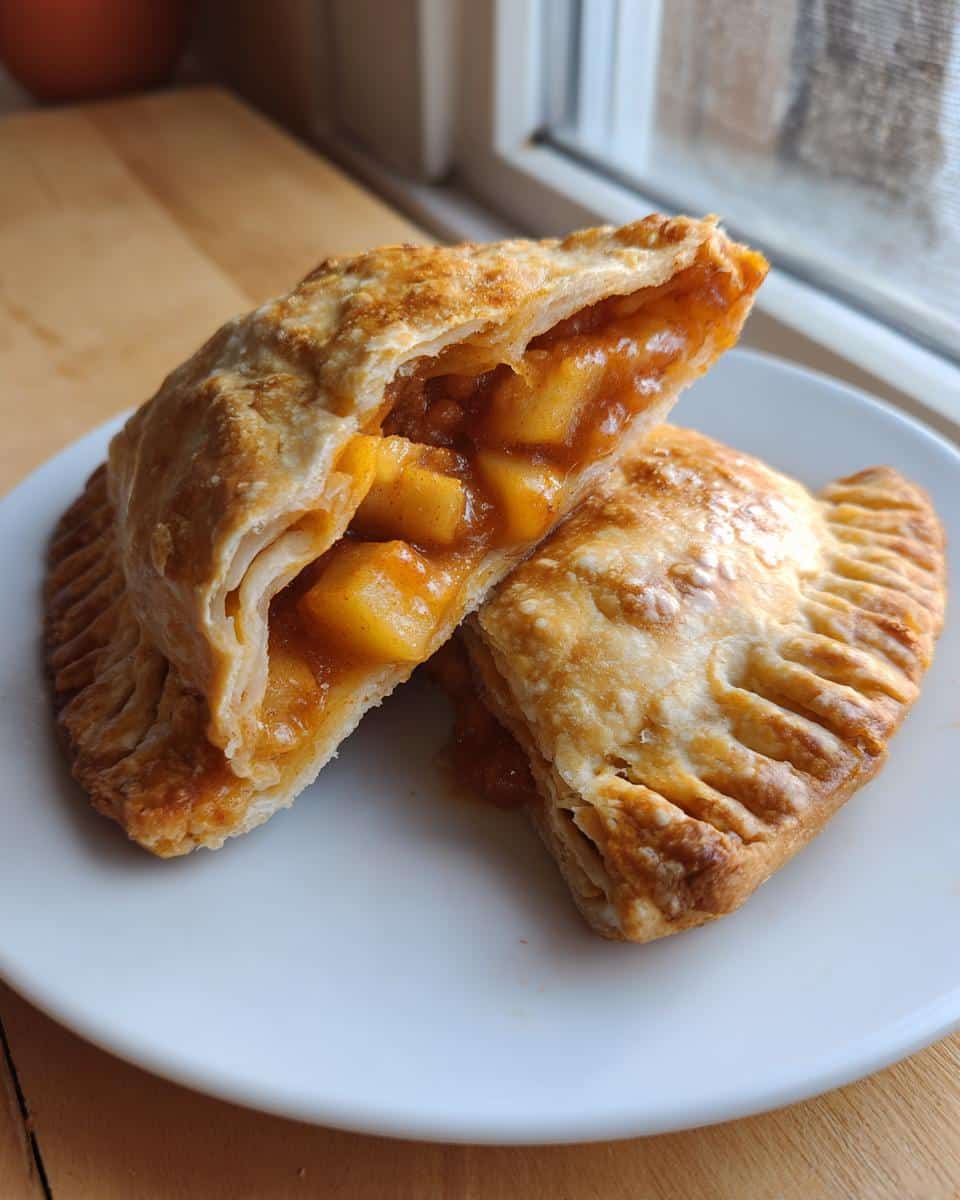
Brush the edges with your beaten egg wash. Fold it into that perfect half-moon shape. Now, really press those edges together with a fork—this is crucial so the filling doesn’t sneak out! Don’t forget to cut two tiny slits right on top of each pie so the steam has somewhere to escape while they bake. Brush the tops with the rest of the egg wash.
Bake them for 18 to 20 minutes until they are gloriously golden brown, bubbly, and you can smell that amazing aroma I mentioned! If you’re looking for other fun small bites, check out my recipe for sweet marshmallow popcorn mix while yours bake!
Tips for Perfect Mini Apple-Cheddar Hand Pies Baking Success
You’ve got the dough chilling and the filling stirred, but let me give you three quick pointers that I swear by to make sure these come out perfect—flaky crust, zero leaks!
First, and I can’t stress this enough: keep everything cold for the pastry. If your kitchen is warm, stick the dough back in the fridge for five minutes while you’re cutting the circles. Cold butter equals flaky layers; warm butter equals crackers. Simple as that!
Second, on the cheese front: I love sharp cheddar for that lovely savory bite, but if you’re serving folks who are a little shy about strong flavors, don’t worry! You can swap it out. A good medium cheddar works beautifully, or even a smoked Gouda if you want to try something different for your dinner ideas easy night.
Finally, when you crimp those edges with the fork, really press down! Those tiny pies get hot, and you want that filling locked inside tight so you don’t end up with a chewy, unappetizing mess. Press, press, press them shut!
Serving Suggestions for Your Mini Apple-Cheddar Hand Pies
Part of the joy of these Mini Apple-Cheddar Hand Pies is how versatile they are! They truly fit into so many different meals and gatherings, which makes them perfect for using up those extra apples.
If you’re hosting, they are absolutely amazing as one of your Thanksgiving Potluck Ideas or any fall appetizer spread. Because they are handheld, people can mill around and chat while nibbling. For a party, I usually serve them warm on a rustic wooden board!
But don’t just save them for parties! These are fantastic for a lighter meal too. They make a surprisingly satisfying option for Sunday Dinner Ideas alongside a fresh, peppery arugula salad dressed with a simple vinaigrette. The salad balances the richness of the pastry and cheese perfectly.
You can even dress them up slightly! For a snack or light lunch, I love serving these warm pies with a tiny dollop of plain Greek yogurt mixed with a touch of cinnamon on the side. The tanginess cuts through that savory cheddar and keeps things feeling balanced. They also reheat beautifully, making them excellent simple Easy Lunch Ideas for packing later in the week.
Honestly, once you make a batch, you’ll find excuses to serve them everywhere!
Storage and Reheating Instructions for Leftover Mini Apple-Cheddar Hand Pies
Now, let’s talk about the sad, necessary part: what to do when you somehow have leftovers! I say “somehow” because these don’t usually last long, but you asked, so I’m here to help you save them for later enjoyment.
When it comes to storing these amazing little hand pies, you want to keep that beautiful pastry crisp, or at least as crisp as possible. Make sure they have cooled down completely first—warm pastries trap steam, and that equals sogginess, which we absolutely cannot have!
Once they are totally cool, just pop them into a good airtight container. If you keep them sealed up tight, they should be just fine sitting out on your counter at room temperature for about two days. Since we used natural preservatives like apple acid and that high-sugar filling, they usually hold up really well without needing the fridge for short storage.
If you have a big batch and need them to last longer than two days (I’m impressed!), then yes, the refrigerator is necessary. In that case, they are good for up to five days, but you might need to re-crisp them a little more when reheating.
My Favorite Way to Reheat for Maximum Crunch
Listen to me now: do NOT use the microwave if you value your crust! The microwave heats the moisture inside and turns your gorgeous flaky pastry into something closer to a warm rubber hockey puck. We want that buttery crackle back!
The best method, hands down, is the oven or even an air fryer if you have one. Set your oven to about 350°F (175°C). You only need to warm them through, not bake them again. Five to seven minutes is usually plenty. You want the cheese inside to get gooey again—that’s the real treat!
If you’re using an air fryer just for one or two pies, aim for about four minutes at 325°F (160°C). It gets them hot and crispy super fast, making them feel like they just came out of the oven!
Frequently Asked Questions About Mini Apple-Cheddar Hand Pies
I get so many wonderful questions about these hand pies! They really are versatile, and I’m happy to clear up any uncertainty so you can get baking. Emma Brooks here—I’m a Registered Dietitian and Flavor Strategist based right here in Boston. I love showing folks that comfort food can absolutely fit into a balanced kitchen, and these pies are proof!
Can I make these Mini Apple-Cheddar Hand Pies ahead of time?
Oh yes, preparing ahead is what makes them such great Fall Appetizers For Party! You have two options here. You can assemble everything completely—cut the circles, add the filling, crimp the edges, egg wash and all—and then arrange them on a baking sheet lined with parchment. Cover that tightly with plastic wrap and pop them in the fridge for up to 24 hours. When you’re ready to bake, just add maybe 3-5 extra minutes to the baking time since the dough is colder.
Or, even better for longer prep, you can freeze them! Just handle them as described above, freeze them flat on the sheet until they are solid rocks, and then transfer them to a freezer bag. Unbaked, frozen hand pies will last for two months. When you want to bake from frozen, use the same rule: add about 5 to 8 minutes to the standard bake time.
What are the best apples to use for these Lunch Recipes?
For these specific Lunch Recipes where the apples are diced small and baked inside a pastry pocket, texture is everything! You really need apples that are firm and don’t break down into total mush when heated. I mentioned Honeycrisp or Granny Smith earlier, and those are my favorites because they keep their shape and offer just the right amount of tartness to balance that cheddar.
Avoid soft, mealy apples completely, like Red Delicious, even if you have them lying around. They just disappear! We want visible, flavorful apple pieces in every small bite, which means choosing a crisp apple is the most important decision in the filling stage!
Are these suitable as Thanksgiving Potluck Ideas?
Are you kidding? They are *made* for potlucks! They are perhaps one of the best Thanksgiving Potluck Ideas because they are perfectly portable. You don’t need serving spoons or plates—just toothpicks if you want to be fancy, but people can easily grab them right off the platter.
They offer a wonderful savory counterpoint to all the heavy sweet desserts at Thanksgiving. Plus, they can be served warm, room temperature, or even cold if needed. They are designed to travel well and still taste amazing when you get to the party. Trust me, they disappear fast!
If you want to see more delicious recipes curated with nutrition in mind, check out my main page on the site: Emma Brooks’ work.
Nutritional Estimates for Mini Apple-Cheddar Hand Pies
Since I always aim for recipes that fit into a balanced lifestyle, I like to give you a general idea of what’s in these little flavor bombs. These are just estimates, of course, because how much butter you grate in or how thickly you roll your crust can change things!
- Calories: About 250 per pie
- Fat: 13g (Remember, a lot of that comes from that delicious, flaky cold butter!)
- Protein: 6g
- Carbohydrates: 30g
- Fiber: 2g
- Sugar: 10g (Mostly naturally occurring from the apple and a touch of maple syrup)
They come out as a great little satisfying snack or dessert that offers a nice mix of macros. For more transparency on ingredients and cooking guides, please read my general site disclaimer.
Share Your Thoughts on This Balanced Comfort Food
Now that you’ve tried baking them up—maybe as an easy snack or even for your next gathering—I just have to know what you think! Did the sweet and savory surprise you? Did the cheddar melt just right?
Please leave a rating below so I know how these Mini Apple-Cheddar Hand Pies turned out for you. Did you serve them warm? Did you enjoy them as one of your Fall Finger Foods For Party? I love seeing how you make these recipes your own! Feel free to reach out via my contact page!
Nutritional Estimates for Mini Apple-Cheddar Hand Pies
Since I always aim for recipes that fit into a balanced lifestyle, I like to give you a general idea of what’s in these little flavor bombs. These are just estimates, of course, because how much butter you grate in or how thickly you roll your crust can change things!
- Calories: About 250 per pie
- Fat: 13g (Remember, a lot of that comes from that delicious, flaky cold butter!)
- Protein: 6g
- Carbohydrates: 30g
- Fiber: 2g
- Sugar: 10g (Mostly naturally occurring from the apple and a touch of maple syrup)
They come out as a great little satisfying snack or dessert that offers a nice mix of macros. For more transparency on ingredients and cooking guides, please read my general site disclaimer.
Share Your Thoughts on This Balanced Comfort Food
Now that you’ve tried baking them up—maybe as an easy snack or even for your next gathering—I just have to know what you think! Did the sweet and savory surprise you? Did the cheddar melt just right?
Please leave a rating below so I know how these Mini Apple-Cheddar Hand Pies turned out for you. Did you serve them warm? Did you enjoy them as one of your Dinner Ideas Easy or just as a satisfying little snack? I love seeing how you make these recipes your own! Feel free to reach out via my contact page!
Mini Apple-Cheddar Hand Pies
Ingredients
Equipment
Method
- Prepare the pastry dough. In a large bowl, whisk together the flour and salt. Cut in the cold butter using a pastry blender or your fingers until the mixture resembles coarse crumbs with some pea-sized pieces of butter remaining.
- Gradually add the ice water, one tablespoon at a time, mixing until the dough just comes together. Do not overmix. Divide the dough in half, form each half into a disk, wrap in plastic wrap, and chill in the refrigerator for at least 30 minutes.
- Prepare the filling while the dough chills. In a medium bowl, combine the diced apples, lemon juice, maple syrup, and cinnamon. Toss gently to coat.
- Preheat your oven to 400°F (200°C). Line two baking sheets with parchment paper.
- On a lightly floured surface, roll out one disk of dough until it is about 1/8 inch thick. Use a 2.5-inch round cookie cutter to cut out circles. Reroll scraps as needed.
- Place about 1 teaspoon of the apple mixture onto one half of each dough circle. Sprinkle a small amount of grated cheddar cheese over the apples. Brush the edges of the dough with the egg wash.
- Fold the dough over to create a half-moon shape. Crimp the edges firmly with a fork to seal. Cut two small slits on top of each pie to allow steam to escape.
- Place the assembled hand pies on the prepared baking sheets. Brush the tops with the remaining egg wash.
- Bake for 18 to 20 minutes, or until the pastry is golden brown and the filling is bubbly. Let the hand pies cool on the baking sheets for a few minutes before transferring them to a wire rack to cool slightly before serving.