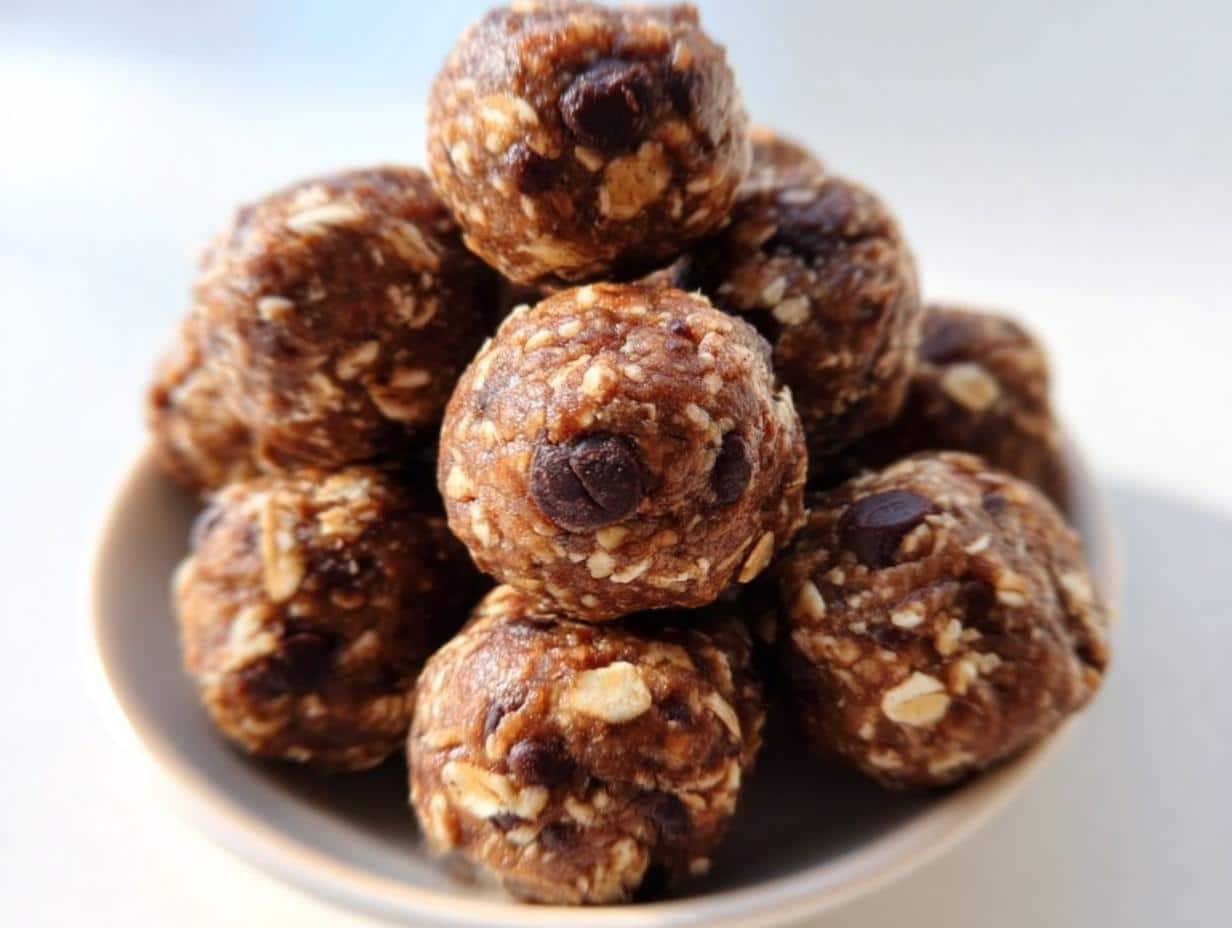
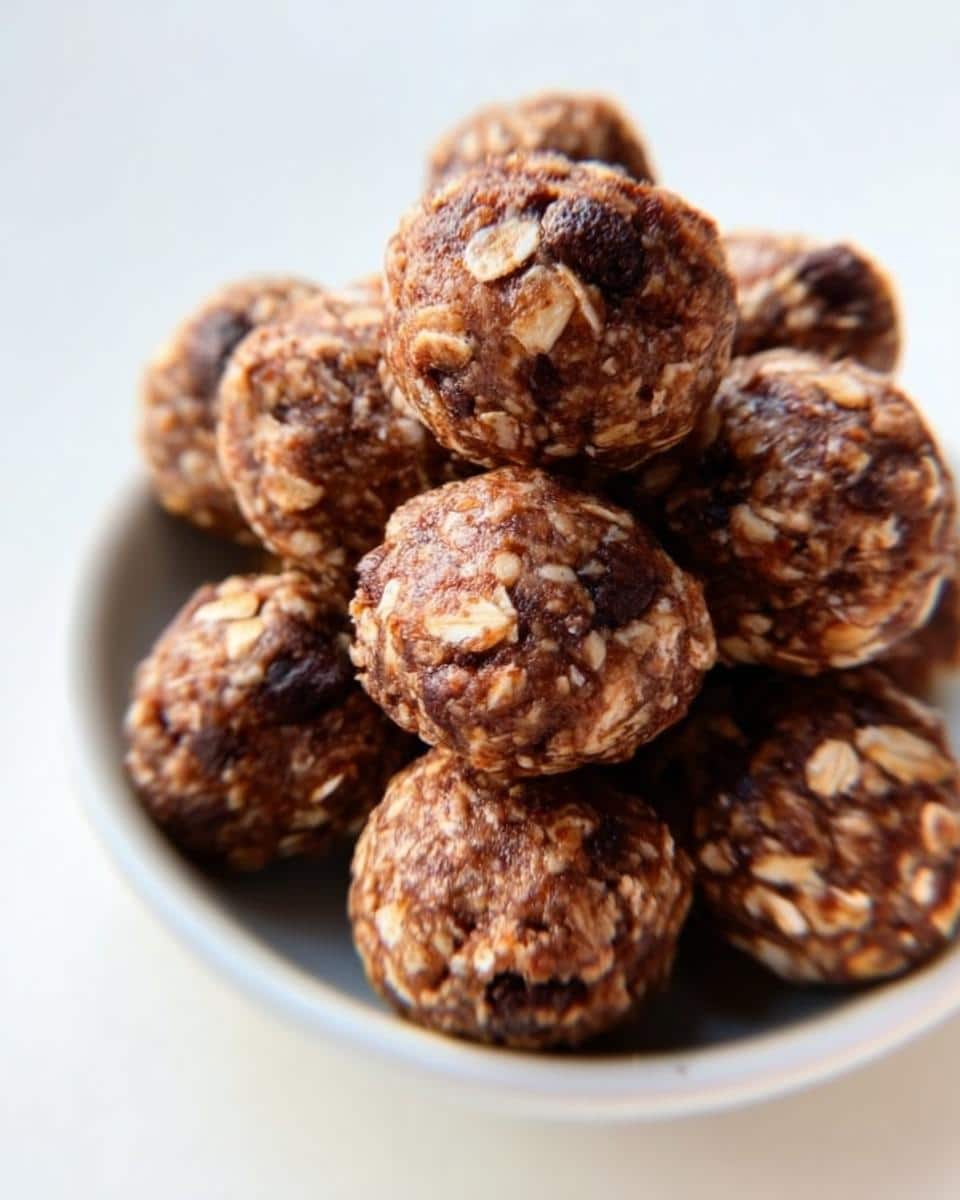
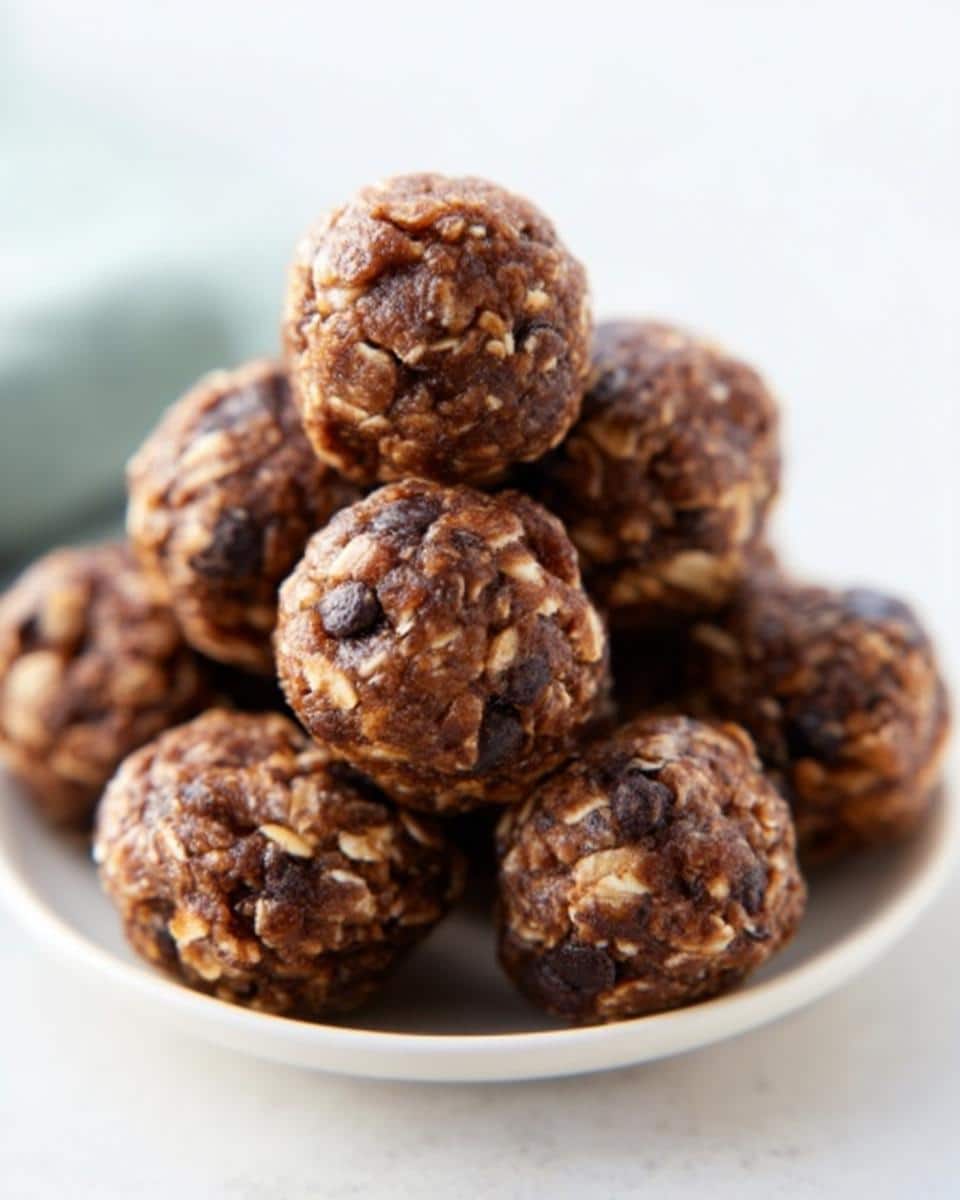
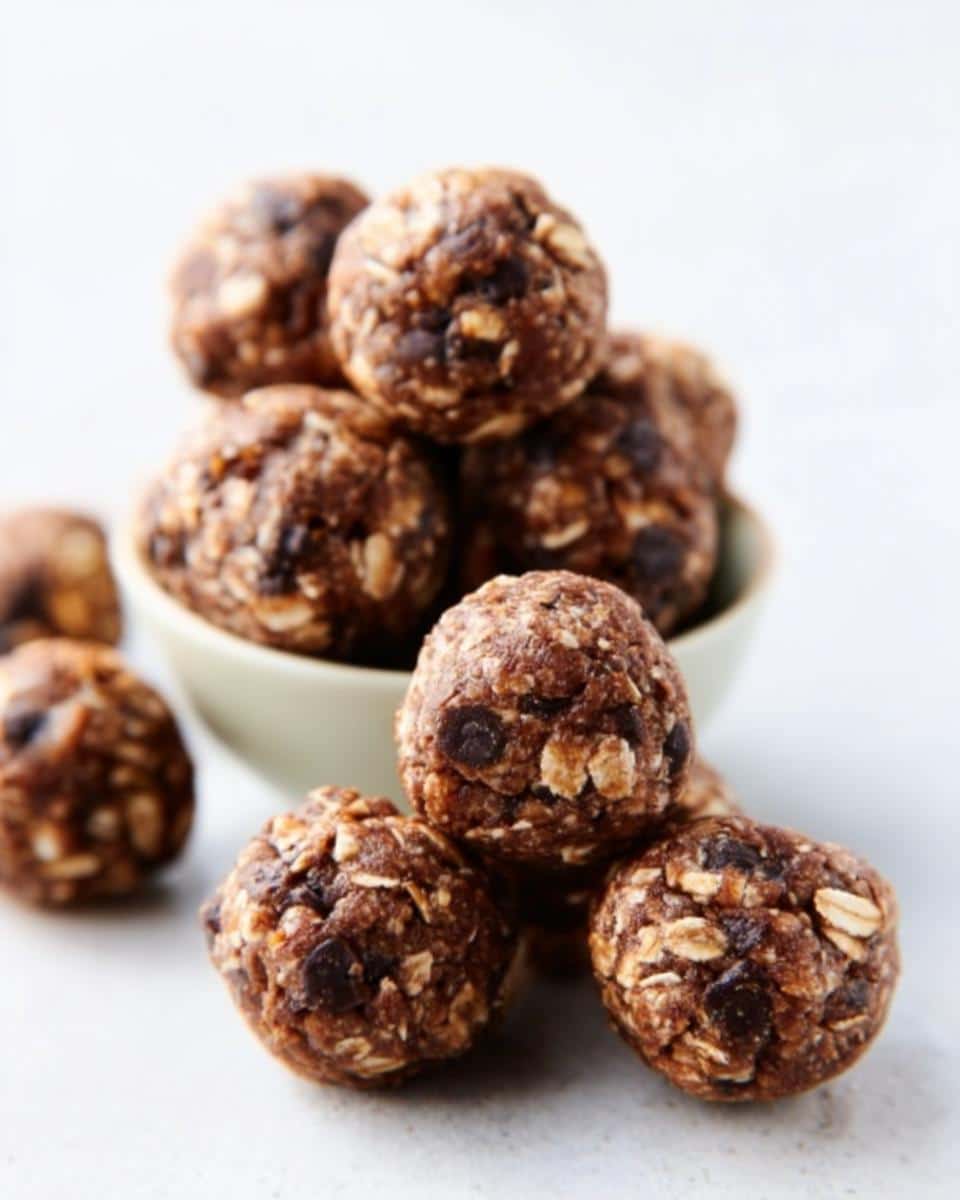
Are you ever just staring into the pantry, needing something satisfying *right now* but refusing to turn on the oven? Seriously, I get it. Finding quick snack recipes that actually keep you fueled until dinner is like finding a hidden gem. That’s exactly why I champion no-bake treats! As someone who spends a lot of time teaching cooking, I know the real magic happens when you remove the intimidation factor, and these Peanut Butter Chocolate Energy Bites are the dictionary definition of simplicity meeting satisfaction.
For me, this recipe represents pure kitchen empowerment. There’s no complicated timing, no oven anxieties—just a bowl, a spoon, and ingredients you probably have right now. I’ve whipped up batches of these for rushing out the door to a workshop or just needing a little comfort after a long day of teaching behind the latest food photography setup. They give you that richness from the peanut butter and the hug from the chocolate, making them feel indulgent while still being utterly practical for your daily routine. Good food doesn’t need to be complicated; it just needs your heart!
Why You Will Love These Peanut Butter Chocolate Energy Bites
Honestly, these are my go-to when life gets hectic. You need something fast, wholesome, and satisfying—and these deliver big time. Seriously, they check every box for a perfect grab-and-go item. You’ll be making these Peanut Butter Chocolate Energy Bites all the time!
- They are 100% no-bake; just mix and chill.
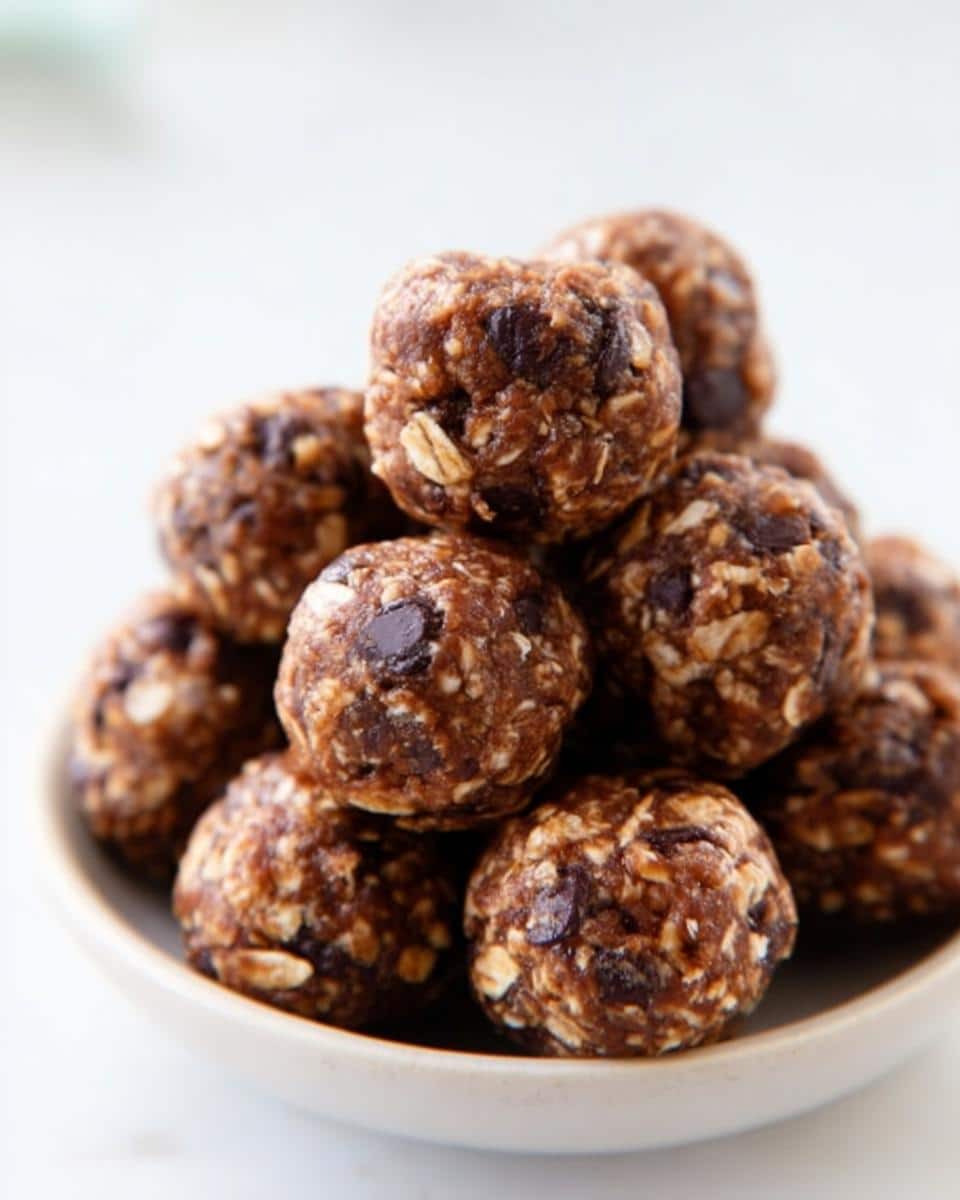
- The flavor is ultra-familiar: rich peanut butter plus comforting chocolate chips.
- They come together in about five minutes of actual work time.
- These little bites are perfectly portable for your commute or a work snack.
If you are looking for more simple inspiration for the kids, you should check out my guide on easy recipes for kids, but honestly, these energy bites are usually the biggest hit!
Essential Ingredients for Perfect Peanut Butter Chocolate Energy Bites
When you’re making these no-bake Peanut Butter Chocolate Energy Bites, the quality and type of ingredient really matter, even though it’s so simple! I laid out the pantry staples you absolutely need to get that perfect, slightly chewy bite. Remember, since we aren’t baking anything, these ingredients have to work harder to hold everything together!
- 2/3 cup natural peanut butter
- 1 cup dry old-fashioned oats
- 1/2 cup ground flaxseed
- 1/2 cup chocolate chips
- 1/3 cup honey or maple syrup
- 1/2 teaspoon ground cinnamon
- 1 tablespoon chia seeds (this one’s optional, but I love the tiny texture pop!)
Ingredient Notes and Substitutions for Your Peanut Butter Chocolate Energy Bites
Because this is a no-bake recipe, the peanut butter selection is key. Make sure you’re using a natural peanut butter where the oil doesn’t separate easily. If you use the super creamy, sweetened kind, your balls might turn out too greasy!
Also, don’t sweat the sweetener—if you need to keep these completely vegetarian or vegan, swapping the honey for maple syrup works perfectly in these Peanut Butter Chocolate Energy Bites. You get the same binding power and sweetness. If you skip the optional chia seeds, you might need to add just a tiny splash more peanut butter to get everything combined correctly.
Equipment Needed for Making Peanut Butter Chocolate Energy Bites
Before you even start mixing, let’s make sure your counter is set up for success. The beauty of these little snacks is that you don’t need any fancy gadgets, electric mixers, or even an oven mitt!
You only need a few simple things to get these rolling:
- A sturdy medium bowl where you can really get in there and mix everything well.
- A spatula, or honestly, just clean hands! I find using my hands lets me better feel when the mixture is perfectly uniform.
- A small spring-loaded scoop if you want perfect uniformity, or you can just use two regular spoons—whichever is easiest that day!
Keep your equipment simple, and the process will be a breeze. See? Zero pressure!
Step-by-Step Instructions for No-Bake Peanut Butter Chocolate Energy Bites
Okay, this is the fun part where everything comes together! Since we aren’t baking, technique is less about temperature and more about making sure every single ingredient is friendly with its neighbor. You want this mixture homogenous—like a perfect, fudgy dough.
- First things first: grab that medium bowl and dump everything in! Seriously, the oats, the peanut butter, the flax, the honey, the chocolate chips—all of it. Then, get in there with a stiff spatula or just your (clean!) hands and stir until it looks completely combined. It’s messy, but that’s how you know it’s working.
- Next, cover that messy bowl up—I just use a plate if I can’t find the plastic wrap—and stick it in the fridge for 30 minutes. This chilling time is non-negotiable! It stops the mixture from being totally sticky so you can actually roll these Peanut Butter Chocolate Energy Bites later.
- After the chill, it’s shaping time! I use a tiny cookie scoop to make sure every single bite is the same size—it just looks better, right? Roll the mixture between your palms until you have a nice, compact ball. You’ll know it’s ready for rolling when it holds its shape when you press it lightly.
- Finally, pop those beautiful little creations into an airtight container. If you want them ready for grabbing during the week, the fridge is your best friend. If you’re making them for future snacks, the freezer works wonders!
Tips for Success When Mixing Your Peanut Butter Chocolate Energy Bites
When you are stirring everything in that first bowl, you need to pay attention to the consistency before it goes into the fridge. If your mixture seems way too dry and crumbly, you can absolutely add just another teaspoon or two of peanut butter until it just starts sticking together when you pinch a bit. If it’s too wet and greasy, add a tablespoon of extra oats or flaxseed until it firms up a bit. You want it sticky, but not oily!
Storage and Make-Ahead Tips for Your Peanut Butter Chocolate Energy Bites
This is where these Peanut Butter Chocolate Energy Bites really shine for meal prep! Since they are no-bake, they are incredibly forgiving in terms of storage. You can totally make a double batch and have them ready for weeks!
If you plan on eating them within a day or two, an airtight container on the counter is fine—though honestly, I like mine chilled.
- For standard weekly snacking, keep them in an airtight container in the refrigerator. They stay perfectly fresh for up to two weeks.
- If you know you won’t get to them for a while, or if you want them rock solid for travel, toss them in the freezer! They keep beautifully for a whole month.
The chilling step isn’t just for ease of rolling the Peanut Butter Chocolate Energy Bites; it really helps those oats and flaxseed absorb the moisture from the peanut butter, making the final texture so much better and ensuring they don’t crumble when you grab one for a quick energy boost.
Serving Suggestions for These Easy Snack Recipes
You’ve got your amazing little treats ready, but how do you serve them up? Since these are so versatile, they work for almost any scenario! They go way beyond just a quick weekday **snack idea**.
If you’re looking for something to round out a casual get-together, these make fantastic **party snacks**. They are simple **finger foods** that people can grab without needing a plate or fork. Since they taste a little indulgent, they work perfectly alongside something salty.
- For your morning routine, pair them with a strong cup of coffee or a big glass of milk. They are the perfect substitute for a sugary pastry!
- After you hit the gym or finish a workout, these **small bites recipes** offer just the right amount of protein and slow energy release from the oats.
- When planning casual gatherings, serve a big platter of these alongside some fresh fruit skewers—they look lovely as **bite size appetizers** that satisfy that sweet tooth early on.
If you want even more fun, sweet **quick appetizers** ideas that require zero baking, you absolutely have to check out how I make my Sweet Marshmallow Popcorn Mix. It’s another foolproof recipe for when you need something fast and festive!
Frequently Asked Questions About Peanut Butter Chocolate Energy Bites
I’ve answered a few of the questions I get all the time about making these amazing Peanut Butter Chocolate Energy Bites. Sometimes readers worry about subbing ingredients, especially since these **small bites recipes** are so flexible, but don’t stress! Most changes work out just fine.
Can I use crunchy peanut butter instead of natural smooth?
Oh, you totally can, and I love when people experiment! Using crunchy peanut butter just means your final **Peanut Butter Chocolate Energy Bites** will have an extra bit of texture in every roll. The only thing to watch for is that sometimes crunchy peanut butter has slightly different oil content, so if your original mixture feels too crumbly before chilling, you might need that extra teaspoon of honey to bring it together.
Are these Peanut Butter Chocolate Energy Bites suitable for vegans?
They are *almost* vegan! If you swap the honey for maple syrup (which I already noted you can do!), then you’ve got perfectly satisfying vegan **finger foods** right there. Just make sure the chocolate chips you use are dairy-free, which is easy to find these days. It’s such a simple switch!
How long are these bite size appetizers good for if I’m meal prepping?
Since these Peanut Butter Chocolate Energy Bites aren’t baked, they rely on those binding ingredients for freshness. Store them in a truly airtight container, and they last about 3 days at room temperature. But really, if you want them to last, put them straight into the fridge—they keep wonderfully for up to two weeks. That’s why they are the best meal prep snack!
What if I don’t like cinnamon? Can I skip it in these snack ideas?
Go right ahead! The cinnamon adds warmth, but it’s really just a background note working with the chocolate here. If you skip it, you could try adding half a teaspoon of vanilla extract instead, or even a pinch of instant coffee powder to lean into that deep chocolate flavor. Let me know what you try next time you make a batch of these quick appetizers!
If you have other questions about the recipe or want to share your unique twists on these **party snacks**, please reach out through my contact page! I love hearing from you all.
Nutritional Information Estimate for Peanut Butter Chocolate Energy Bites
Now, I’m Sarah Bennett, a culinary educator, and while I focus heavily on taste and technique, I know a lot of you are tracking macros or just curious about what’s going into these convenient little bites. Because this recipe is so adaptable—you might swap honey for maple syrup, or use different brands of peanut butter—the exact nutrition can shift a bit from batch to batch.
What I can tell you is that these are designed to be a satisfying, whole-food energy boost. They contain healthy fats from the peanut butter and flaxseed, plus good fiber from the oats. They feel indulgent, but they are packed with substance!
For those of you tracking, based on standard measures for 18 bites, you can generally expect a solid profile of protein, carbs, and good fats for sustained energy. Please remember that this is just an estimate, as every kitchen uses slightly different ingredients! For official details, you should always review the specifics of your own ingredients, but this gives you a great ballpark for fueling your busy days.
If you ever want to read more about how we approach dietary information on the site, you can check out our official disclaimer page regarding nutritional estimates.
Share Your Experience Making These Peanut Butter Chocolate Energy Bites
That’s it! You’ve successfully whipped up a batch of the best, easiest snacks on the planet. Seriously, I hope you love them as much as I do. Now comes my favorite part: hearing from you!
Did you try adding a different mix-in, like shredded coconut or maybe some chopped nuts? Did you find a new favorite use for these **Peanut Butter Chocolate Energy Bites**? Did they save your afternoon slump at work?
Don’t be shy! Please leave a rating below and drop a comment telling me how your batch turned out. I read every single one, and I love seeing your kitchen successes. If you snapped a picture of your perfectly rolled **Peanut Butter Chocolate Energy Bites**, share it on social media and tag us—I’m always looking for visual inspiration!
For those of you who want to know more about me and what inspires these simple meals, check out the About Page. Happy snacking, friend!

Peanut Butter Chocolate Energy Bites
Ingredients
Equipment
Method
- Stir together all of the ingredients in a medium bowl with a spatula or clean hands until everything combines well.
- Cover the bowl and refrigerate for 30 minutes, or until the mixture firms up and is no longer sticky.
- Use a small spring-loaded scoop or two spoons to form balls about 1-inch in diameter.
- Store the balls in an airtight container at room temperature for 3 days, in the refrigerator for up to 2 weeks, or in the freezer for 1 month.