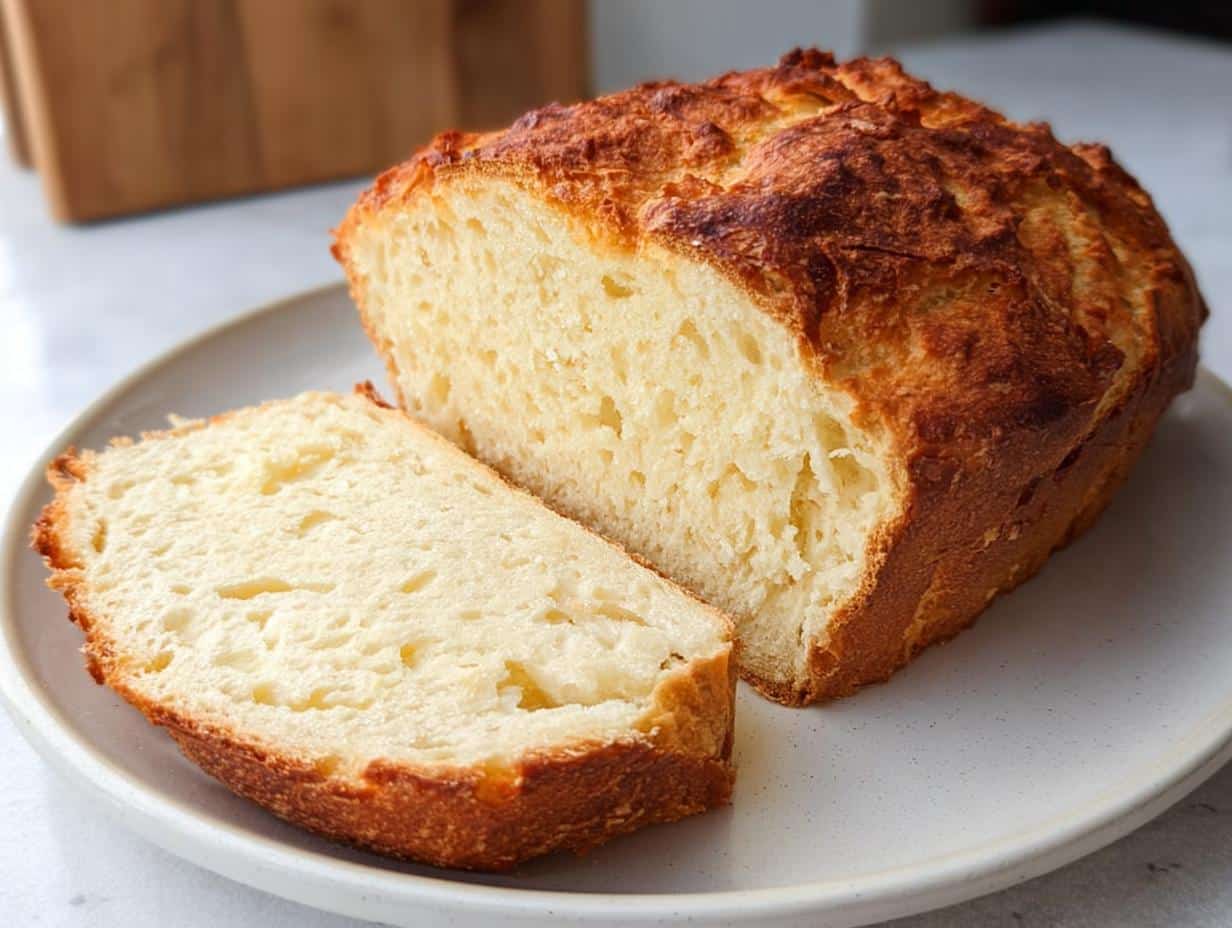
Oh my gosh, do you ever just crave that comforting, warm smell of fresh bread but you look at the clock and think, “Nope, not waiting three hours for yeast to wake up”? Me too! That’s why I developed this recipe, and trust me, it is the ultimate Yogurt Bread Without Yeast for those days when you need something balanced and satisfying, like, yesterday.
As a dietitian, I often talk about simplifying meals, and this recipe is my answer to busy weeknights. The yogurt does all the heavy lifting, giving you a beautifully tender crumb that’s actually easier on the stomach than traditional yeast bread. It’s quick to prep, deeply reliable, and proves healthy eating doesn’t mean giving up comfort food. Get your bowl ready!
Why This Yogurt Bread Without Yeast is Your New Go-To Quick Bread Recipes (E-E-A-T)
If you’re tired of long proofing times, this is your salvation! This Yogurt Bread Without Yeast is designed for real life. I promise it delivers that amazing homemade feel without demanding you plan your day around dough rising. It’s balanced, satisfying, and ready for the oven fast.
It’s one of my top go-to quick bread recipes because it keeps things simple and wholesome. You’ll see why this bread is becoming a favorite in so many kitchens!
- Super quick hands-on prep—seriously, 15 minutes max!
- No yeast needed, which means no long waits for proofing.
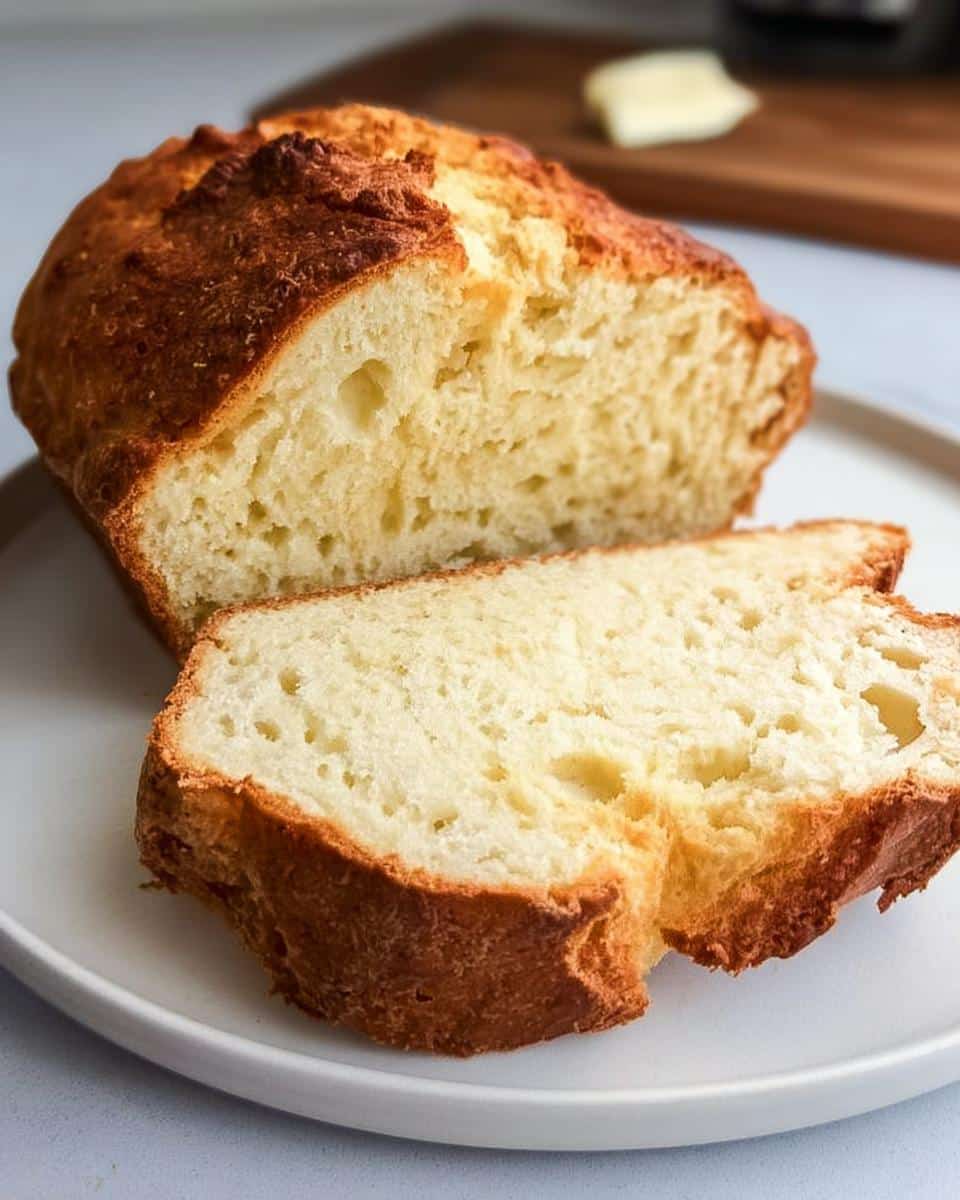
- The resulting texture is so wonderfully tender and easy to digest.
- Perfect for a quick breakfast toast or pairing with dinner. Even the kids can help mix this one up!
Simple Bread Recipes Using Common Pantry Staples
Honestly, the list of ingredients is beautifully short. That’s the magic of it! We are using basic staples you likely already have on hand, keeping this firmly in the realm of genuinely Simple Bread Recipes. The yogurt is the superstar here; it adds just enough moisture and that slight tang needed to react beautifully with the leavening agent in the flour.
You get great flavor and texture without needing specialty items or complicated steps. It’s just good, straightforward baking!
Essential Ingredients for Perfect Yogurt Bread Without Yeast
Alright, let’s talk about what goes into making this amazing Yogurt Bread Without Yeast. Because we aren’t messing around with yeast, every single ingredient matters a whole lot for the final texture. Keep your measuring cups handy because precision here sets us up for success. We’re keeping this list super tight, focusing only on what builds the actual loaf itself.
Ingredient Clarity and Preparation Notes
The foundation of this recipe is trusting the reaction between the acid in the yogurt and the leavening agent already in the flour. This is why the flour choice is critical.
You absolutely must use self-rising flour for this loaf. If you look at the notes, you’ll see why that’s important: if you only have all-purpose flour, you have to manually add salt and baking powder. Don’t skip those additions if you swap flours, or your loaf will be flat!
For the yogurt, go for the full-fat, plain, whole milk variety. I always grab 2 1/3 cups of it. If you use Greek yogurt—which is much thicker—you might notice the dough is way too dry, so stick to regular, creamy yogurt if you can!
Step-by-Step Instructions for Homemade Bread Without Yeast
Now we get to the fun part—turning that sticky mess into beautiful Homemade Bread Without Yeast! This process relies on time, not kneading, and using that hot Dutch oven is our big secret weapon for that crusty exterior. Just follow these steps exactly, and you won’t believe how easy this yeast-free bread is.
Mixing the Dough and Essential Resting Time for Yogurt Bread Without Yeast
First, grab your big glass bowl and just mix the flour and yogurt together with a spatula. Seriously simple. It’ll look messy—like a shaggy, sticky football dough—and that is exactly what we want. Don’t try to knead it! Don’t overthink it!
Next, cover it tightly with plastic wrap and stick it in the fridge. This resting part, which takes 4 to 6 hours, is crucial for flavor development. Me? I usually let mine go for the full 6 hours, or even longer if I can manage up to 12. But listen to me here: if you push past 12 hours, the dough gets way too wet and handling it becomes a real battle. Trust me; a little longer is great, but too long and you’ll be cursing me, so stick to the safe range!
Preheating Equipment for Optimal Skillet Bread Baking
About 30 minutes before you want to pull that resting dough out, we have to get things screaming hot. Set your oven to 450°F (232°C). You need to make sure your bottom oven rack is on the lowest rung—this is key so the bottom of the loaf cooks evenly and the top doesn’t burn while the center finishes.
Place your Dutch oven, lid tightly closed, onto that bottom rack while the oven heats up. That pot needs to be smoking hot before your dough even thinks about going in. Patience here pays off huge for that perfect crust we’re after in our Skillet Bread!
Shaping the Dough and Baking Covered
Once the dough is rested, wet your hands—this helps stop sticking immensely. Take one side of the dough, stretch it up high, and fold it right over the center. Do that from all eight sides. It makes a little bundle of strength! Then, dust your counter lightly with flour and tip the dough out, seam-side down.
You just want to gently rotate and drag the dough toward you with your hands or a bench scraper until you have a nice round ball. Put that ball onto a piece of parchment paper. Carefully yank that scorching hot Dutch oven out, take the lid off, and gently lower your dough (still on the paper!) inside. Now, for the steam magic: toss just a couple of ice cubes into the empty space *outside* the parchment paper. Pop the lid back on instantly and bake covered for 35 minutes.
Finishing the Yogurt Bread Without Yeast Bake
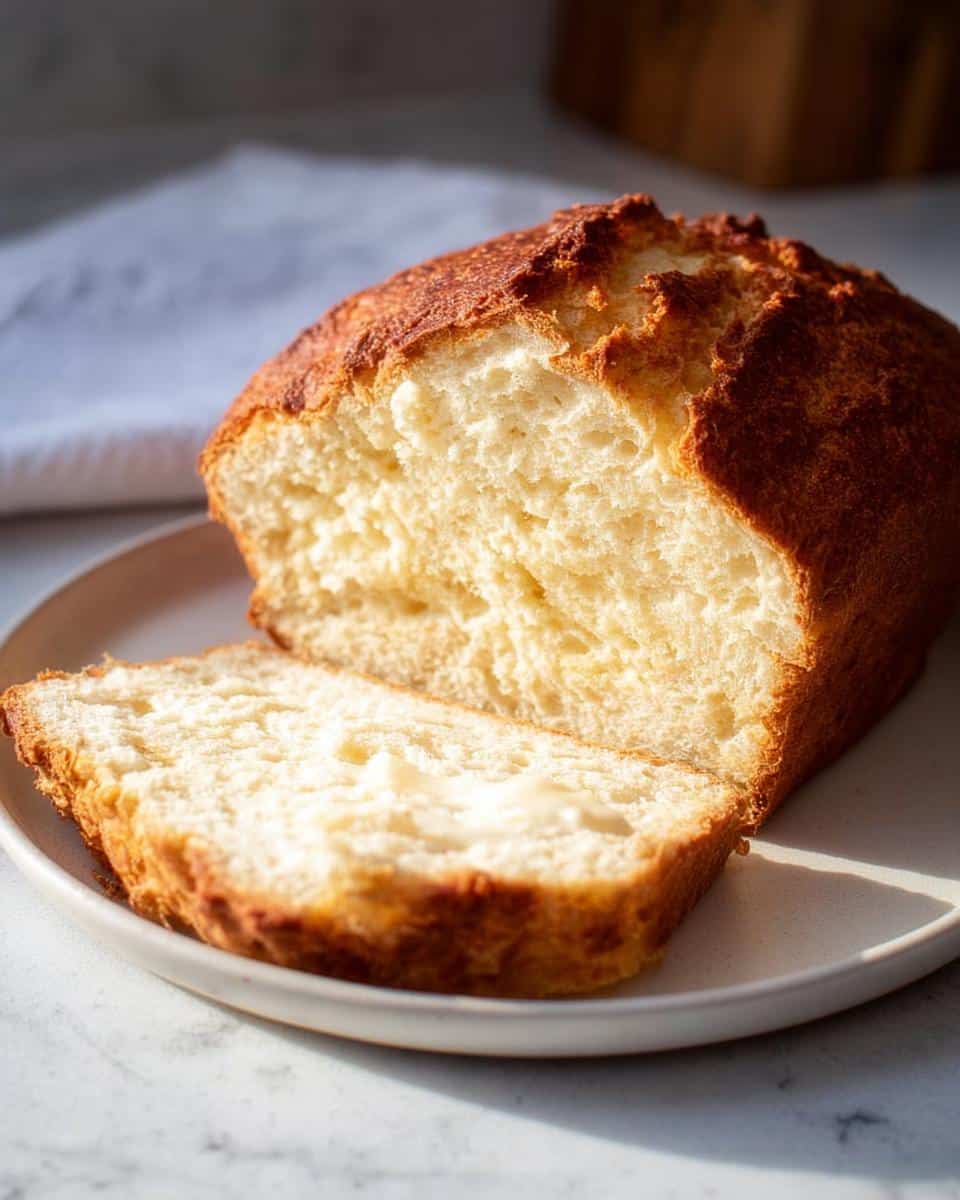
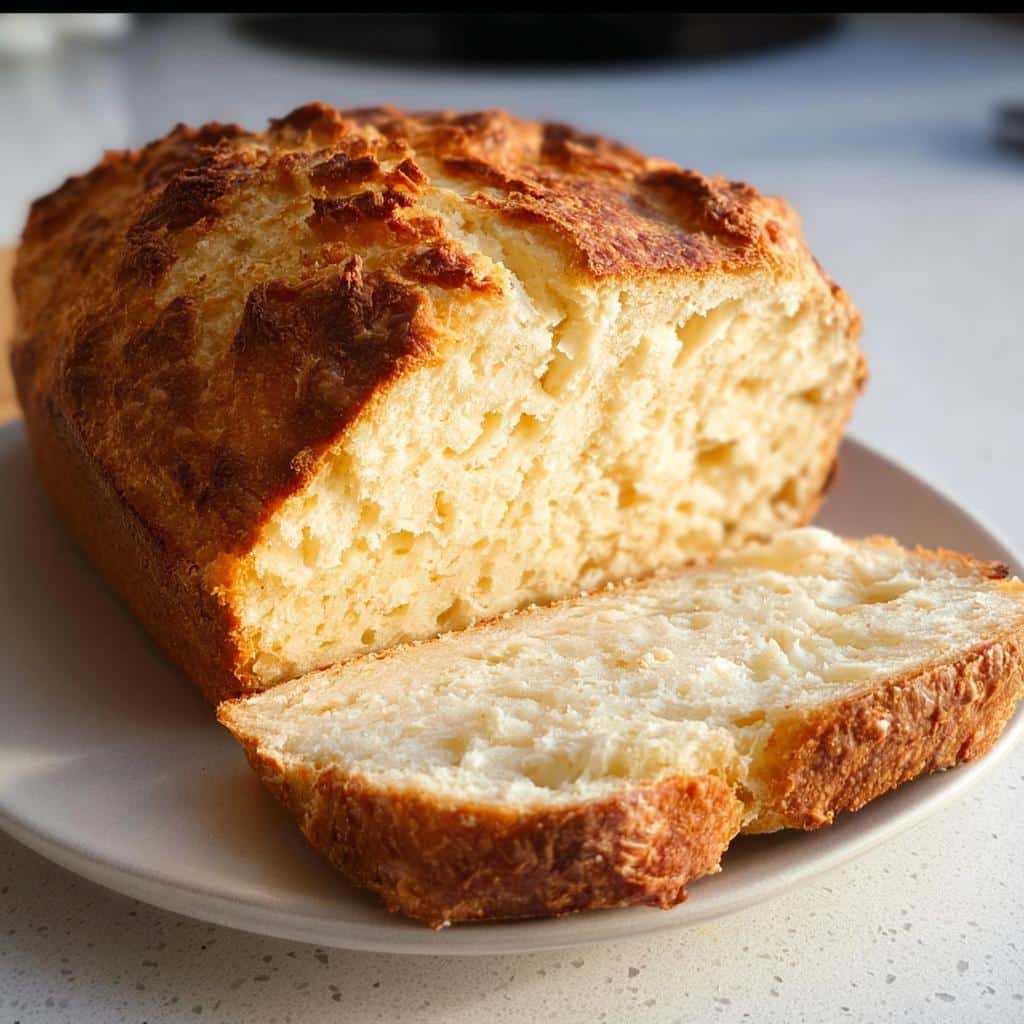
When the timer hits 35 minutes, carefully take the lid off the Dutch oven. Whew! Look at that oven spring! Now, drop the temperature down to 425°F (218°C). Finish baking it uncovered for another 15 to 20 minutes. You want it deeply browned on top.
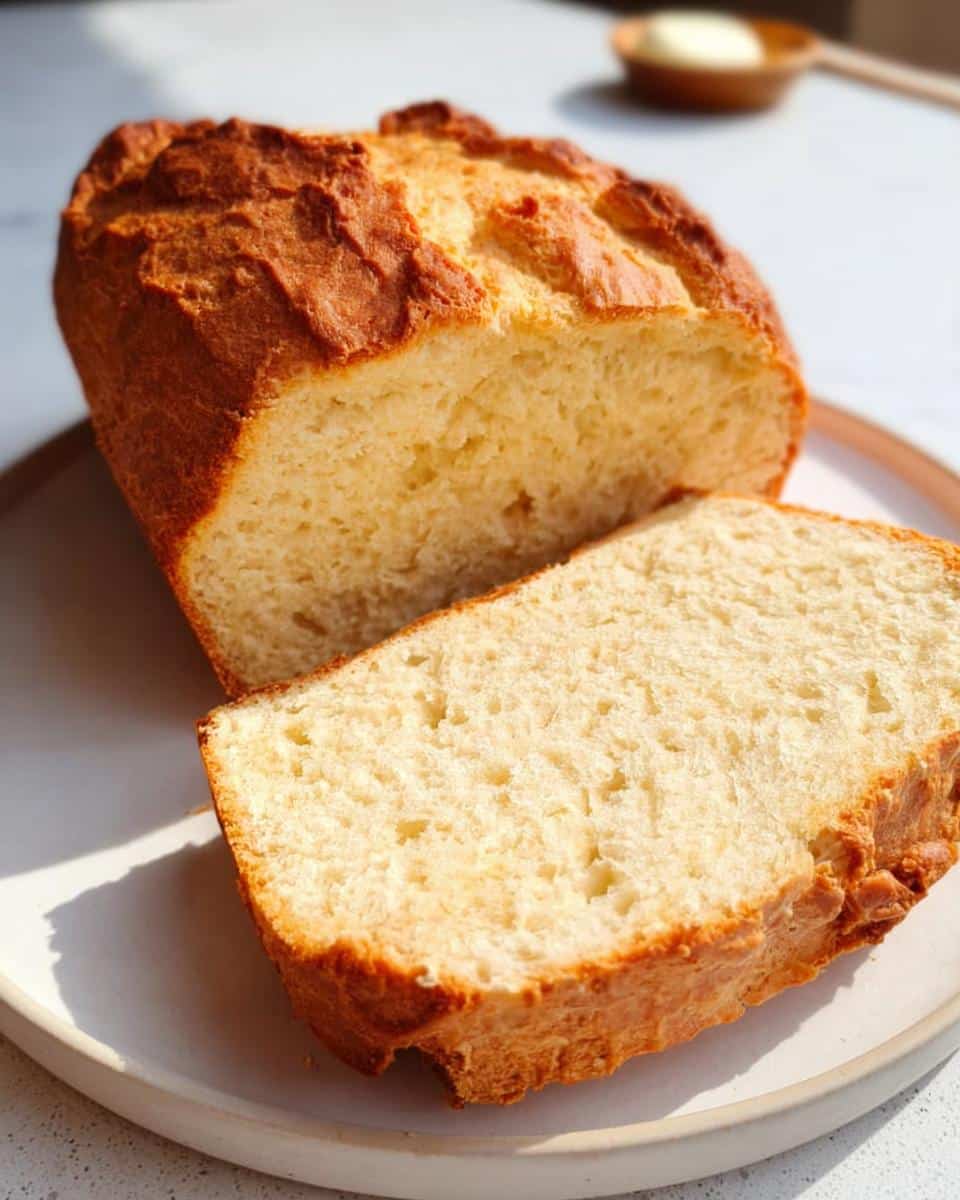
A quick word of warning—the spots where the dough seam split open might get really dark, maybe even blackish. That’s totally normal for this loaf, so don’t panic! You can just trim those little dark tips off later. The most important thing? Let it cool completely on a rack before you try to slice it. I know it smells divine, but cutting it early turns that beautiful interior mushy!
Tips for Success When Making Yogurt Bread Without Yeast
Making yeast-free bread can feel a little like magic sometimes, but I promise it’s just chemistry! For your first attempt at this Yogurt Bread Without Yeast, here are a few things I learned through trial and error that really help nail that perfect texture every time. Don’t worry about feeling clumsy with the sticky dough; that happens to everyone!
The number one issue people run into is sticking, especially after that long rest. If you’re struggling to handle the dough when you turn it out, just keep your hands and your floured surface consistently dusted. A bench scraper is your best friend here; use it to lift the edges rather than trying to fight with sticky fingers.
Also, let’s talk about the oven variations. Since this recipe relies heavily on steam created by the ice cubes in the Dutch oven, you must use a heavy-lidded pot. If you try to bake this yeast-free bread on a normal baking sheet, the crust won’t form correctly, and it will spread out too much. That Dutch oven trapped steam is essential!
If you happen to be using a smaller Dutch oven than I suggest (I use a big 4.3-quart one), know that your bread might cook faster. Always rely on visual cues and give it a good knock on the bottom for that hollow sound, even if it’s slightly before the timer goes off. You deserve perfect bread, and understanding your equipment helps so much!
And hey, if you have questions about any of the ingredients or techniques we’ve used here, please feel free to check out my general notes on recipe sourcing and testing. I want you to feel totally confident in your baking!
Serving Suggestions for This Quick Bread Alternative
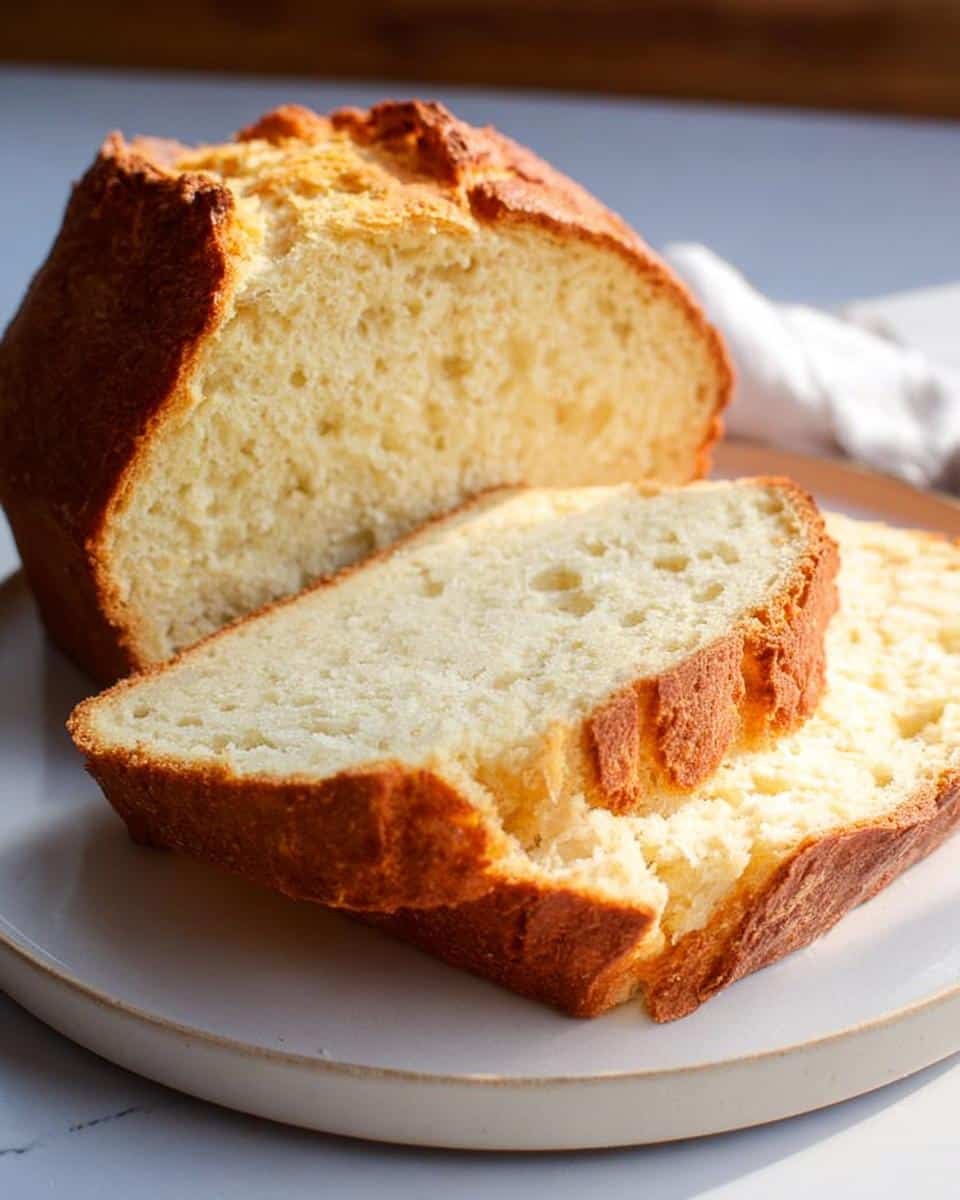
Now that you have this beautiful, slightly tangy loaf cooling on the rack—what are you going to do with it first? That’s the best part about a sturdy, good-quality loaf like this one. It’s so versatile!
Since we didn’t use any strong flavors like molasses or tons of herbs, this bread plays really nicely with both sweet and savory toppings. My favorite, the absolute most comforting way to eat it, is piping hot—once it’s cooled just enough not to burn your fingers—with a thick swipe of salted butter. The slight tang from the yogurt honestly makes the butter taste even richer!
But don’t stop there! This is the perfect bread for your morning routine. Make some thick slices and toast them up. They hold their shape beautifully, making them ideal for piling high with avocado, or maybe even serving alongside a big bowl of scrambled eggs. Breakfast perfection!
For lunch or dinner, this soft but solid structure makes an amazing sandwich carrier. It’s sturdy enough for lunchtime deli meats, but it doesn’t overwhelm the filling like some denser loaves can. It’s also fantastic dipped into a hearty chili or a creamy vegetable soup. That slight yogurt acidity cuts through richness so nicely; it truly elevates a simple meal.
Because it relies on simple, clean flavors, it’s wonderful served alongside almost any salad when you want something homemade on the side that doesn’t feel too heavy. Enjoy experimenting with all the ways you can use this easy bake!
Storage and Reheating Instructions for Your Homemade Bread
So, you’ve successfully baked your beautiful loaf of Yogurt Bread Without Yeast! Amazing work! Now, how do we keep this tender crumb fresh? Since we aren’t dealing with added preservatives, how you store it really matters if you want that just-baked texture to last a few days.
The best place for this Homemade Bread, if you plan on eating it within two or three days, is definitely at cool room temperature, wrapped up tight. I like to let the loaf cool completely—and I mean completely, or you’ll get condensation fuzz!—then I wrap it tightly in a clean kitchen towel and place it inside a large zip-top bag, squeezing all the air out before sealing. This keeps the crust a little softer than plastic wrap alone, but still prevents it from getting stale.
I generally advise against refrigerating this bread. Cold temperatures actually make breads made without yeast go stale much faster by changing the starch structure. Unless you live somewhere incredibly humid, keep it on the counter!
What to Do If You Need to Store it Longer
If you know you won’t get through the loaf quickly, freezing is your absolute best bet. You want to slice the bread first—this is critical! Trying to saw through a frozen loaf is a disaster. Slice it into serving portions while it’s fresh and cooled.
Wrap each slice individually in plastic wrap, and then put those wrapped slices into a freezer-safe bag. This way, you can pull out just one or two slices at a time whenever that fresh bread craving hits, without messing up the rest of the loaf. It keeps perfectly for at least a month!
Bringing Your Homemade Bread Back to Life
The reheating method depends on how you stored it. If it was just sitting on the counter for a day or two, you can revive it easily!
For a single slice, I swear by the toaster oven. It crisps up the exterior nicely while warming the interior. Set your toaster oven to medium and watch it closely, maybe one minute per side, until it’s warm and just starting to brown again.
If you’re warming up a whole half or a quarter loaf, pop it in a conventional oven wrapped loosely in foil. Heat it at 350°F (175°C) for about 10 minutes. The foil protects the crust from hardening too much while the inside steams back to softness. It smells amazing when it reheats, just like you pulled it straight from the Dutch oven!
Frequently Asked Questions About Yogurt Bread Without Yeast
I always get a flood of great questions once people start trying out this Yogurt Bread Without Yeast recipe! It’s so simple, but sometimes those little details make all the difference between good bread and *great* bread. Take a look here; maybe your question about making this Yeast-Free Bread Alternative is answered!
Can I make this Yogurt Bread Without Yeast without a Dutch Oven?
This is the biggest question, right? You really want that amazing crust, and that crust comes from trapped steam, which the Dutch oven provides perfectly. So, while you technically *can* make this a Bread Without Oven experience, it’s not ideal. The Dutch oven is the secret to mimicking a professional steam injection oven. If you absolutely have no heavy, oven-safe pot? You can try a heavy baking stone on the bottom rack instead, but you must preheat it for an hour! Then, when you place your dough on parchment paper onto that hot stone, quickly pour a cup of boiling water into a shallow pan on the rack below it to generate steam. It’s more work, but it can get you close!
What type of yogurt works best for this recipe?
You want the thickest, creamiest option you can find—so plain, whole milk yogurt is my absolute favorite choice here. It has the right amount of moisture and acidity to react with the self-rising flour. If you grab Greek yogurt, which is strained, it’s too thick! You’ll end up adding too much extra liquid trying to loosen the dough, and then your final loaf will spread out and be dense.
Also, please avoid flavored yogurts! Vanilla or strawberry yogurt would completely ruin the subtle, comforting flavor profile we are going for in this Simple Bread Recipe. Stick to plain; you can always top it with jam later!
If you’ve tried this bake and have more questions—maybe you want to try it as a Flatbread Recipes next time!—feel free to reach out directly through my contact form. I love hearing from you!
Author Expertise and Trust: Meet Emma Brooks, RD
When you’re baking the ultimate Yogurt Bread Without Yeast, you want to know the advice is coming from someone who knows food science *and* flavor. That’s me! I’m Emma Brooks, a Registered Dietitian and Flavor Strategist based right here in Boston.
My whole philosophy is built around making sure healthy food tastes amazing and fits into real life, which is exactly what this quick bread does. You can trust the balance in this recipe is intentional—it’s designed to be satisfying, easy to digest, and perfectly reliable every single time you bake it. Check out more about my approach to balanced comfort food over on my About Page!
Share Your Experience Baking This Simple Bread
Okay, bakers, I absolutely need to know how this turned out for you! Baking should always be a conversation, and this Simple Bread recipe just begs for feedback.
Did you manage that 12-hour rest for maximum flavor, or did you rush it in 4 hours like I sometimes do on a busy morning? Don’t be shy—let me know down in the comments below. Were there any subtle differences in the crumb? Did you try it toasted?
And if you took a gorgeous picture of your golden-brown loaf rising out of that hot Dutch oven, please tag me on social media! Seeing your successes with yeast-free baking truly makes my day. Your feedback helps me refine these recipes for everyone!
Remember to check out our terms of use before you share your lovely kitchen creations online. Happy baking!
Yogurt Bread Without Yeast
Ingredients
Equipment
Method
- In a large glass mixing bowl, combine the flour and yogurt. Mix well with a spatula until a shaggy dough forms. The dough will be sticky and wet.
- Tightly cover the bowl with plastic wrap and place it into the fridge. Let the dough rest and proof for 4 to 6 hours (up to 12 hours). The longer the dough rests, the better the flavor will be, but the dough will also be wetter and harder to work with if rested too long.
- About 30 minutes before baking, preheat your oven to 450°F (232°C). Adjust your bottom oven rack to the bottom rung in your oven. Place a large Dutch oven (4.3 quarts or bigger) with the lid covered onto the bottom oven rack in the oven while it preheats. This step is important; the Dutch oven needs to preheat before adding the bread. You also want the bread to bake on the lowest rung so that the top of the bread does not get too dark.
- After the dough has rested, wet your hands with some water. Grab one side of the dough, stretch it upward, and then fold it over the center of the dough. Repeat this process from all eight sides of the dough.
- Lightly flour a work surface with self-rising flour. Carefully turn the dough out onto the floured surface, seam side down. Use a bench scraper or lightly floured hands to rotate and drag the dough towards yourself on the floured surface until you form a round ball. Place the shaped dough, seam side down, onto a piece of parchment paper.
- Remove the preheated Dutch oven from the oven. Remove the lid and carefully transfer the parchment paper with the dough into the hot Dutch oven. Carefully add a few ice cubes to the bottom inside of the Dutch oven, but outside of the parchment paper. Put the lid back on and place it back into the oven to bake covered for 35 minutes.
- After 35 minutes, remove the lid and reduce the oven temperature to 425°F (218°C). Continue baking the bread for another 15 to 20 minutes or until the bread is browned on the surface and fully cooked. The very tips on the top part of the bread where the seams split may turn very dark before your bread is fully baked; this is normal. You can trim that off once the bread is done. Let bread cool fully before cutting and serving.