There are days when you just need bread, and I mean *right now*. Waiting around for yeast to bubble up or for dough to rise seems impossible when you’re facing down an empty fridge and lunch time is looming. That’s exactly the kind of kitchen emergency that birthed this recipe in my world, rooted in the Southern need for simple, reliable comfort food.
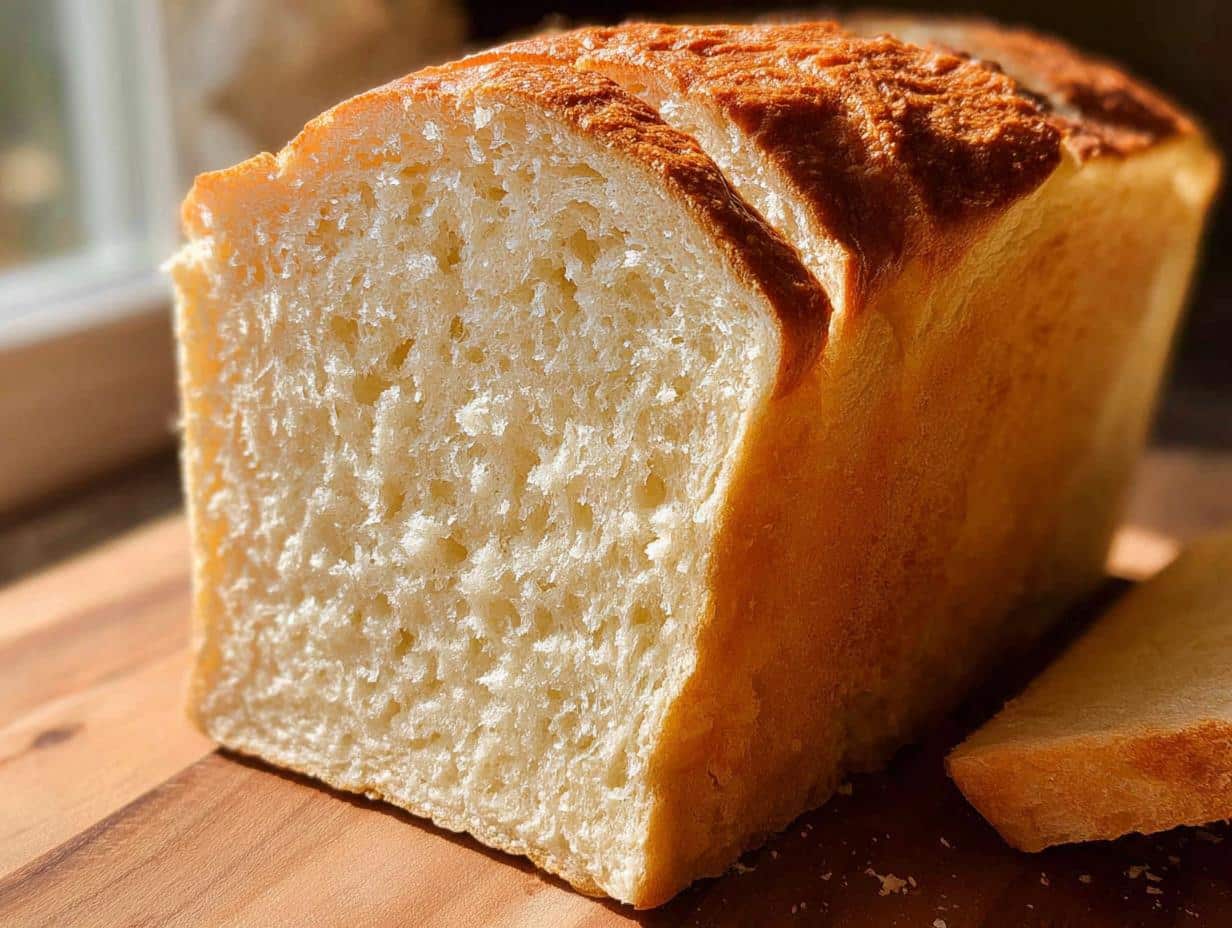
This **No-Yeast Sandwich Bread** is my secret weapon for days like that. It’s not fancy—it doesn’t have those big, airy holes you see in artisan loaves—but oh, it is soft, tender, and perfectly neutral for holding anything you put between two slices. Trust me on this one; it’s tested, reliable, and it never lets my family down when we need everyday homemade bread fast.
For me, Lilya Lawson, cooking has always been about feeding folks hearty meals without the fuss. This quick bread recipe skips all the kneading and waiting, giving you a truly satisfying loaf in about an hour total. It’s honest baking at its best.
Why This No-Yeast Sandwich Bread is Your New Go-To (Experience & Trust)
If you’re tired of waiting on yeast, get ready for a kitchen game-changer! The absolute best part about this recipe is the speed. We’re talking about a loaf you can have mixed up and into the oven before most yeast doughs have even thought about doubling in size. That efficiency is why I consider this one of my favorite Quick Bread Recipes.
This bread is wonderfully reliable, too. Because we rely on baking powder instead of wild yeast, what you put into the pan is pretty much what comes out—perfectly baked every time. I remember one Tuesday afternoon, rushing to get lunch ready for the kids, and realizing I was out of store-bought bread. Oops! I whipped this up in minutes, and suddenly, we had amazing, soft sandwich bread ready for cold cuts.
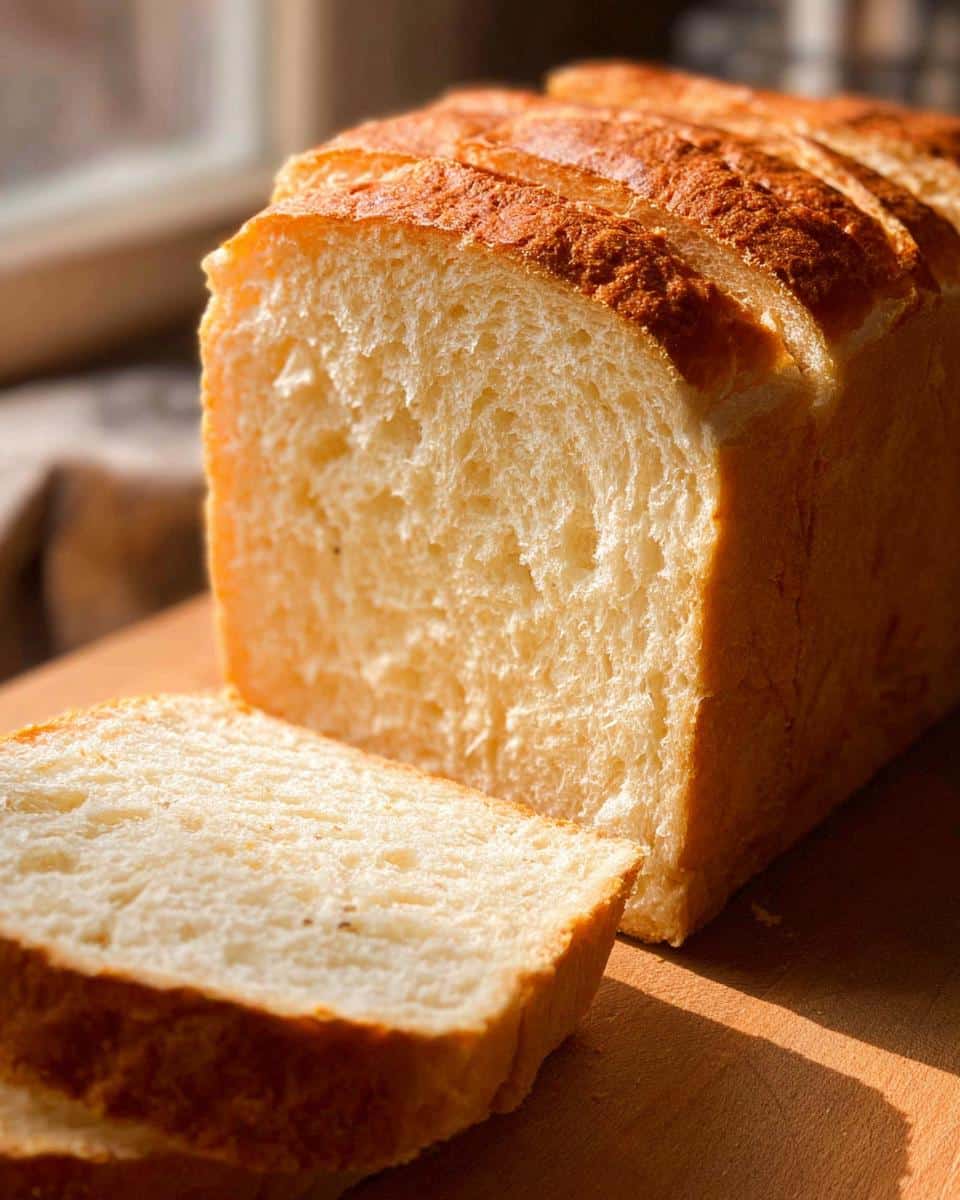
It’s so versatile! It toasts beautifully, it’s sturdy enough for a heavy grilled cheese, and it makes the softest French toast you can imagine. It’s simple, it’s good, and it’s always there when you need it.
Essential Ingredients for Perfect No-Yeast Sandwich Bread
Okay, listen up—since we aren’t relying on yeast magic here, we are using chemistry to make this homemade bread rise, and that means we have to be a little more precise about our ingredients. Don’t panic, though! It’s still super easy, but getting your measurements right is key to that fluffy texture we want.
When you’re working with baking powder, every teaspoon counts! You’ll notice the recipe separates things into wet and dry groups, which is standard for this type of quick bread. If you measure these parts separately before combining, you just about guarantee success.
Dry Components for Your No-Yeast Sandwich Bread
In one bowl, we mix up our structure. You need a good hefty amount of all-purpose flour and the leavener—that’s 8 teaspoons of baking powder! Don’t skimp on it.
We also add 3 teaspoons of plain white sugar for just a hint of flavor, and the salt, which is important for balancing everything out. Now, here’s a little note: use 1.5 teaspoons if you are grabbing cooking salt or kosher salt. If you only have regular table salt, knock it down to just 1 teaspoon because it packs a stronger punch.
Wet Components for No-Yeast Sandwich Bread
For the wet side, you need 2 and 1/4 cups of milk. Make sure that milk is actually warmed up a little bit before you add it; it helps the batter mix smoothly. Don’t make it hot, just comfortably warm to the touch!
The oil is what provides the necessary fat since there’s no butter structure here. You have lots of leeway here! Use any neutral oil you have on hand—vegetable, canola, sunflower, or even a light olive oil works if you don’t mind the slightest hint of flavor. Just use 1/4 cup.
Step-by-Step Guide to Making Simple No-Yeast Sandwich Bread
This is where the magic happens for these Simple Bread Recipes! Because there’s no yeast, our baking powder is working hard, and we need the oven temperature set just right to kick things off beautifully. Don’t worry if your batter looks a little shaggy—that’s exactly the way it should be for this reliable loaf.
Preparation and Mixing for Your No-Yeast Sandwich Bread
First things first: crank that oven up! You want it hot, so aim for 430°F (220°C), though I suggest knocking it down to 390°F if your fan is going strong—oven calibrations are tricky beasts. Get your 9×5 loaf pan greased up, and please, please line it with parchment paper, letting it hang over the sides. That overhang is your lifeline!
Next, whisk all those dry ingredients together completely in a big bowl. Then, make a little crater right in the middle—your well. Pour in your warmed milk and the oil all in one go. Use a rubber spatula and just mix until that last bit of flour disappears. Seriously, stop mixing the second the flour is gone! If you stir and stir, this quick bread will get tough on you instead of staying soft.
Baking Technique for Soft No-Yeast Sandwich Bread
Once the batter is smooth—it’ll be thick, don’t fret—scrape it into your prepared pan and smooth the top. Now, we bake! Set the timer for 30 minutes at that initial high heat. This blast of heat really activates the baking powder and gets the rise started fast.
When 30 minutes are up, pull the pan out quickly and cover the top loosely with aluminum foil. This is my expert tip to keep the crust soft and stop it from burning while the inside finishes cooking. Pop it back in, but immediately lower the temperature to 390°F (or 375°F if you have that fan running). Set the timer for another 20 minutes. Total time in the oven should be about 50 minutes.

Cooling Requirements for Slicing No-Yeast Sandwich Bread
When that final 20 minutes is up, you absolutely must let the bread rest for 5 minutes *in* the pan. That little bit of time allows the structure to firm up just enough so it doesn’t collapse when you try to move it. Carefully use that parchment overhang to lift the loaf right out and set it on a wire cooling rack immediately.
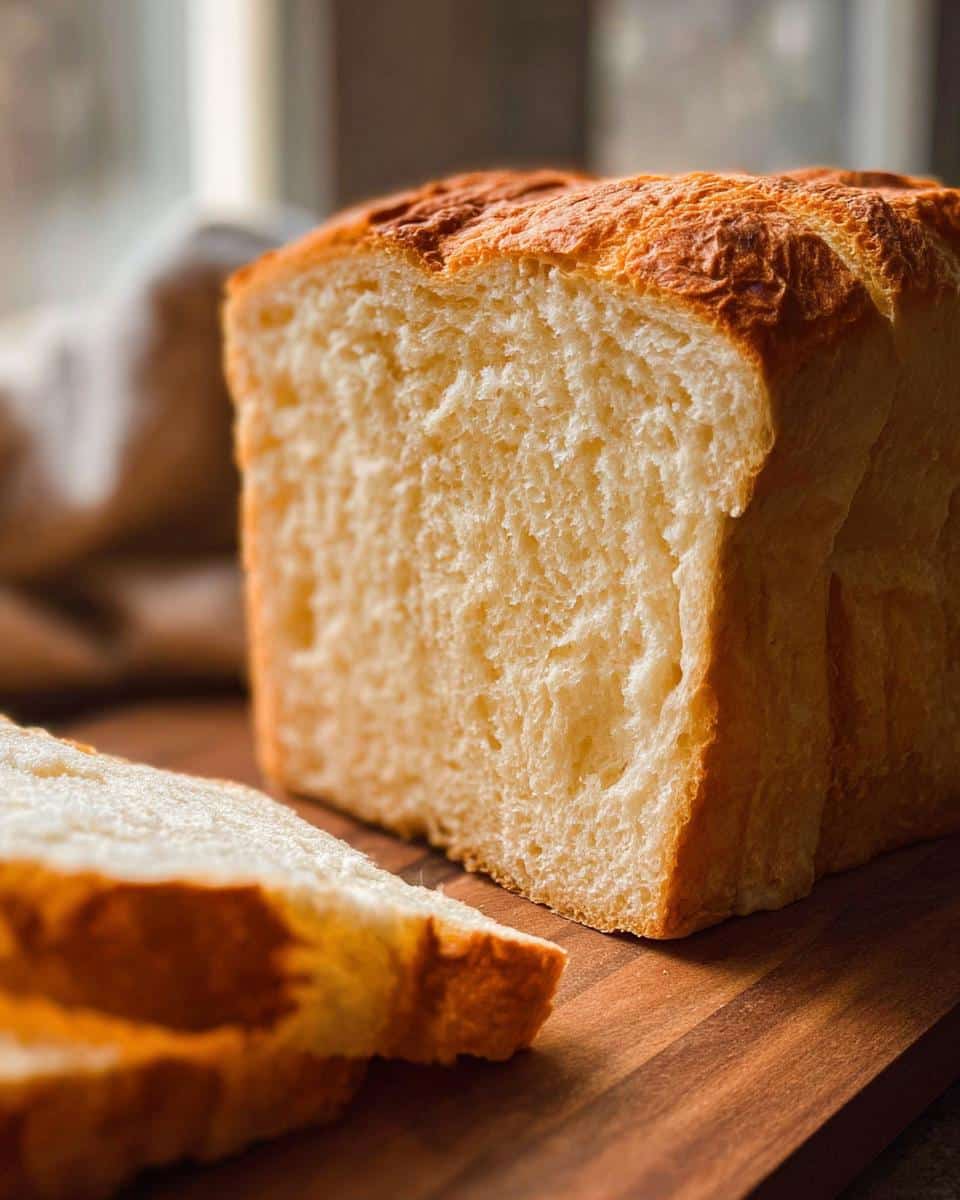
Now comes the hard part: you have to wait. Seriously, if you slice into this bread while it’s warm, it will turn gummy and dense—that’s quick bread science for you. Give it at least 45 minutes to cool down completely. Truthfully? This **No-Yeast Sandwich Bread** slices the cleanest and tastes the best the following day sliced cold.
Ingredient Substitutions for No-Yeast Sandwich Bread
I know how it goes—you’re ready to bake, but you’re short one thing, or maybe you’re trying to make this recipe work with what you have on hand based on dietary needs. That’s totally fine! Since this is a quick bread, the most important thing is keeping that chemical reaction working properly between the baking powder and the liquids.
When you start making small tweaks, think about what role the original ingredient played. Was it moisture? Was it fat? If you nail that balance, your **Ingredient Substitution** will work like a charm, and you’ll still end up with that soft, sliceable loaf.
Milk Alternatives for Moisture
We called for warm milk, but I know a lot of you need to use alternatives. You can absolutely swap out the dairy milk for unsweetened soy milk, almond milk, or even oat milk. Just make sure it’s plain—no vanilla flavors, please!
A great substitution if you have it in the fridge is buttermilk if you want a slightly tangier loaf. If you use buttermilk, you might want to knock back your salt just a tiny bit, maybe a quarter teaspoon, because buttermilk can sometimes read as saltier. But generally, a 1:1 swap works perfectly fine for replacing regular milk here.
Swapping Out the Oil
The oil contributes richness and tenderness, so we need to make sure our replacement fat does the same job. If you don’t have a neutral oil like vegetable or canola, melted coconut oil is a fantastic substitute! It melts beautifully with the warmed milk.
Now, some folks ask about swapping oil for butter. You can do that, but you have to melt the butter first. Use the exact same amount—1/4 cup melted butter for 1/4 cup oil. Just remember, butter has water content, so the bread might turn out ever so slightly less tender than the oil version, but it’s still delicious!
What About Sweetening?
We use white sugar to help carry the baking powder and for texture, but you can try swapping out up to half of it with honey or maple syrup if you are feeling adventurous. If you use a liquid sweetener like that, you need to pull back on the milk by about a tablespoon for every two tablespoons of liquid sweetener you add. See? It’s all about balancing those wet quantities!
Tips for Perfect Homemade Bread Without Oven Methods
Even though this wonderful **No-Yeast Sandwich Bread** relies on my oven right now, I know so many of you are looking for true Bread Without Oven ideas for camping or if your oven is just too darn hot in the summer! The chemistry here—using baking powder—actually makes this recipe adaptable to other cooking methods if you’re careful.
For example, you could check out how to adapt this technique for a cast-iron skillet or Dutch oven to create a rustic Skillet Bread vibe. The key is cooking it low and slow after the initial heat burst to ensure the center really cooks through.
Troubleshooting That Quick Bread Texture
If your bread came out a little too crumbly, 99% of the time, it’s because you added too much flour or didn’t mix in enough milk. Remember, we want a thick, shaggy batter, not a stiff dough! If it’s dense and flat, you either forgot that baking powder count or you overmixed the batter after adding the wet ingredients. Don’t forget to check the date on your baking powder, too—it loses its punch over time!
Getting That Even Brown Color
My two-step baking (hot then cover with foil) helps stop the top from getting too hard way before the middle is done. If you still find the top is browning too fast even with the foil, try placing a shallow pan of water on the rack below your loaf pan. That steam works wonders to keep things moist and prevents that overly crusty top layer!
Frequently Asked Questions About No-Yeast Sandwich Bread
I always get so many questions back on this recipe, which just tells me you all love how easy this simple bread is! It’s one of my favorite Easy Baking Recipes because people have such success with it. Here are a few things I hear most often about making this **No-Yeast Sandwich Bread** at home.
Can I use self-rising flour instead of all-purpose flour in this No-Yeast Sandwich Bread?
Oh, that’s a smart shortcut! Yes, you totally can, but you need to adjust! Self-rising flour already has baking powder and salt mixed in. Usually, for every cup of all-purpose flour, you get about 1.5 teaspoons of baking powder and less than half a teaspoon of salt.
Since this recipe calls for so much baking powder (8 teaspoons total!), you’d want to use 4 cups of self-rising flour and then omit the extra 8 teaspoons of baking powder and 1.5 teaspoons of salt we listed in the dry ingredients. Just mix it in with your sugar!
How long does this Homemade Bread stay fresh?
Because this is a quick bread, it doesn’t have the longevity that yeast breads do, but it’s still great! You want to keep this **Homemade Bread** in an airtight container at room temperature. It holds up beautifully for about three days after baking.
If you think you won’t finish it by then, go ahead and slice it first, then freeze the slices. They thaw really fast on the counter or toast straight from the freezer. I wouldn’t recommend the fridge, though; it tends to dry out bread faster!
Will this No-Yeast Sandwich Bread taste like baking soda?
That’s a classic quick bread worry! If you taste even a slight metallic or soapy flavor, it means you either used too much baking powder or, more likely, you didn’t mix the wet and dry ingredients thoroughly enough before baking.
When the baking powder doesn’t get evenly distributed and mixed with enough liquid, it can leave little pockets of strong flavor behind. Double-check your mixing, especially making sure you whisk the dry ingredients together well before introducing the milk. It should taste totally neutral!
Can I use this recipe to make a pizza crust or flatbread?
That’s an interesting idea! While the chemistry is similar to other base mixtures, this dough is very wet and designed specifically for rising up into that soft loaf shape in a pan. If you tried to flatten it out into a Flatbread Recipes style crust, it would likely spread out thinly and bake up more like a giant, dense cracker instead of a crust.
For things that need to be sturdy and flat, you’re usually better off using a specific recipe designed for that texture, maybe even one that uses a little yogurt or less leavener. Stick to the loaf pan for this one!
Storing and Reheating Your No-Yeast Sandwich Bread
Once you successfully bake this loaf, the real challenge is eating it slowly! Since we skipped yeast, this bread has a shorter lifespan than traditional loaves, but we can certainly stretch it out by storing it smart. For just a few days, keep your **No-Yeast Sandwich Bread** wrapped tightly in plastic wrap or tucked into a zip-top bag. Keep it on the counter at room temperature, away from direct light.
If you know you won’t finish it within three days, freezing is your absolute best friend. Slice the whole cooled loaf first—remember, slicing warm bread is a disaster!—and then stack the slices with wax paper between them before popping them into a freezer bag. They freeze beautifully, ready whenever you need a slice for toast.
When you’re ready to eat a frozen slice, skip the microwave if you can; it can sometimes make quick breads a bit rubbery. Toasting is the best method for reintroducing that wonderful warmth and softness. If you’re desperate for a soft slice right away, microwave it for just 10 to 15 seconds, but seriously, toasting is the way to go!
Estimated Nutritional Data for No-Yeast Sandwich Bread
Now, I’ll be the first to tell you that when I’m whipping up a batch of this **No-Yeast Sandwich Bread** for the family to use throughout the week, I’m not usually checking calorie counts! My only focus is making something honest and delicious for our meals. We are using good baking powder and standard pantry oils, not fancy low-fat everything here, so keep that in mind!
Because this recipe makes one standard loaf, figuring out the nutrition means dividing the whole batch into slices—I usually estimate about 12 slices per loaf for sandwich purposes. Based on the all-purpose flour, milk, and oil we use, here are the typical expected values per slice. Please take these as helpful guides, not hard facts!
- Calories: Approximately 160-180 kcal
- Total Fat: Around 5-7 grams
- Protein: Roughly 4 grams
- Total Carbohydrates: About 26-30 grams
This is why making your **Homemade Bread** yourself feels so satisfying—you know exactly what went into the mix! If you’ve used lighter milk or swapped the oil for something healthier, your totals will shift, of course. For more on how we handle information like this on the site, you can always check out our standard disclaimer here: details on our nutritional estimates.
Share Your Simple Bread Recipes Experience
That’s it, friends! You now have everything you need to turn simple pantry staples into that perfect, soft **No-Yeast Sandwich Bread**. I truly hope this reliable loaf becomes just as much of a helpful staple in your kitchen as it is in mine.
Baking is always better when you share the results, so I’d love to hear how your loaf came out! Did you try it for grilled cheese? Did the texture surprise you?

Please take a moment to drop a rating right here on the recipe card—it tells me if this is helping others out there who need quick, easy baking solutions. A star rating is fantastic, but hearing your voice in the comments is even better!
Did you run into any little snags or perhaps discover a fantastic variation? Throw your notes and tips below so we can all learn from each other’s experiences making these Simple Bread Recipes. Tag me on social media if you snap a picture of your first perfect, sliceable loaf—I absolutely live for seeing your creations!
No-Yeast Sandwich Bread
Ingredients
Equipment
Method
- Preheat your oven to 430°F (220°C) or 390°F (200°C) if using a fan setting.
- Grease a 9 x 5 inch loaf pan. Line it with parchment paper, leaving an overhang so you can lift the bread out later.
- In a bowl, combine the flour, baking powder, salt, and sugar. Mix these dry ingredients together.
- Make a well in the center of the dry ingredients. Pour in the oil and the warmed milk. Mix until the flour is fully incorporated. The batter will be thick but still stirrable.
- Scrape the batter into the prepared loaf pan. Use a rubber spatula to clean the bowl and smooth the surface of the batter in the pan.
- Bake for 30 minutes. Remove the pan from the oven and cover the bread with foil.
- Return the pan to the oven. Reduce the oven temperature to 390°F (200°C) or 375°F (180°C) if using a fan setting. Bake for another 20 minutes.
- Remove the bread from the oven. Let it cool in the pan for 5 minutes. Then, use the parchment overhang to lift the bread out and place it on a cooling rack.
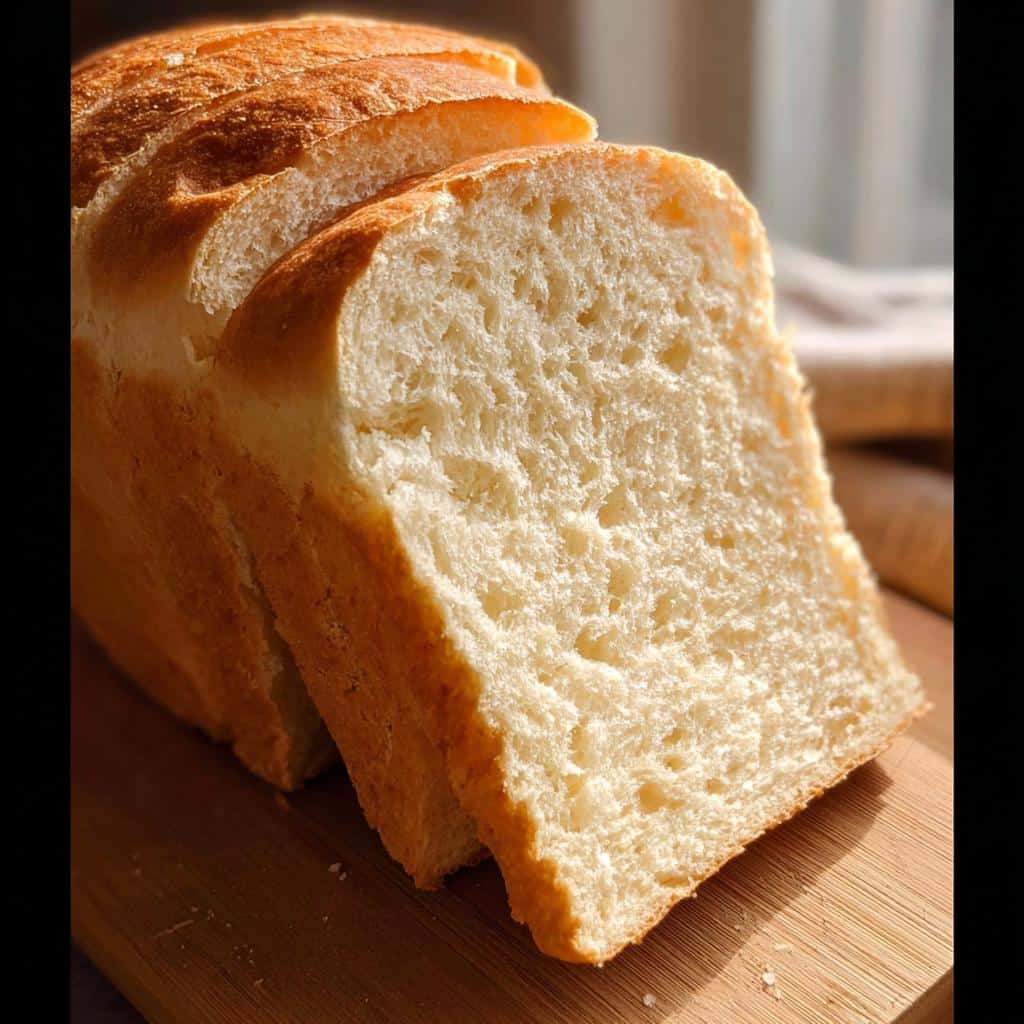
- Allow the bread to cool completely before slicing, which takes at least 45 minutes. This bread slices better on the second day.